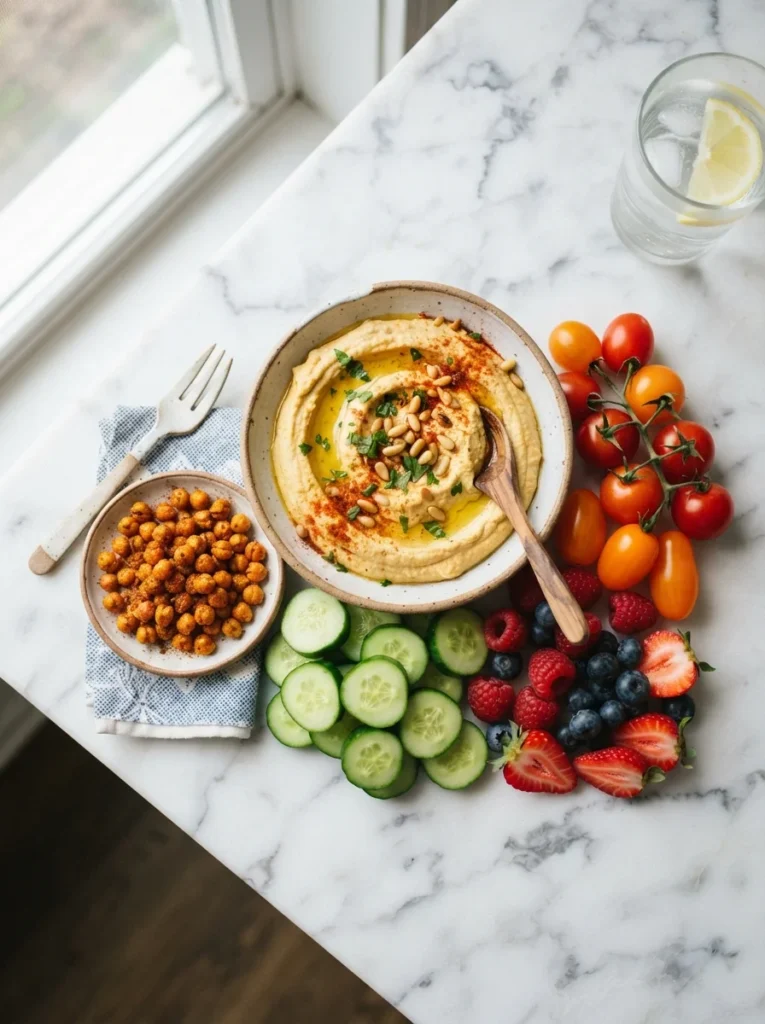
Snacking doesn’t have to mean guilt or empty calories. Whether you’re eating light between meals, managing your weight, or just looking for something satisfying that won’t weigh you down, these healthy low calorie snack recipes are exactly what your kitchen routine has been missing. They’re quick to make, packed with real flavor, and built from ingredients you can actually feel good about eating every single day.
1. Cucumber Rounds with Whipped Feta and Everything Bagel Seasoning
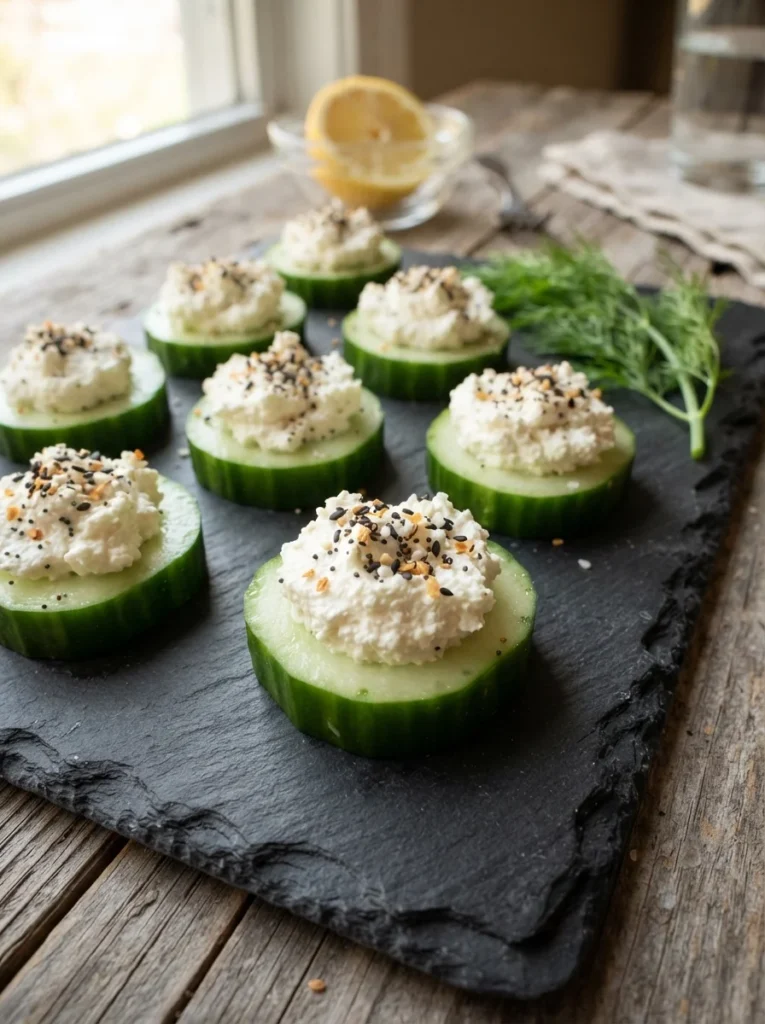
These cucumber rounds are one of those snacks that look like they came out of a fancy café but take about five minutes from start to finish and every single bite delivers a satisfying crunch followed by a creamy, tangy, herb-flecked finish that makes it impossible to stop at just a few. The whipped feta is light and airy, the everything bagel seasoning brings that toasty, garlicky depth, and the cucumber keeps the whole thing refreshing and hydrating. It’s the kind of low-effort, high-reward snack that fits perfectly into a busy weekday, a weekend grazing board, or even a light appetizer spread when you have people over and want something that feels a little special without any real fuss.
Ingredients
- 1 large English cucumber, sliced into ¼-inch rounds
- ½ cup crumbled feta cheese
- 2 tablespoons plain Greek yogurt (non-fat or low-fat)
- 1 teaspoon fresh lemon juice
- 1 teaspoon everything bagel seasoning
- Fresh dill for garnish (optional)
Instructions
- Add the crumbled feta, Greek yogurt, and lemon juice to a small food processor or blender.
- Blend for 30–45 seconds until the mixture is smooth and fluffy, scraping down the sides as needed.
- Arrange the cucumber rounds in a single layer on a serving board or plate.
- Spoon or pipe a small dollop of whipped feta onto each round.
- Sprinkle everything bagel seasoning generously over the top.
- Finish with a few sprigs of fresh dill if using, and serve immediately.
How to Serve It
Arrange the rounds on a wooden board or dark slate for a beautiful contrast of colors that makes this snack feel truly special. For a bit of extra brightness, squeeze a tiny bit more lemon juice over the top just before serving. In summer, this is wonderful alongside iced water with mint or a cold sparkling water with citrus. In cooler months, you can warm the whipped feta very slightly so it spreads even more smoothly. Add a few sliced olives or sun-dried tomatoes on the side to build it into a fuller snack plate. These are best eaten fresh, but you can keep the whipped feta refrigerated in an airtight container for up to three days.
2. Baked Zucchini Chips with Sea Salt
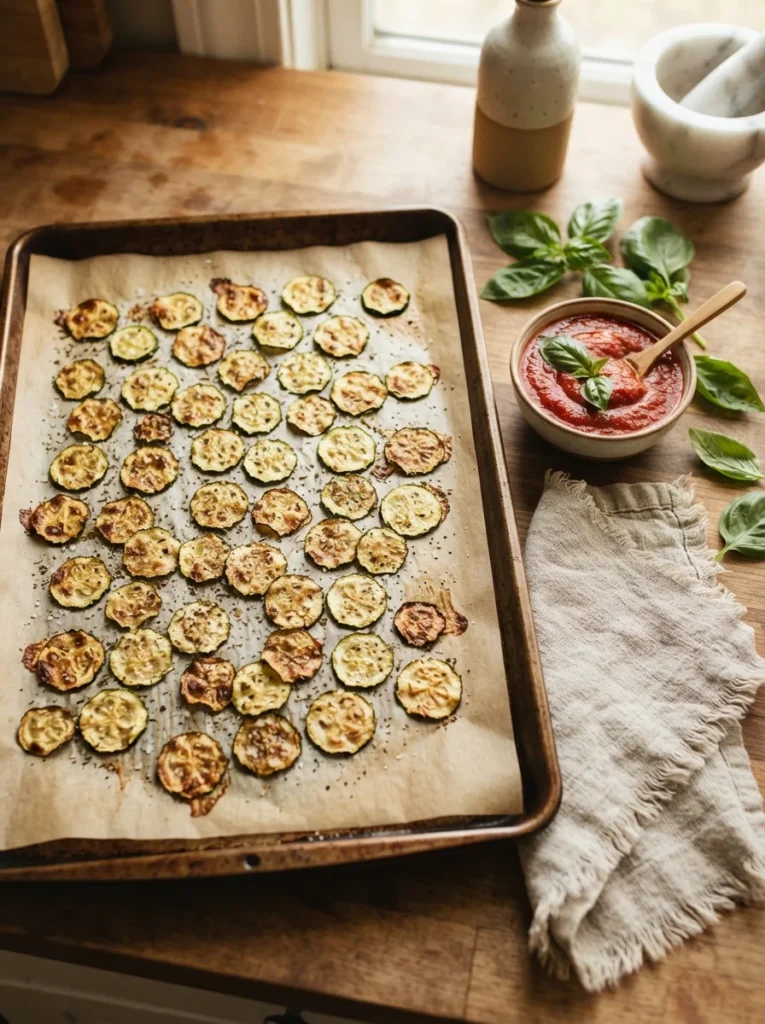
If you’ve been reaching for store-bought chips out of habit but always feel a little hollow about it afterward, these baked zucchini chips are the swap you’ll want to make permanent they’re thin, satisfying, deeply savory, and so surprisingly crisp for something that’s essentially just a vegetable and a little olive oil. The key is slicing them thin and baking low and slow so the moisture has time to evaporate and you end up with that snappy, chip-like texture rather than a sad, soggy veggie disc. These are wonderful on their own, dunked in marinara or tzatziki, or crumbled over salads for a crunchy topping that actually adds flavor.
Ingredients
- 2 medium zucchini, sliced into ⅛-inch rounds (use a mandoline if possible)
- 1 tablespoon olive oil
- ½ teaspoon fine sea salt
- ¼ teaspoon garlic powder
- ¼ teaspoon black pepper
- Optional: 2 tablespoons grated Parmesan cheese
Instructions
- Preheat your oven to 225°F (107°C) and line two large baking sheets with parchment paper.
- Slice the zucchini as thin and evenly as possible. A mandoline slicer set to ⅛ inch works best.
- Lay the slices out in a single layer on paper towels. Sprinkle lightly with salt and let them sit for 10 minutes to draw out moisture.
- Pat them completely dry with more paper towels. This step is critical for crispness.
- Toss the dried slices in a bowl with olive oil, garlic powder, pepper, and Parmesan if using.
- Arrange in a single, non-overlapping layer on the prepared baking sheets.
- Bake for 1 hour 45 minutes to 2 hours, flipping once halfway through, until golden and crisp.
- Let them cool completely on the pan and they will crisp up further as they cool.
How to Serve It
Pile them into a small bowl and serve with a little dish of marinara sauce or a lemony Greek yogurt dip on the side for contrast. For a fun twist, sprinkle smoked paprika or nutritional yeast over the chips right as they come out of the oven for an extra layer of flavor. These make a great alternative to crackers when you’re putting together a snack board, line them up around a bowl of hummus alongside veggie sticks and you’ve got a beautiful spread. Leftovers can be stored in an airtight container at room temperature for up to two days, though they’re always best fresh from the oven.
3. Apple Slices with Almond Butter and Chia Seeds
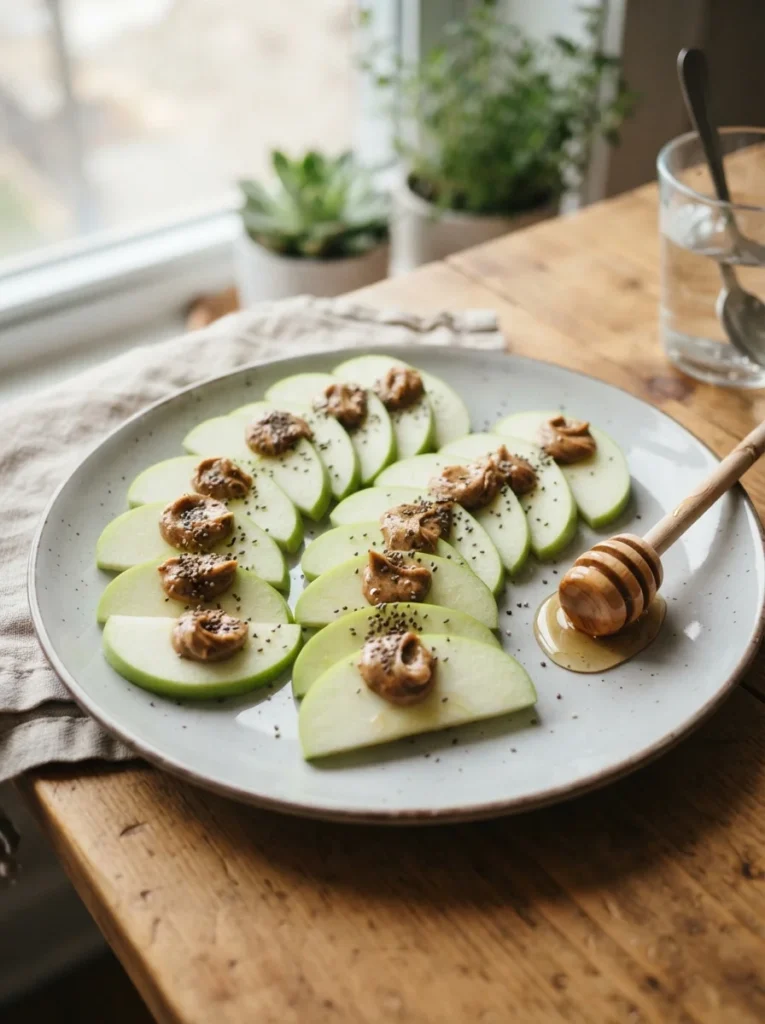
There’s something almost effortlessly perfect about the combination of crisp apple, rich almond butter, and tiny chia seeds it hits sweet, creamy, and crunchy all at once, and it comes together in about two minutes flat, making it the kind of snack you can throw together when you’re hungry right now and don’t have the patience for anything complicated. The natural sugars from the apple give you a quick lift, the healthy fats in almond butter keep you full, and the chia seeds add a gentle texture along with a nice hit of fiber and omega-3s that most snacks simply don’t bother with.
Ingredients
- 1 large apple (Fuji, Honeycrisp, or Granny Smith), cored and sliced thin
- 2 tablespoons natural almond butter (no added sugar)
- 1 teaspoon chia seeds
- Optional: a tiny drizzle of raw honey or a pinch of cinnamon
Instructions
- Core and slice the apple into thin wedges about 8 to 10 slices per apple.
- If you won’t be eating them immediately, toss the slices in a tiny bit of lemon juice to prevent browning.
- Arrange the slices in a fan or circle on a plate.
- Spoon a small amount of almond butter onto each slice, or serve the almond butter on the side as a dip.
- Sprinkle chia seeds evenly over the top.
- Drizzle with honey and dust with cinnamon if desired, then serve immediately.
How to Serve It
This snack shines when you use a really good apple. Something crisp and slightly tart like Granny Smith or bright and sweet like Honeycrisp makes a big difference in the overall experience. For a little extra warmth in the fall, try a pinch of pumpkin spice in place of cinnamon. If you’re packing this for work or school, keep the almond butter in a separate small container and assemble just before eating to keep everything fresh and crisp. In the summer, these are lovely served slightly chilled alongside a cold herbal iced tea, and in winter, the honey-cinnamon combination makes it feel wonderfully cozy.
4. Spicy Roasted Chickpeas
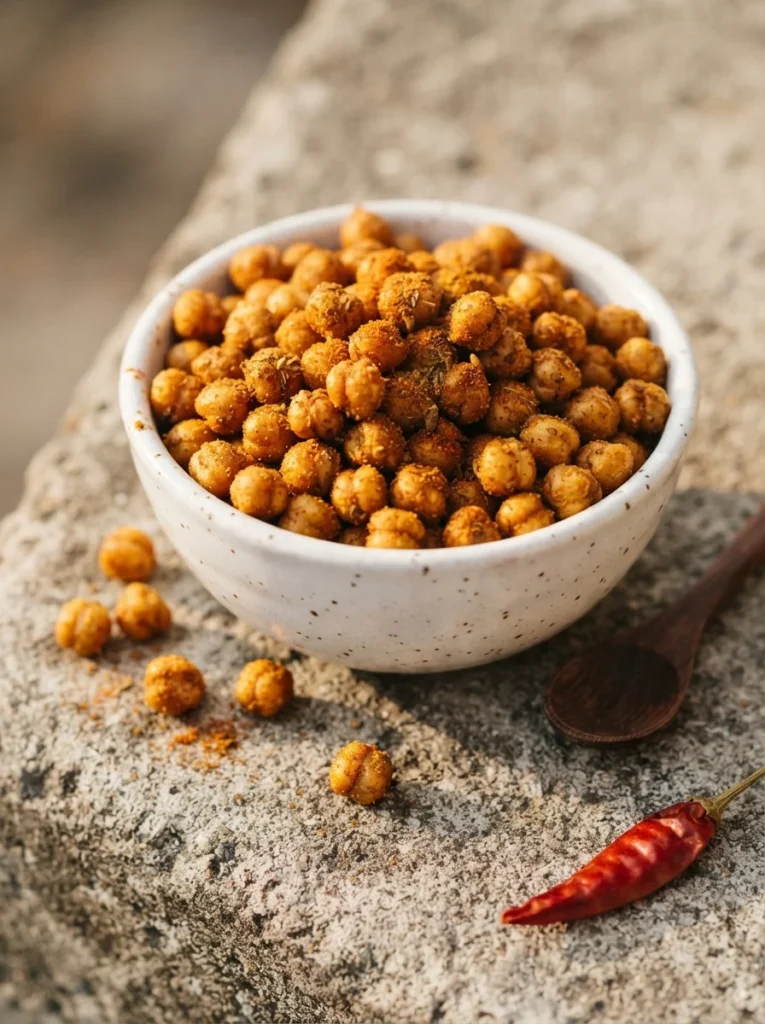
Roasted chickpeas are the snack that every chip craving never knew it wanted they’re warm, spicy, deeply satisfying to crunch through, and they actually leave you feeling energized rather than sluggish, because unlike most crunchy snack foods they’re packed with plant-based protein and fiber that genuinely keep you going for hours. The spice blend here is bold and smoky with a gentle heat that builds slowly, and the key to getting them truly crispy rather than just chewy is making absolutely sure they are bone dry before they go anywhere near the oven.
Ingredients
- 1 can (15 oz) chickpeas, drained, rinsed, and thoroughly dried
- 1 tablespoon olive oil
- 1 teaspoon smoked paprika
- ½ teaspoon cumin
- ¼ teaspoon cayenne pepper (adjust to taste)
- ½ teaspoon garlic powder
- ½ teaspoon sea salt
- ¼ teaspoon black pepper
Instructions
- Preheat the oven to 400°F (200°C) and line a baking sheet with parchment paper.
- After draining and rinsing the chickpeas, spread them on a clean kitchen towel and rub vigorously to dry. Remove any loose skins that come off.
- Let them air dry for at least 15 minutes the drier they are, the crispier they’ll get.
- Toss the dry chickpeas with olive oil in a bowl, then spread them in a single layer on the baking sheet.
- Roast for 25 minutes, shaking the pan halfway through.
- Remove from the oven and quickly toss with all the spices while still hot.
- Return to the oven for another 5–10 minutes until deeply golden and crisp.
- Let cool on the pan for 10 minutes before serving until they crisp further as they cool.
How to Serve It
Serve these warm in a small bowl as a standalone snack, or scatter them over a salad for the most satisfying crouton alternative you’ve ever had. They’re great for parties because they’re naturally vegan and gluten-free, and guests always ask what they are. For a Mediterranean twist, add a pinch of za’atar to the spice mix. Store leftovers in a paper bag or loosely covered container at room temperature sealing them in an airtight container traps moisture and softens them. Best consumed within two days for maximum crunch.
5. Greek Yogurt Bark with Berries and Honey
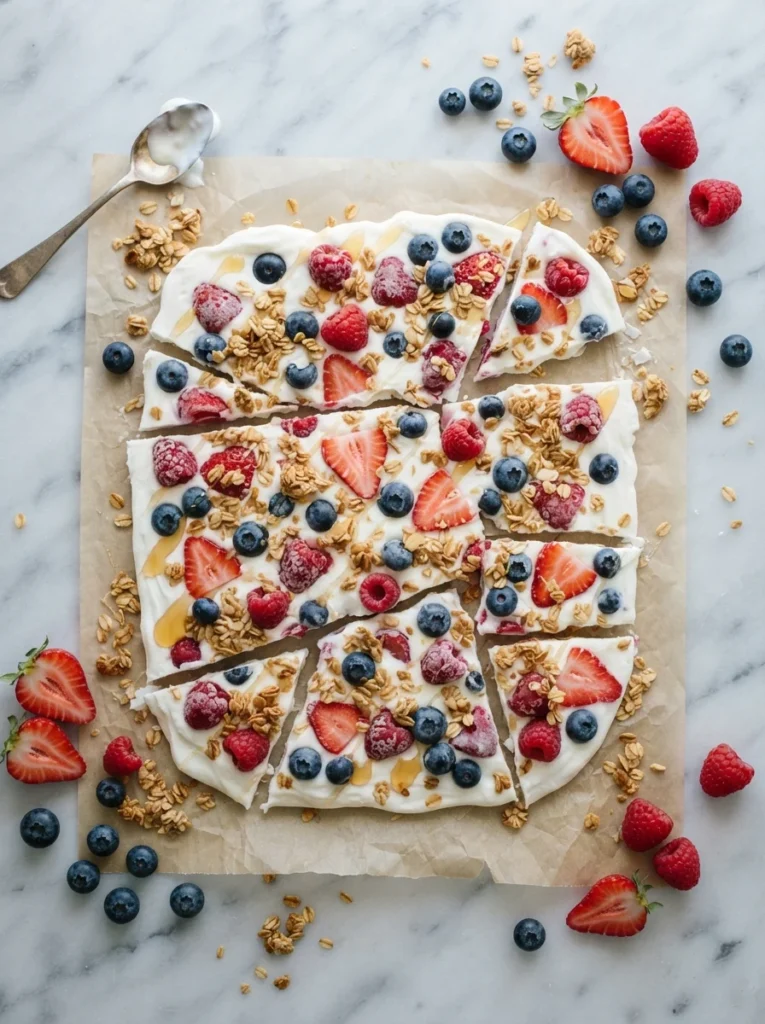
Greek yogurt bark is one of those genius snacks that feels more like a frozen dessert than anything you’d associate with healthy eating it’s cold, creamy, naturally sweet, studded with juicy berries and crunchy granola, and it takes about five minutes of actual hands-on time followed by a couple of hours in the freezer, making it the perfect make-ahead snack you can grab straight from the freezer on the hottest days or whenever something cold and sweet is calling your name.
Ingredients
- 2 cups plain non-fat Greek yogurt
- 2 tablespoons raw honey, plus extra for drizzling
- ½ teaspoon vanilla extract
- ½ cup mixed fresh berries (blueberries, raspberries, sliced strawberries)
- 2 tablespoons granola (low-sugar variety)
- Optional: 1 tablespoon mini dark chocolate chips
Instructions
- Line a large baking sheet with parchment paper.
- In a bowl, stir together the Greek yogurt, honey, and vanilla extract until well combined.
- Pour the yogurt mixture onto the prepared baking sheet and spread it into an even layer about ¼ inch thick using a spatula.
- Scatter the berries evenly over the surface, pressing them in very gently.
- Sprinkle the granola over the top, followed by chocolate chips if using.
- Drizzle a thin thread of extra honey over everything.
- Freeze for at least 3 hours, or until completely solid.
- Once frozen, break into irregular pieces and serve immediately, or store in a zip-top bag in the freezer.
How to Serve It
Break it into jagged, rustic pieces and pile them onto a cold plate for a beautiful presentation. This bark is perfect for hot summer afternoons when you want something that feels indulgent but genuinely isn’t. For a tropical version, swap the berries for mango chunks and kiwi slices and add a sprinkle of toasted coconut flakes. Serve directly from the freezer, as it melts quickly at room temperature. It stores well in the freezer for up to two weeks in a sealed bag layer pieces with parchment to prevent sticking.
6. Stuffed Mini Bell Peppers with Cottage Cheese and Herbs
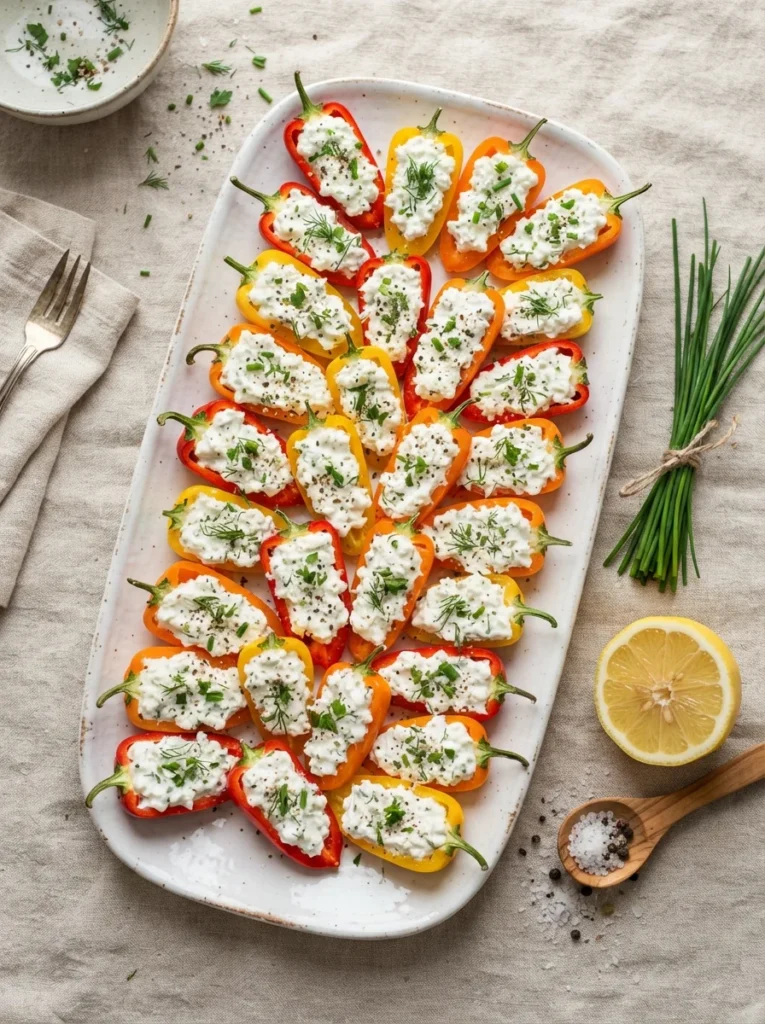
Mini bell peppers stuffed with herbed cottage cheese are the kind of snack that manages to be genuinely filling, vibrantly colorful, high in protein, and low in calories all at the same time which is a rare combination that makes them an absolute staple for anyone trying to eat lighter without constantly feeling like they’re missing out on real food with real texture and real flavor. The cottage cheese filling gets a lift from fresh herbs and a squeeze of lemon that transforms it from something plain into something bright and savory that’s surprisingly hard to stop eating.
Ingredients
- 12 mini bell peppers, halved lengthwise and seeds removed
- 1 cup low-fat cottage cheese
- 2 tablespoons fresh chives, finely chopped
- 1 tablespoon fresh parsley, chopped
- 1 teaspoon fresh lemon juice
- ¼ teaspoon garlic powder
- Salt and black pepper to taste
- Optional: a pinch of red pepper flakes
Instructions
- Halve all the mini peppers lengthwise and remove the seeds and membranes with a small spoon.
- In a mixing bowl, combine the cottage cheese, chives, parsley, lemon juice, garlic powder, salt, and pepper.
- Stir well until everything is evenly mixed. Taste and adjust seasoning if needed.
- Using a small spoon, fill each pepper half generously with the cottage cheese mixture.
- If desired, add a tiny pinch of red pepper flakes on top of each one for a bit of heat.
- Arrange on a platter and serve immediately, or refrigerate for up to 2 hours before serving.
How to Serve It
Arrange them on a long serving board in alternating colors red, yellow, orange for a visually striking presentation that works beautifully at parties or as part of a snack spread. For an extra layer of flavor, add a tiny bit of sun-dried tomato paste to the filling. These are wonderful alongside a simple green salad for a light lunch. In cooler months, you can briefly broil the filled peppers for 3–4 minutes to warm them through and add a little char to the edges. Prep the filling up to 24 hours in advance and refrigerate the peppers fresh just before serving.
7. Rice Cake with Avocado and Everything Seasoning
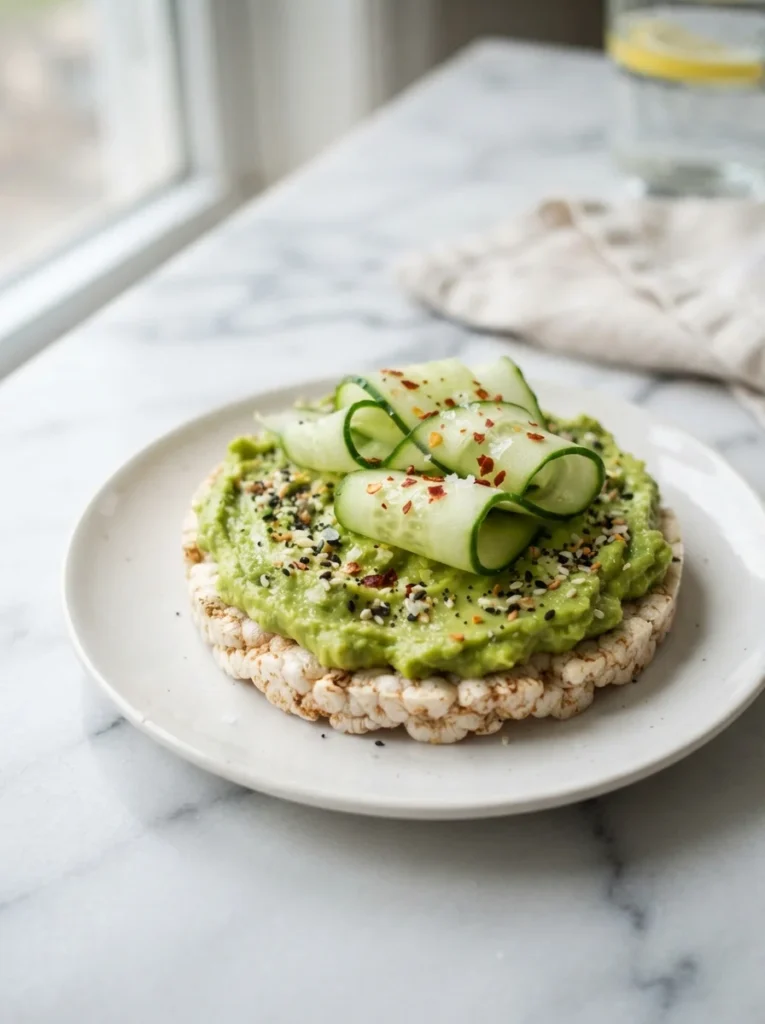
Rice cakes have an undeserved reputation for being cardboard-flavored diet food from the nineties, but when you top them with fresh avocado, a hit of everything bagel seasoning, and a squeeze of lemon, they become something genuinely craveable light and crisp on the bottom, creamy and rich on top, with that savory, garlicky, sesame-forward seasoning doing heavy lifting on the flavor front without adding more than a handful of calories to the whole thing. This is the snack to reach for when you want something that feels like a mini open-faced sandwich but without any of the heaviness.
Ingredients
- 2 plain or lightly salted rice cakes
- ½ ripe avocado
- 1 teaspoon fresh lemon juice
- ¼ teaspoon everything bagel seasoning
- A pinch of red pepper flakes
- Salt to taste
- Optional: a few thin cucumber slices or cherry tomato halves for topping
Instructions
- Halve the avocado, remove the pit, and scoop the flesh into a small bowl.
- Mash with a fork to your preferred texture, slightly chunky or fully smooth both work well.
- Stir in the lemon juice and a pinch of salt.
- Spread the avocado mixture evenly over each rice cake.
- Sprinkle everything bagel seasoning over the top.
- Add red pepper flakes and any optional toppings like cucumber slices or cherry tomato halves.
- Serve immediately for the crispest texture.
How to Serve It
These are best eaten the moment they’re made, before the rice cake has any chance to soften from the moisture in the avocado. Serve them on a small plate alongside a handful of cherry tomatoes for a complete light snack. For a more substantial version, add a thin slice of smoked salmon on top; it transforms this into something almost restaurant-worthy. In summer, a few thin slices of radish and a pinch of flaky sea salt on top make this look and taste especially fresh. Keep your avocado ripe but not mushy for the best results. It should mash easily but still hold a little texture.
8. Edamame with Lemon and Sea Salt
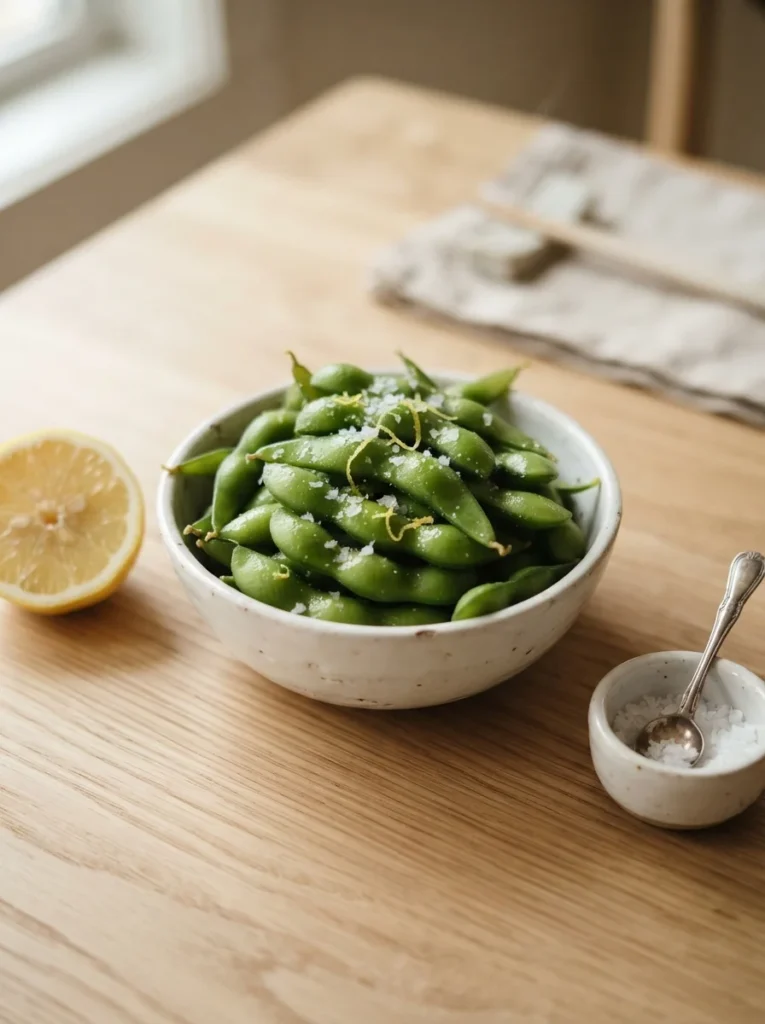
Edamame is one of those snacks that manages to be deeply satisfying in the most straightforward way possible you eat it, you feel full, you feel good, and there’s something almost meditative about working your way through the pods one by one while the lemon and salt hit your taste buds in that perfectly simple, addictive combination that makes you wonder why you’d ever reach for anything more complicated. It’s high in plant-based protein, rich in fiber, and requires almost no effort beyond boiling water, which makes it the easiest high-quality snack in your entire repertoire.
Ingredients
- 2 cups frozen edamame in pods
- 1 teaspoon flaky sea salt or kosher salt
- Zest of ½ lemon
- 1 teaspoon fresh lemon juice
- Optional: ¼ teaspoon red pepper flakes or a drizzle of toasted sesame oil
Instructions
- Bring a medium pot of water to a boil. Salt the water generously.
- Add the frozen edamame and cook for 4–5 minutes, until heated through and bright green.
- Drain and immediately transfer to a serving bowl.
- While still hot, sprinkle with flaky sea salt and lemon zest.
- Squeeze fresh lemon juice over the top and toss lightly.
- Add red pepper flakes or sesame oil if desired.
- Serve warm or at room temperature.
How to Serve It
Set the bowl on the table with a small empty dish on the side for the discarded pods. It makes the whole experience much more enjoyable and less messy. These are fantastic alongside a cold sparkling water with a slice of lemon or alongside miso soup for a Japanese-inspired light snack moment. For a more restaurant-style version, toss the hot edamame with a tiny amount of toasted sesame oil and a pinch of chili flakes before serving. Edamame can also be refrigerated after cooking and enjoyed cold the next day, making it a great meal-prep snack option for the week.
9. Banana Nice Cream with Cocoa
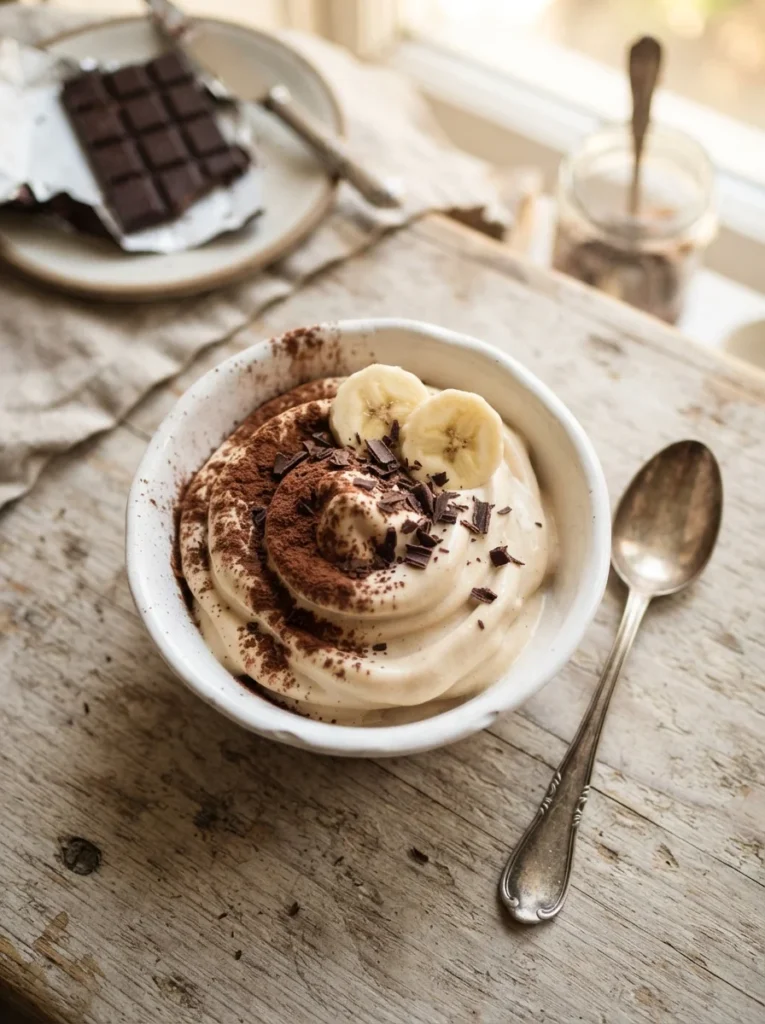
Banana nice cream is one of the most genuinely delightful discoveries in healthy snacking the idea that if you freeze ripe bananas and blend them, they transform into something with the smooth, creamy, scoopable texture of soft-serve ice cream feels almost too good to be true, but it absolutely works, and with a spoonful of cocoa powder stirred in, it tastes rich and chocolatey enough to silence even the most insistent dessert craving without a gram of added sugar in sight.
Ingredients
- 2 large ripe bananas, sliced and frozen overnight
- 1 tablespoon unsweetened cocoa powder
- ¼ teaspoon vanilla extract
- 1–2 tablespoons almond milk (only if needed to help blending)
- Optional toppings: sliced banana, dark chocolate shavings, a pinch of sea salt
Instructions
- The night before, peel and slice ripe bananas into coins and freeze in a single layer on a baking sheet. Once solid, transfer to a zip-top bag.
- When ready to make nice cream, let the frozen banana slices sit at room temperature for 2–3 minutes to soften just slightly.
- Add the banana slices to a food processor or high-speed blender.
- Blend, scraping down the sides frequently, until the mixture is completely smooth and creamy this takes 2–4 minutes and goes through a crumbly stage before becoming creamy, so be patient.
- Add cocoa powder and vanilla extract and blend again until fully incorporated.
- If the mixture is too thick to blend, add almond milk one tablespoon at a time.
- Serve immediately for soft-serve texture, or return to the freezer for 30 minutes for a firmer scoop.
How to Serve It
Scoop into a chilled bowl and top with a few banana slices, dark chocolate shavings, and a tiny pinch of flaky sea salt the salt makes the chocolate flavor pop significantly. For a mocha version, add half a teaspoon of instant espresso powder to the cocoa. In summer, serve it in a small cone for a genuinely fun snack experience. This is also wonderful swirled into a glass with a splash of cold almond milk for a thick shake-style drink. Use only very ripe, spotted bananas, the riper the banana, the sweeter and more complex the nice cream will taste.
10. Caprese Skewers with Balsamic Glaze
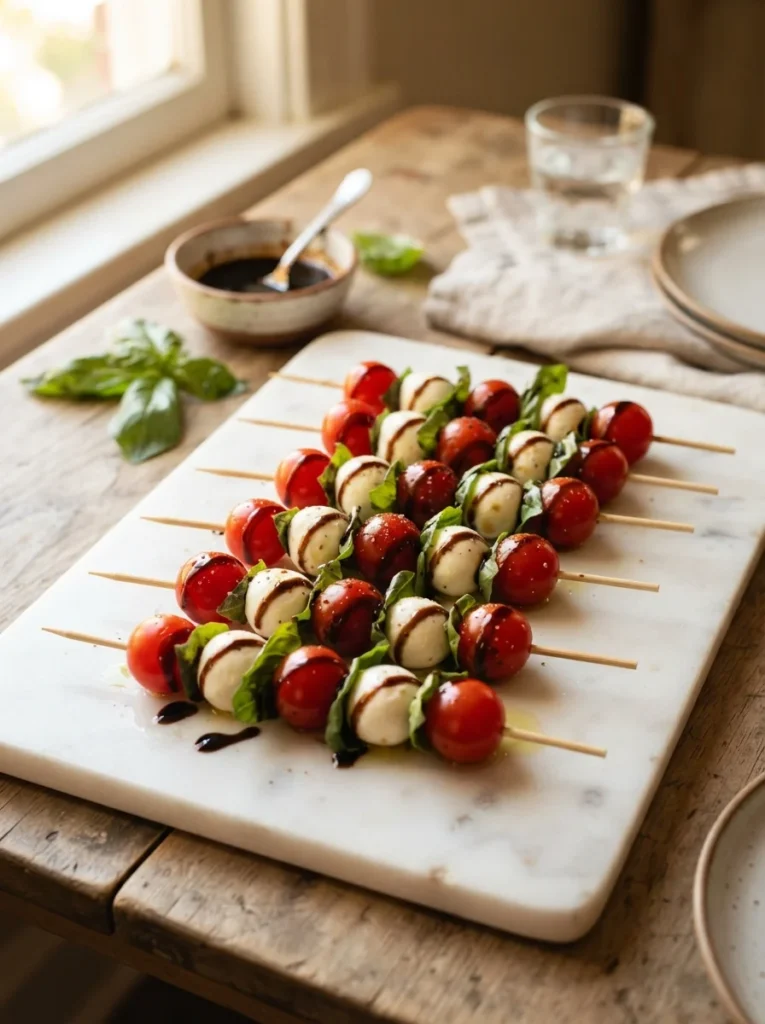
Caprese skewers are the perfect combination of effortless elegance and satisfying lightness in about ten minutes you can have a beautiful, restaurant-quality snack that delivers the classic Italian combination of sweet tomato, creamy mozzarella, and fragrant basil in every single bite, and the balsamic glaze takes something already great and makes it genuinely exceptional with that sticky-sweet, slightly tangy finish that pulls all three components together into something that tastes far more impressive than the minimal effort required to make it.
Ingredients
- 1 cup cherry tomatoes (mixed colors if possible)
- 8 oz fresh mozzarella balls (ciliegine or bocconcini size)
- 1 bunch fresh basil leaves
- 2 tablespoons balsamic glaze (store-bought or reduced balsamic vinegar)
- 1 tablespoon extra virgin olive oil
- Flaky sea salt and black pepper to taste
- 12 small wooden skewers or toothpicks
Instructions
- Drain the mozzarella balls and pat dry with paper towels.
- Thread each skewer with one cherry tomato, one fresh basil leaf (folded), and one mozzarella ball. Repeat the pattern if using longer skewers.
- Arrange the skewers on a serving board or plate.
- Drizzle the extra virgin olive oil lightly over all the skewers.
- Drizzle the balsamic glaze over the top in a back-and-forth motion.
- Sprinkle it with flaky sea salt and a few cracks of black pepper.
- Serve immediately, or cover and refrigerate for up to 1 hour before serving.
How to Serve It
Lay the skewers across a large marble board or white platter for maximum visual impact. The red, white, and green are stunning together and need no additional decoration. For a summer gathering, pair these with a cold rosé or sparkling water with lemon slices. A scattering of a few extra basil leaves and a little more flaky salt just before bringing them to the table always makes them look freshly prepared and beautiful. If you want to make your own balsamic glaze, simply simmer ½ cup of good balsamic vinegar in a small saucepan over medium-low heat for 10–15 minutes until it thickens and coats a spoon.
11. Carrot Sticks with Lemon Tahini Dip
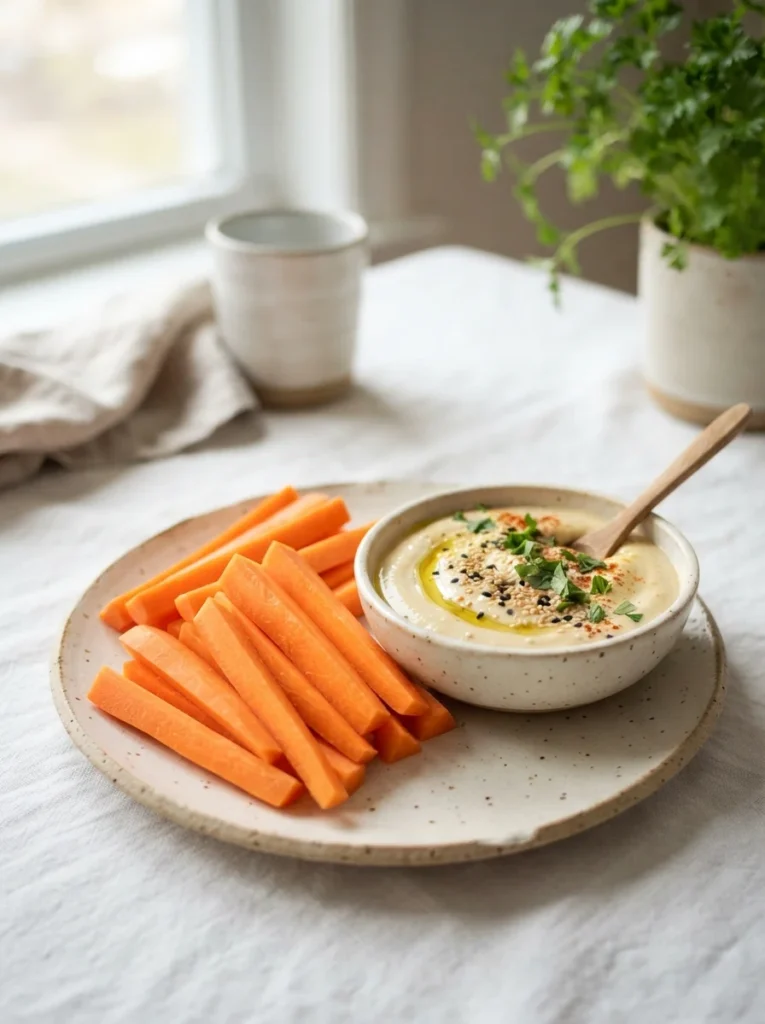
Carrot sticks with lemon tahini dip sound almost too simple to be worth writing about, but the tahini dip here is genuinely something special silky, nutty, with a bright acidity from the lemon and a background warmth from the garlic that makes it deeply moreish in a way that plain hummus sometimes doesn’t quite achieve, and combined with the crisp, sweet crunch of fresh carrot sticks, you get a snack that feels rich and satisfying while staying comfortably light and completely nourishing from start to finish.
Ingredients
- 3 large carrots, peeled and cut into sticks
- 3 tablespoons good-quality tahini
- 2 tablespoons fresh lemon juice
- 1 small garlic clove, minced or grated
- 2–3 tablespoons ice water (to thin)
- ¼ teaspoon sea salt
- Optional garnish: drizzle of olive oil, sesame seeds, chopped parsley
Instructions
- Peel and cut the carrots into evenly sized sticks, about 3–4 inches long and ½ inch wide.
- Place the carrot sticks in a bowl of cold water to keep them crisp while you make the dip.
- In a small bowl, combine the tahini, lemon juice, minced garlic, and salt. Stir well and the mixture will thicken and seize up at first, which is normal.
- Add the ice water, one tablespoon at a time, stirring between additions until the dip reaches a smooth, pourable but still dip-able consistency.
- Taste and adjust add more lemon for brightness, more water for a lighter texture, or a tiny extra pinch of salt.
- Transfer the dip to a small serving bowl and garnish with a drizzle of olive oil, a few sesame seeds, and chopped parsley.
- Drain and pat dry the carrot sticks and arrange around the dip bowl. Serve immediately.
How to Serve It
Set this up on a small wooden board with the dip bowl in the center and the carrot sticks arranged in a casual fan around it tuck in a few celery sticks or cucumber rounds as well to make it a more generous spread. The tahini dip also works beautifully as a salad dressing if you thin it out with a touch more water, or as a sauce drizzled over roasted vegetables. For a warm, spiced version, whisk in ¼ teaspoon of cumin and a pinch of smoked paprika. Keep leftover dip covered in the refrigerator for up to five days. It thickens as it sits, so just stir in a splash of water to loosen it back up.
Snacking well doesn’t require complicated recipes, expensive ingredients, or hours in the kitchen; it just takes a few good ideas and a little inspiration to break out of the same old routine. Whether you’re craving something cold and creamy, warm and crispy, or fresh and vibrant, there’s something in this list for every mood and every moment. Pick one or two to try this week, save the rest for later, and share any favorites with someone who could use a lighter snacking option in their day. Happy snacking your taste buds and your body will both thank you for it.
Leave a Reply