Imagine opening your freezer on a random Tuesday night and pulling out exactly three cookies’ worth of dough: no mixing bowls, no cleanup, no waiting. Ten minutes later you have warm, freshly baked chocolate chip cookies that smell like you spent the afternoon baking. That is not a fantasy. That is just what happens when you learn how to freeze cookie dough properly, and once you do it once, you will never go back to baking a full batch and hoping they last the week.
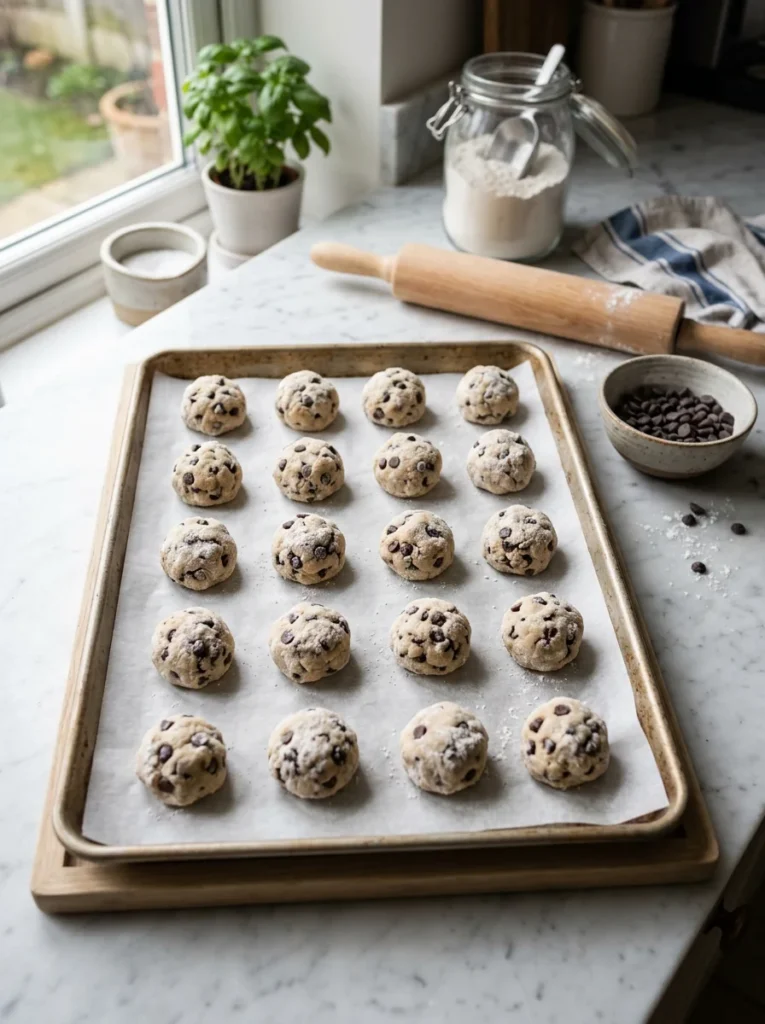
Freezing cookie dough is one of those simple kitchen techniques that genuinely changes how you bake and this guide walks you through every step so you get perfectly fresh cookies every single time.
Why Freezing Cookie Dough Actually Works
Cookie dough freezes exceptionally well for one simple reason: the fat content. Butter, eggs, and sugar all freeze without losing texture or flavor, and the flour and oats that make up the base of most doughs are completely unaffected by cold temperatures.
What you get on the other side is dough that behaves almost identically to freshly made with one bonus:
- Rested dough = better cookies. Chilling or freezing cookie dough for 24–72 hours actually improves flavor. The sugars and flour hydrate more fully, the butter firms up for better spread control, and the result is a deeper, more caramel-forward cookie than one baked immediately after mixing.
So freezing is not a shortcut. It is genuinely one of the best things you can do for your cookie dough.
Step 1: Make Your Dough and Portion It First
The most important rule of freezing cookie dough: portion it before it freezes, not after.
Trying to scoop rock-hard frozen dough is frustrating and usually results in uneven, misshapen balls that bake inconsistently. Do the work upfront and you will thank yourself later.
Here is how:
- Make your cookie dough as normal.
- Use a cookie scoop or tablespoon to portion dough into individual balls.
- Place the dough balls in a single layer on a parchment-lined baking sheet to make sure they are not touching.
- Pop the tray in the freezer for 2 hours, or until the dough balls are frozen completely solid.
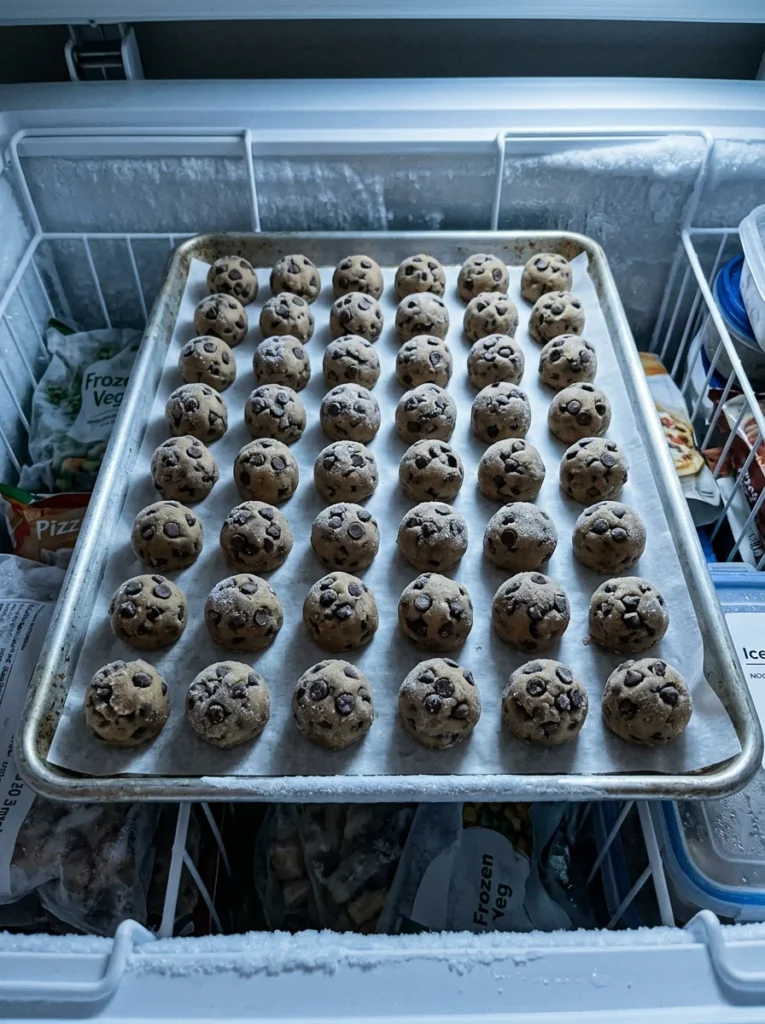
This initial freeze called a flash freeze is what keeps the dough balls from sticking together in storage and lets you grab exactly as many as you want later without defrosting the whole batch.
Step 2: Transfer to Freezer-Safe Storage
Once the dough balls are fully frozen, move them into proper storage:
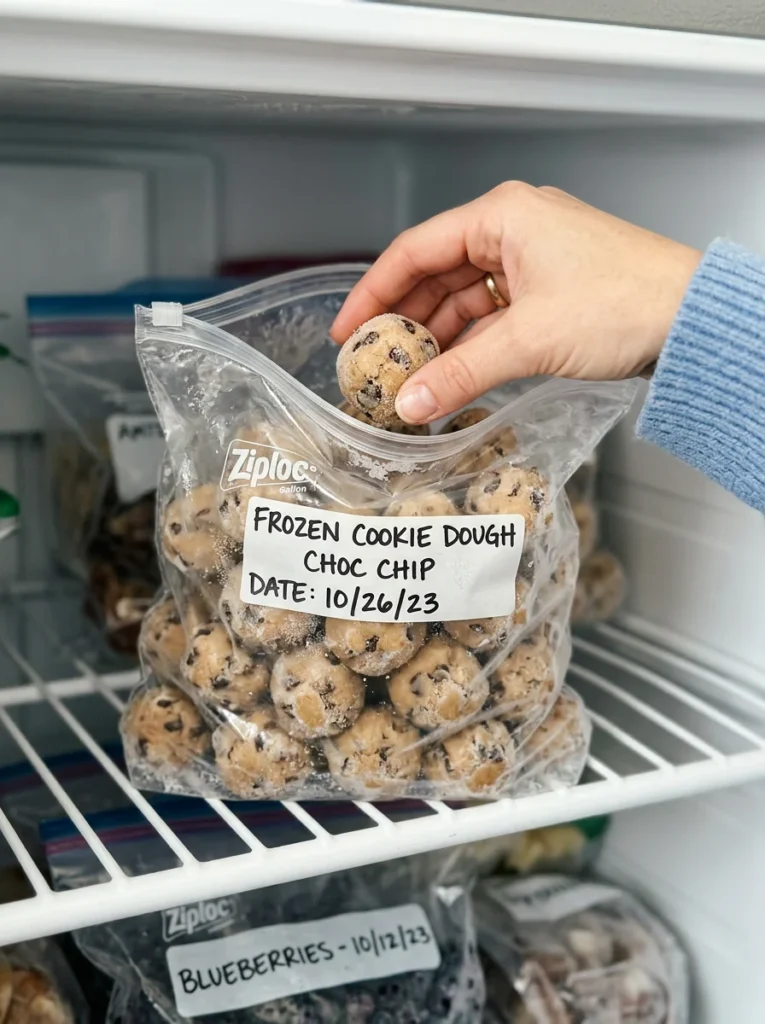
- Zip-lock freezer bags work perfectly to press out as much air as possible before sealing.
- Airtight containers are great if you want to avoid any risk of freezer burn on the chocolate chips.
- Label everything with the cookie type and the date. Frozen dough keeps its best quality for up to 3 months.
A tip worth knowing: you can store multiple flavors of dough in the same freezer bag as long as they are the same size. Just label each flavor with a small piece of masking tape directly on the bag so you know what you are pulling out at 9pm on a Thursday.
Step 3: Bake From Frozen No Thawing Required
This is the part that surprises most people: you do not need to thaw the dough before baking.
Baking straight from frozen is easy and produces excellent results with just one small adjustment:
- Preheat your oven to the same temperature as the original recipe.
- Add 2–3 extra minutes to the baking time to account for the frozen center.
- Watch the edges when they look golden and set, the centers will finish as the cookie rests on the pan.
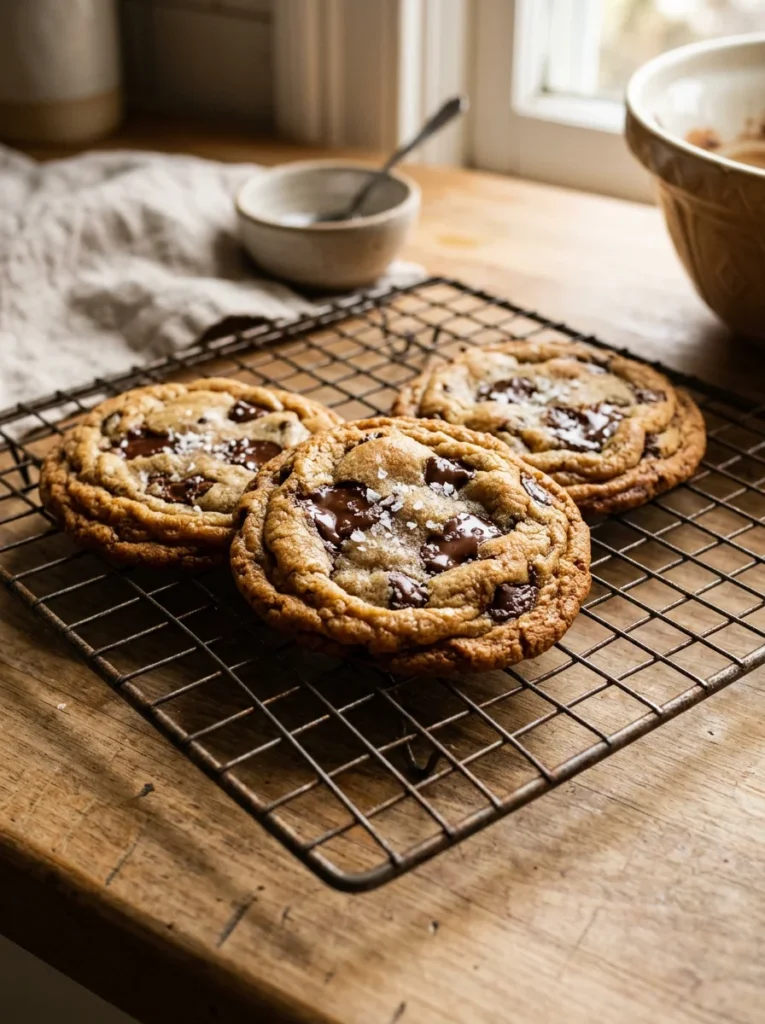
Do not press the frozen dough balls flat before baking; let the oven do that work naturally for the best thick, bakery-style result.
How Many to Bake at Once (and When)
The whole point of frozen dough is flexibility, so use it that way:
- Baking for one or two? Pull 2–3 balls and bake a small tray. Done in 15 minutes.
- Unexpected guests? Pull a dozen and have warm cookies ready before anyone has settled in.
- Late-night craving? One or two cookies baked in a toaster oven works perfectly without heating the whole kitchen.
This is also a brilliant solution for gifting hand someone a labeled bag of frozen cookie dough balls and a baking instruction card and you have given them a genuinely thoughtful, usable gift that costs almost nothing extra.
Tips for the Best Frozen Cookie Dough Results
A few details that make a real difference:
- Use high-quality chocolate. Freezing amplifies flavor and subtly cheap chocolate chips taste more noticeably flat after a few weeks in the freezer. Use good semi-sweet or dark chocolate and it only gets better.
- Add flaky salt after freezing. Sprinkle sea salt on the dough balls right before baking rather than before freezing. It stays fresher and sticks better to the slightly softened surface as it warms up.
- Don’t refreeze thawed dough. If you thaw dough in the fridge and decide not to bake it, bake it within 48 hours. Refreezing changes the texture of the butter and produces a flatter, less interesting cookie.
- Freeze the dough within 24 hours of making it for the freshest result dough that has sat in the fridge for three days before freezing will still bake fine but won’t hit the same quality ceiling.
Your Freezer Is About to Become Your Favorite Baking Tool
Once you have a stash of frozen cookie dough waiting in your freezer, baking feels less like a project and more like a five-minute decision. No planning, no cleanup, no commitment to eating two dozen cookies in a week, just warm, fresh-baked cookies exactly when you want them.
Make a double batch of your favorite chocolate chip cookie recipe this weekend, freeze half, and see how differently you feel about baking for the next three months.
Save this guide to your baking board on Pinterest so you always have it when you need it and share it with anyone who has ever stress-eaten an entire batch of cookies because they did not know they could freeze half. This guide is for them too.
Leave a Reply