You know that moment you walk into a bakery and the warm, buttery smell of fresh cookies hits you before you even reach the counter? That heavenly experience doesn’t have to stay behind a glass case. With a few professional tricks up your sleeve, you can pull bakery-worthy chocolate chip cookies straight from your own oven thick, gooey in the center, crisp on the edges, and absolutely loaded with chocolate.
Why Home Cookies Often Fall Flat (And How to Fix That)
Most home bakers follow the recipe on the chocolate chip bag and end up with flat, cakey, or overly crispy cookies. The difference between those and bakery cookies almost always comes down to technique, not talent.
Here’s what most recipes don’t tell you:
- Butter temperature matters enormously. Too soft = flat cookies. Brown your butter for nutty depth.
- Chilling the dough isn’t optional. It’s the bakery’s not-so-secret secret.
- More yolk, less white. Extra egg yolks create a richer, chewier texture.
- Salt on top. A pinch of flaky sea salt right before baking elevates everything.
The Ingredients You’ll Need
These aren’t exotic but a few upgrades make a big difference.
- 2¼ cups all-purpose flour
- 1 tsp baking soda
- 1 tsp fine sea salt
- 1 cup (2 sticks) unsalted butter
- ¾ cup granulated sugar
- ¾ cup packed brown sugar (dark brown = more molasses = more flavor)
- 2 large eggs + 1 extra yolk
- 2 tsp pure vanilla extract
- 2 cups high-quality chocolate chips or chopped chocolate chunks
- Flaky sea salt for topping (Maldon or fleur de sel)

Step 1: Brown the Butter (Don’t Skip This)
This is the single biggest upgrade you can make. Browning butter removes water and caramelizes the milk solids, giving your cookies a deep, nutty, almost toffee-like flavor that store-bought dough can’t touch.
How to do it:
- Melt butter in a light-colored saucepan over medium heat.
- Stir frequently. It will foam, then the foam will subside.
- Watch for golden-brown bits forming at the bottom and a nutty aroma that’s the magic moment.
- Pour immediately into a bowl and let it cool for 15–20 minutes.
Step 2: Mix, Then Chill
Once your butter is cooled, whisk in both sugars until smooth. Add the eggs, extra yolk, and vanilla mix until the batter looks glossy and thick. Fold in the flour mixture gently (don’t overwork it), then stir in your chocolate.
Now here’s the step most people skip: cover and refrigerate the dough for at least 24 hours. Up to 72 hours is even better. This rest time allows the flour to fully hydrate and the sugars to develop into something far more complex. It’s called “flavor maturation,” and it’s exactly what bakeries do overnight.
Step 3: Bake Like a Pro
When you’re ready to bake:
- Preheat your oven to 375°F (190°C).
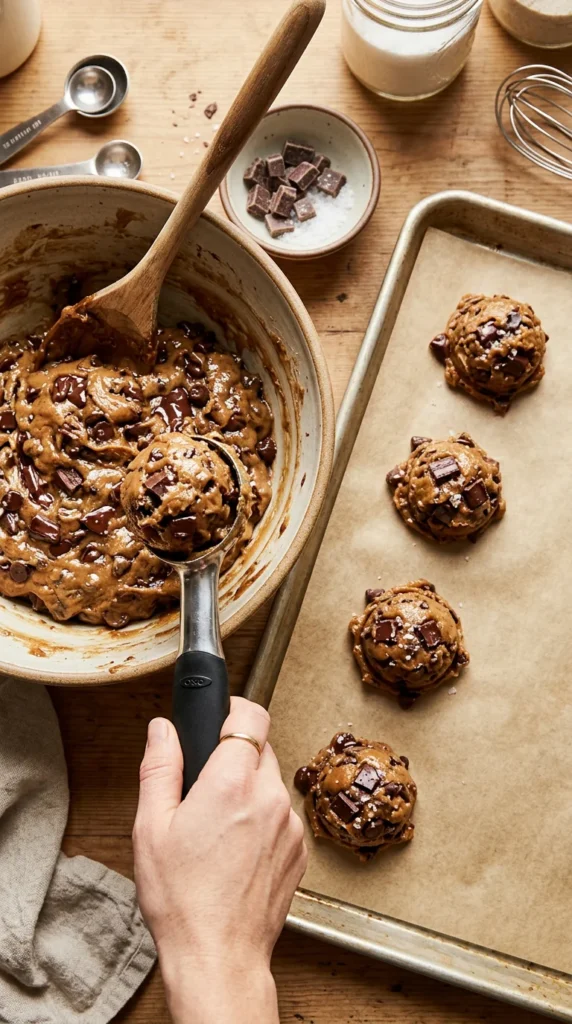
- Scoop dough into large balls about 3 tablespoons each. Bigger than you think.
- Space them 3 inches apart on a parchment-lined sheet.
- Press a few extra chocolate chunks on top of each ball for that stunning bakery look.
- Sprinkle it with flaky sea salt.
- Bake for 11–13 minutes until the edges are set and golden but the centers still look slightly underdone.
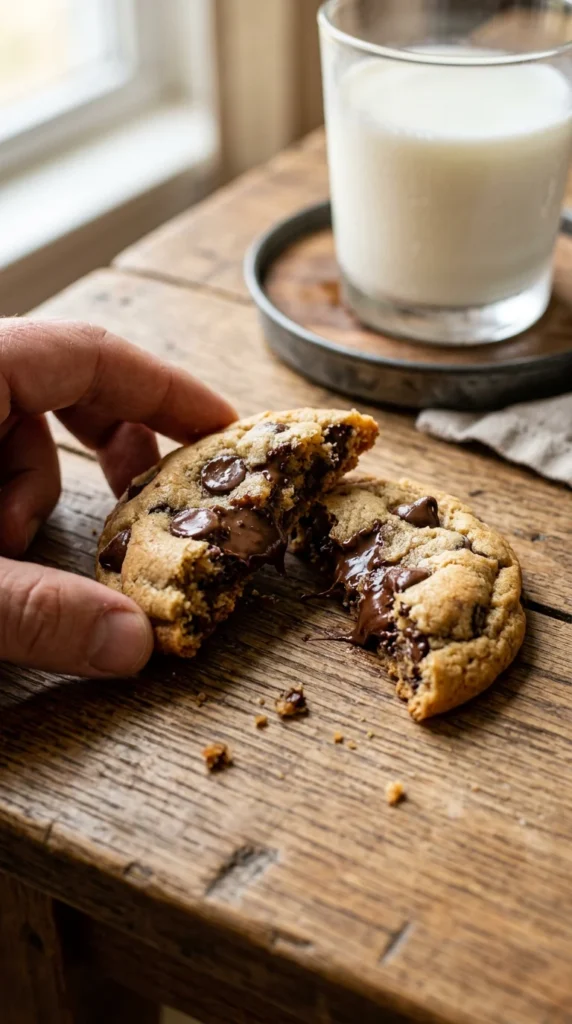
Pull them out earlier than you think you should. They finish cooking on the hot pan as they cool, which gives you that iconic soft, fudgy center.
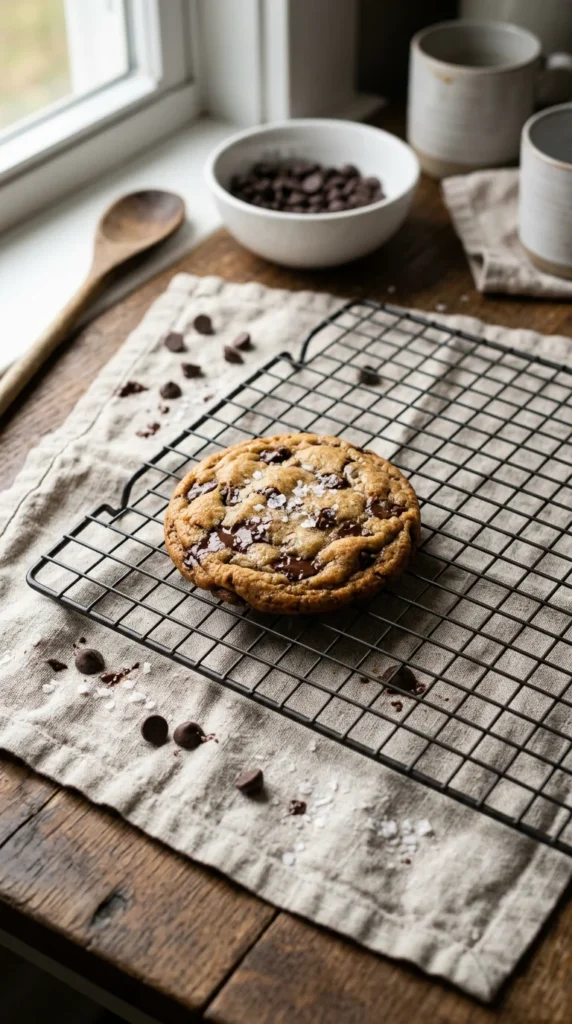
Step 4: The Rest (Yes, Again)
Let cookies cool on the pan for at least 10 minutes before moving them. This sets their structure and lets the chocolate re-solidify just enough to hold together when you pick one up. The reward for your patience is a cookie with perfectly crisp edges and a center that pulls apart like a warm hug.
Quick Tips for Bakery-Level Results Every Time
- Use a cookie scoop for uniform size and even baking.
- Rotate your pan halfway through baking if your oven has hot spots.
- Underbake slightly always. Trust the process.
- Store cooled cookies in an airtight container with a slice of bread to keep them soft for days.
- Freeze dough balls on a sheet, then transfer to a bag baked straight from frozen, adding 2–3 extra minutes.
Your Bakery Era Starts Now
The gap between home-baked and bakery-quality cookies is smaller than you think; it’s mostly about browned butter, chilled dough, and the courage to pull them out of the oven a minute too soon. Once you nail this recipe, you’ll wonder why you ever bought cookies at all.
Save this recipe for later, share it with a fellow cookie lover, and tag your batch when you make it because these deserve to be seen. 🍪
Leave a Reply