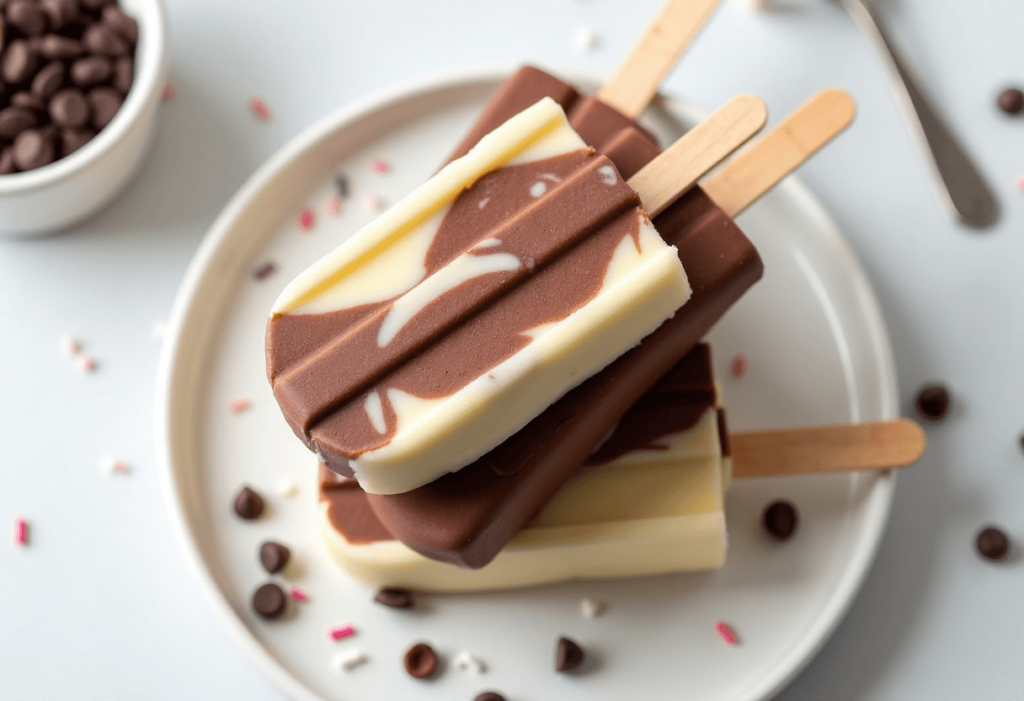
Looking for a fun and nostalgic treat that kids and adults will go crazy for? These Pudding Pops are the ultimate creamy, frozen dessert. Made with just a handful of ingredients, they’re way better than the store-bought kind—and totally customizable with your favorite flavors. Think of them like a cross between fudgesicles and pudding cups, only frozen and even more fun to eat!
They’re perfect for hot summer days, after-school snacks, or anytime you want a frozen treat that’s easy to prep ahead. And bonus: the kids will love helping pour and pop them in the freezer!
What You’ll Need
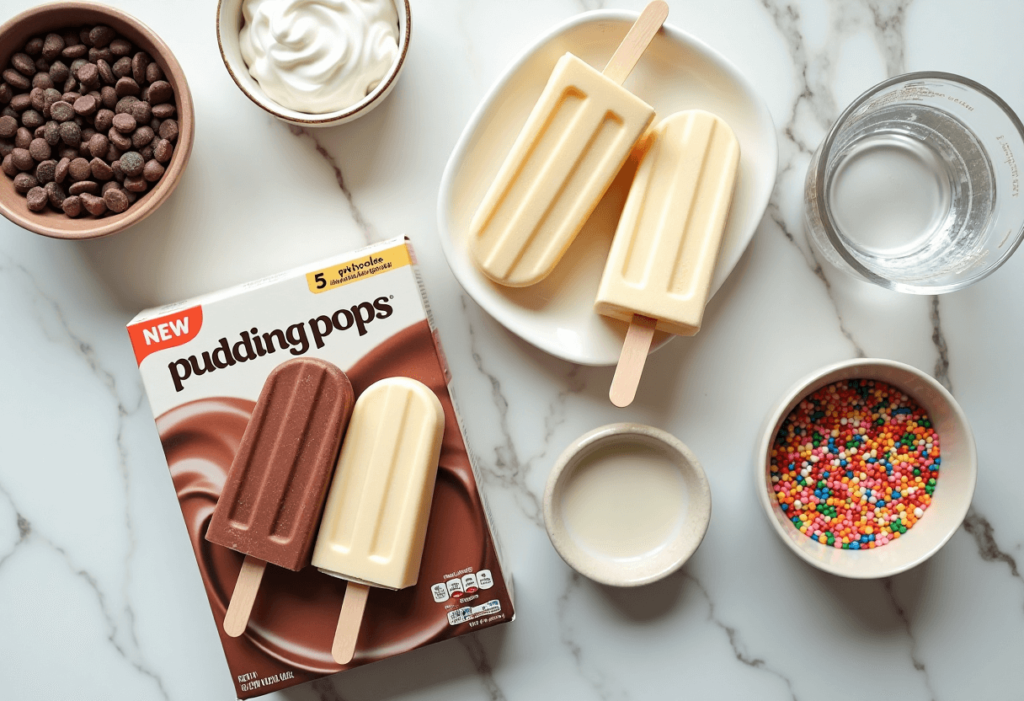
Base Pudding Pop Ingredients:
- 1 (3.4 oz) box instant pudding mix (any flavor: chocolate, vanilla, banana, etc.)
- 2 cups cold milk (dairy or non-dairy)
- ½ cup whipped topping (like Cool Whip or homemade whipped cream)
- ½ teaspoon vanilla extract (optional, for extra flavor)
Optional Add-ins:
- Mini chocolate chips
- Sprinkles
- Crushed cookies
- Peanut butter or Nutella swirls
Pro Tips for Perfect Pudding Pops
🍦 Use instant pudding, not cook-and-serve—it sets faster and has a better texture for freezing.
🧊 Freeze for at least 6 hours, or overnight, to make sure they’re fully set.
🌀 Swirl flavors! Pour in two flavors side by side and swirl with a toothpick before freezing.
🌈 Let kids decorate the molds with sprinkles or tiny add-ins—they’ll love it!
🛁 To release easily, run the mold under warm water for a few seconds before pulling out the pops.
Tools You’ll Need
- Mixing bowl and whisk
- Measuring cup
- Popsicle molds (or paper cups + wooden sticks)
- Freezer
- Spoon or spatula
Substitutions & Variations
🍌 Banana pudding + chocolate chips = frozen banana cream pie!
🍓 Strawberry pudding + fresh sliced strawberries = fruity fun
🌰 Add nut butter swirled into chocolate pudding for a Reese’s vibe
🍫 Use chocolate almond milk for a dairy-free fudge pop twist
Make-Ahead Tips
- These are made to be make-ahead!
- Store frozen in molds or transfer to freezer bags once solid
- Keeps well for up to 2 weeks—if they last that long!
How to Make Pudding Pops
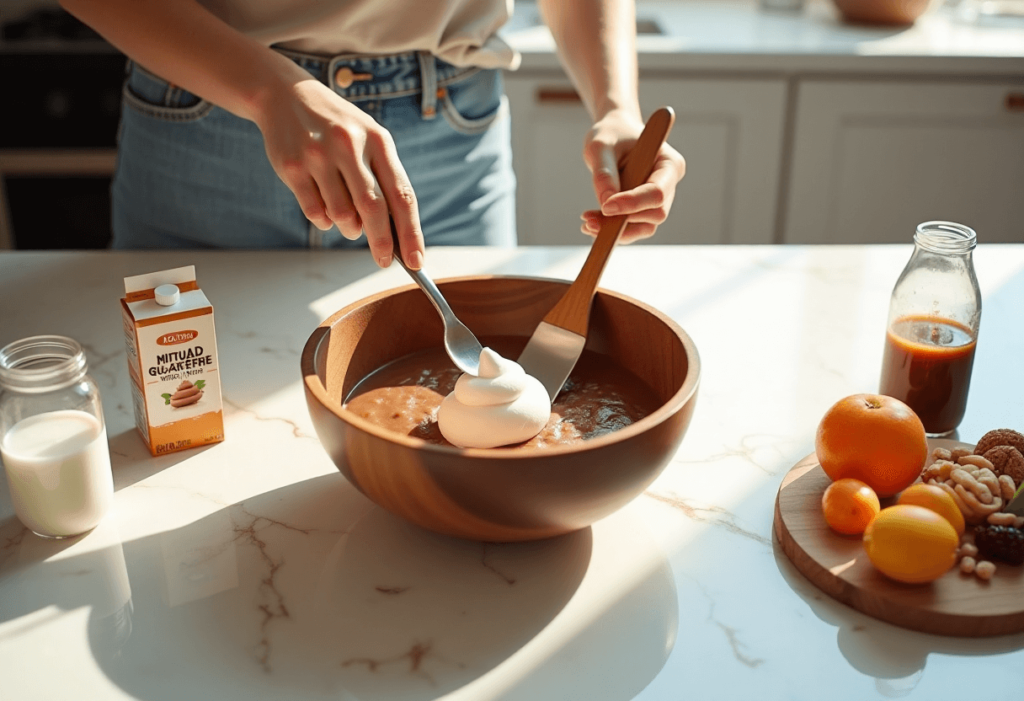
Step 1: Mix the Pudding
- In a mixing bowl, whisk together pudding mix and cold milk until smooth and thick (about 2 minutes).
- Stir in whipped topping and vanilla extract, if using.
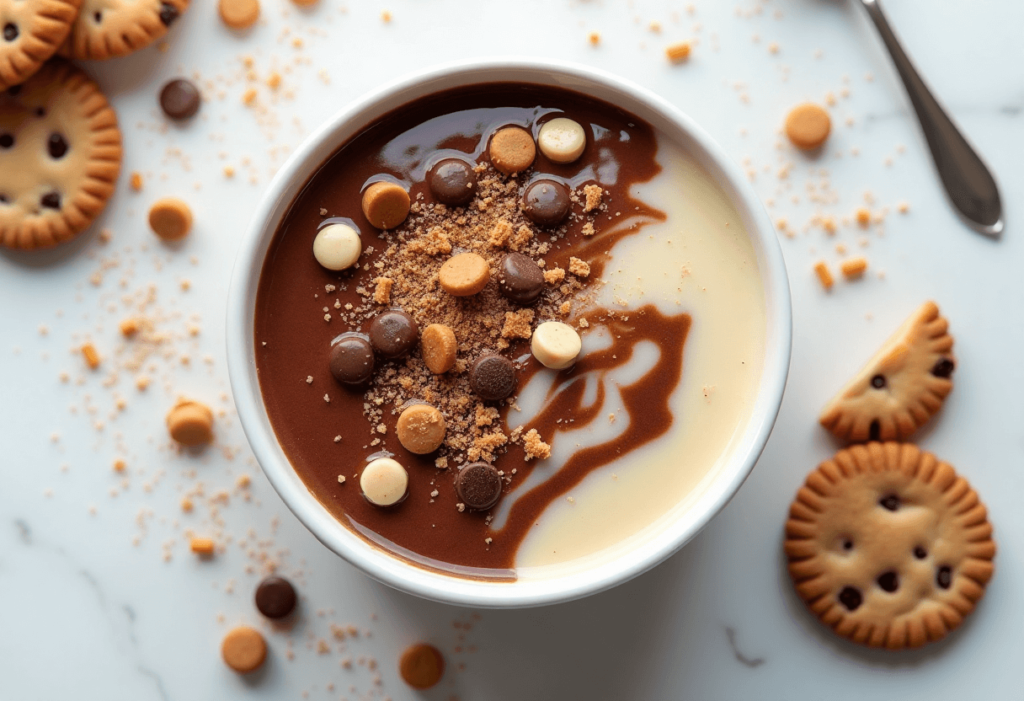
Step 2: Add Toppings or Swirls (Optional)
- Stir in any add-ins like chocolate chips, sprinkles, or cookie crumbles.
- For swirl effect, use two flavors and layer or swirl with a skewer.
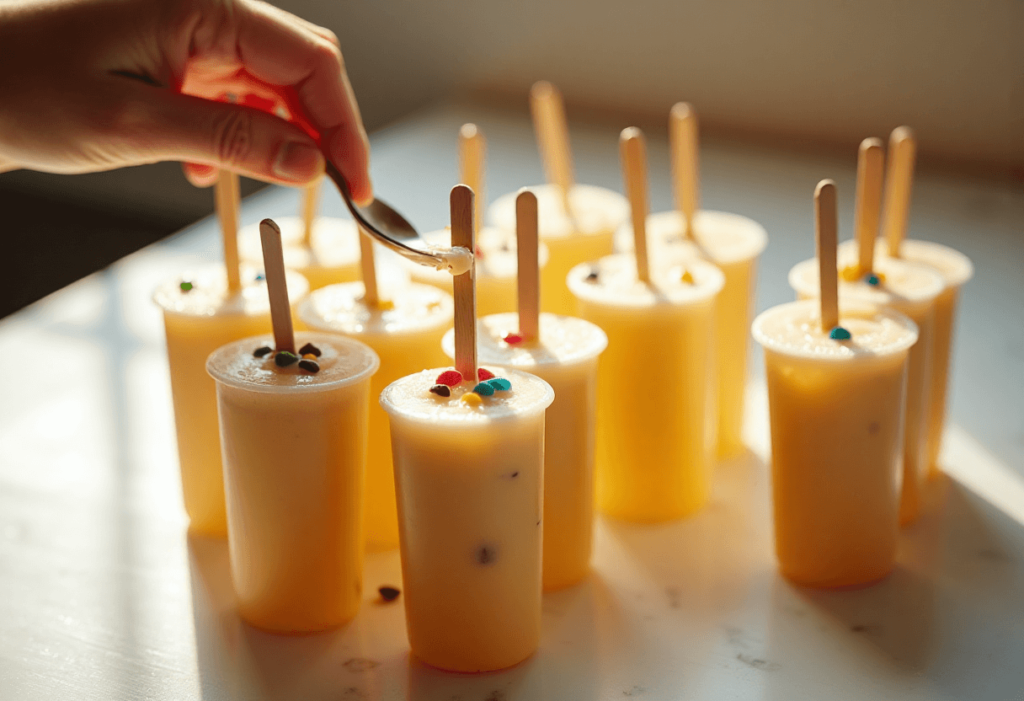
Step 3: Pour Into Molds
- Spoon pudding mixture into popsicle molds or small paper cups.
- Insert sticks and tap lightly to remove air bubbles.
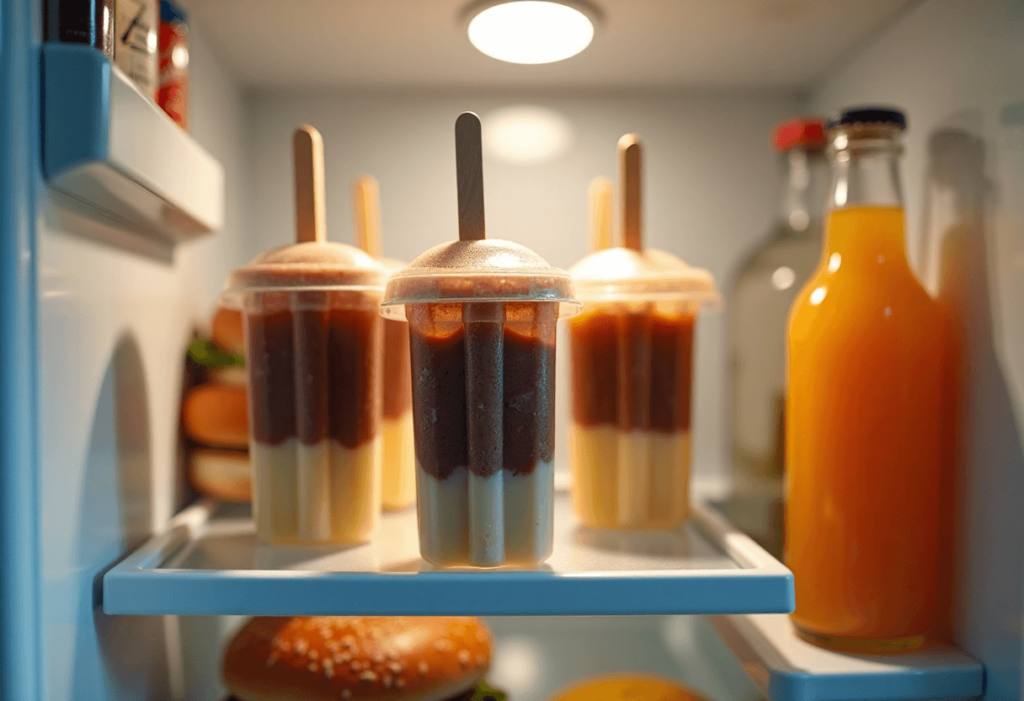
Step 4: Freeze
- Freeze for at least 6 hours or overnight until fully set.
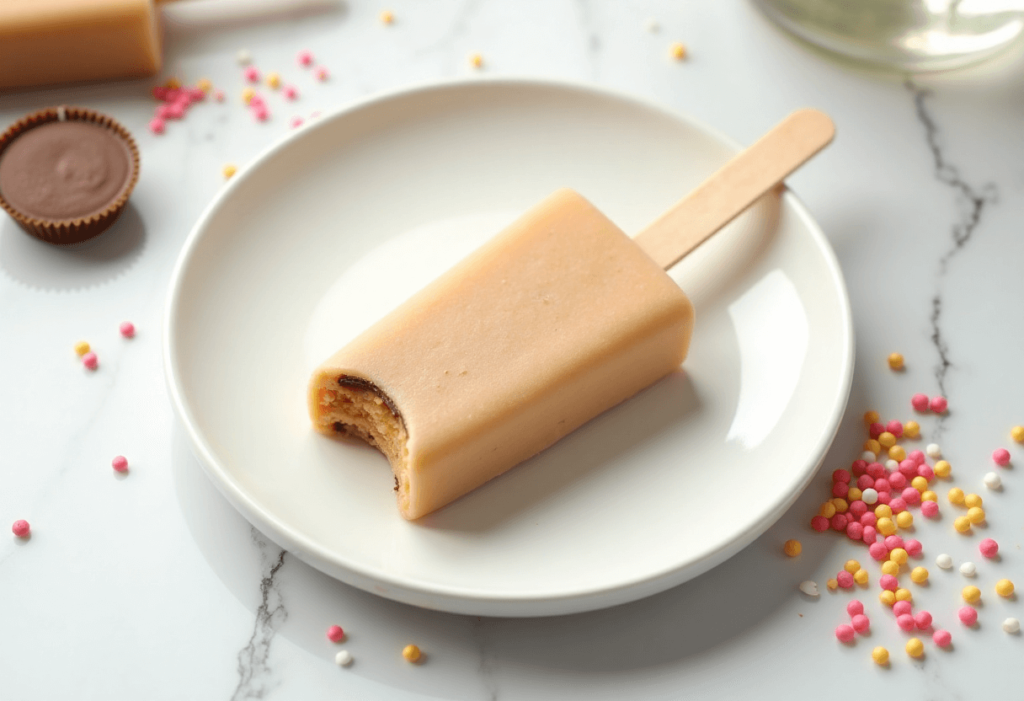
Step 5: Unmold & Enjoy!
- Run molds under warm water for a few seconds, then gently pull out the pudding pops.
- Serve immediately or store in freezer bags for later.
Leftovers & Storage
- Keep extras in freezer-safe bags or containers
- Best enjoyed within 2–3 weeks for peak flavor and texture
- Don’t refreeze once they’ve melted
Final Thoughts
These Pudding Pops are proof that the easiest recipes are often the most magical. They’re creamy, customizable, and so much fun to eat. Perfect for summer days, birthday parties, or just because you want something cold and sweet—no baking required.
💬 Have a favorite flavor combo? Did the kids help decorate? Let me know in the comments how you made them your own, or drop any questions if you’re planning to try these this week! 🧊🍫
Leave a Reply