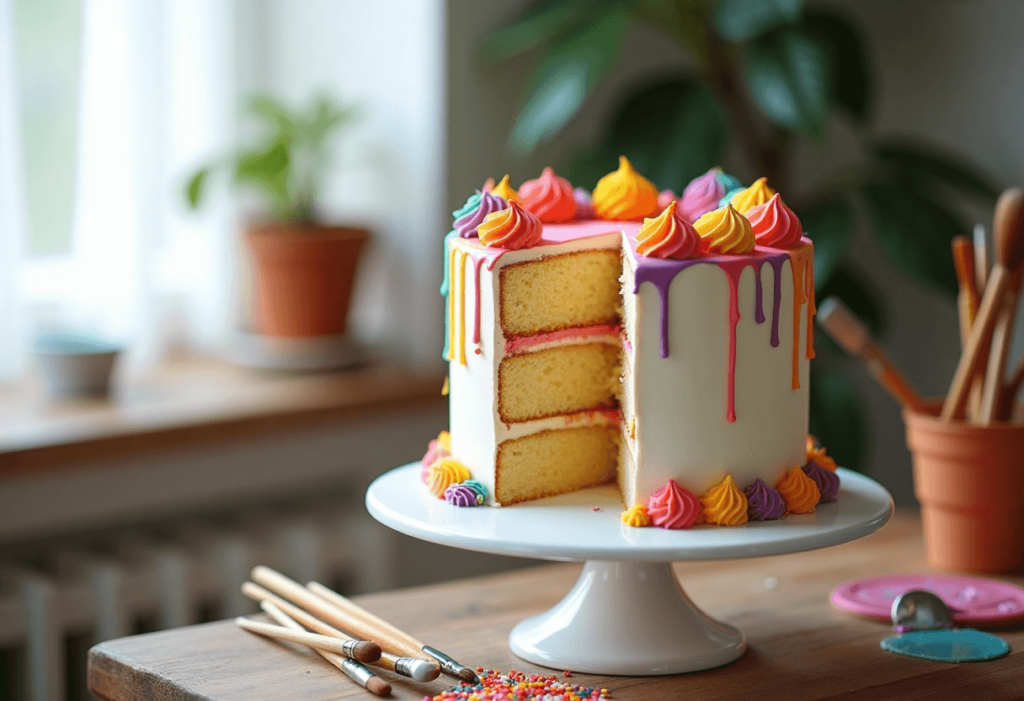
This Painter Cake is a celebration of creativity, color, and fun! Imagine a soft, vanilla-layered cake decorated like a canvas—with splotches of edible “paint,” buttercream brush strokes, and artistic flair. It’s perfect for birthday parties, art-themed celebrations, or any time you want to wow your guests with a show-stopping (but easy to make!) dessert.
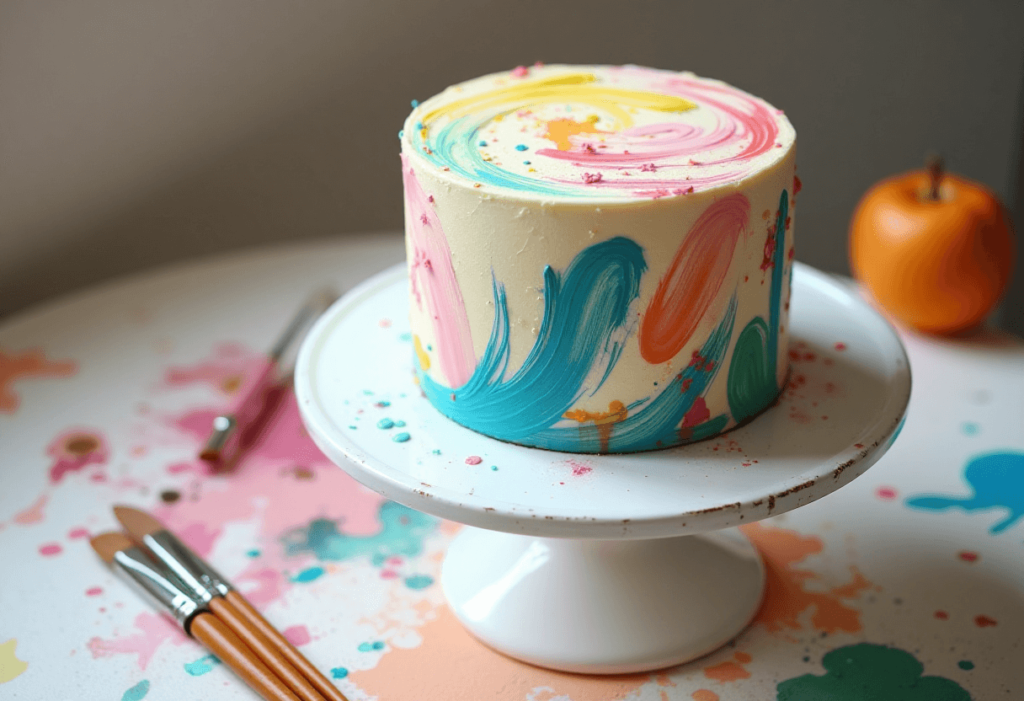
Kids LOVE helping decorate this one—each cake turns out totally unique, like an edible masterpiece. No fancy decorating tools needed, just some food coloring, spoons, and creativity!
What You’ll Need
For the Vanilla Cake:
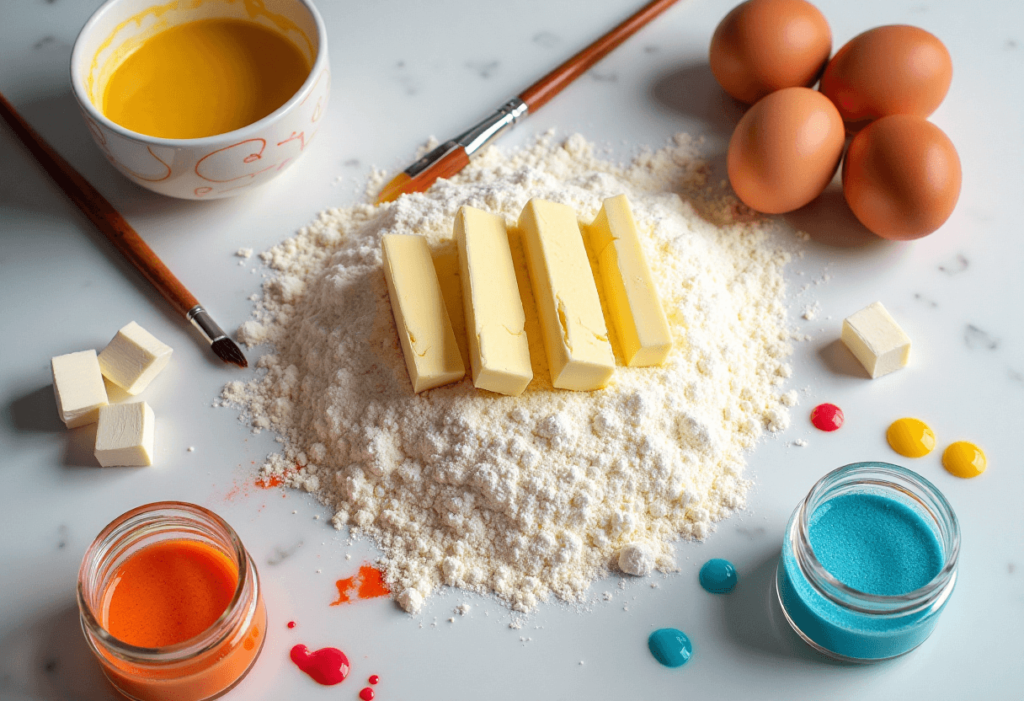
- 2 ½ cups all-purpose flour
- 2 ½ teaspoons baking powder
- ½ teaspoon salt
- 1 cup unsalted butter, softened
- 1 ¾ cups granulated sugar
- 4 large eggs
- 1 tablespoon vanilla extract
- 1 cup whole milk
For the Buttercream Frosting:
- 1 cup unsalted butter, softened
- 3 ½ cups powdered sugar
- 1 teaspoon vanilla extract
- 2–3 tablespoons milk
- Gel food coloring (variety of colors: blue, yellow, pink, green, etc.)
Pro Tips for Making Painter Cake
🎨 Use Gel Colors – Gel food coloring gives bold color without watering down the frosting.
🧁 Chill Before Decorating – Chill the crumb-coated cake before applying color—it helps keep colors clean and vibrant.
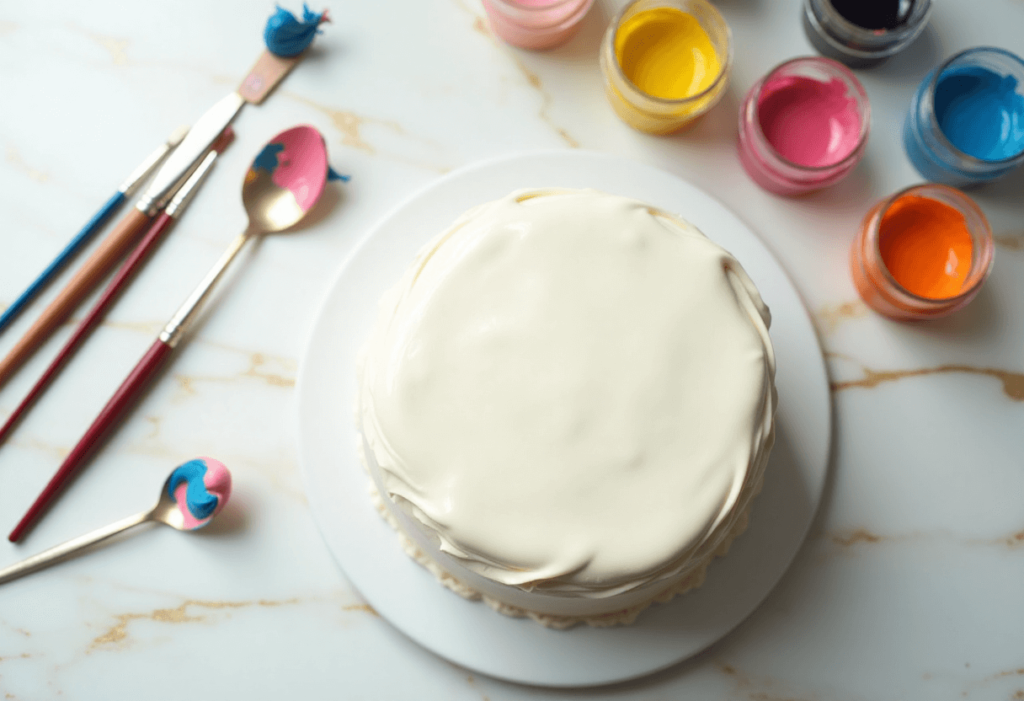
🖌️ Spoons = Paintbrushes – Use spoons, offset spatulas, or actual clean (food-safe) paintbrushes to create strokes.
🌈 Stick to a Color Palette – Choose 3–5 colors that go well together to keep it visually pleasing.
🎂 Make It Yours – Add sprinkles, edible glitter, or even fondant “paint tubes” for fun!
Tools You’ll Need
- Mixing bowls
- Electric mixer
- Measuring cups and spoons
- 2 or 3 8-inch round cake pans
- Parchment paper
- Offset spatula or spoons
- Gel food coloring
- Cake stand or platter
Substitutions & Variations
🧁 Cake Flavor – Swap vanilla for chocolate, lemon, or strawberry cake base.
🥛 Dairy-Free? Use dairy-free butter and milk alternatives (like oat or almond milk).
🍫 Want Chocolate Buttercream? Add ½ cup cocoa powder to your frosting.
🌱 Natural Dyes – Use beet juice, spirulina, turmeric for naturally colored “paints.”
Make-Ahead Tips
- Bake cakes a day ahead, wrap and refrigerate.
- Frosting can be made 2–3 days in advance—store in an airtight container and rewhip before using.
- Fully decorated cake can be refrigerated (covered) for 24 hours before serving.
How to Make a Painter Cake
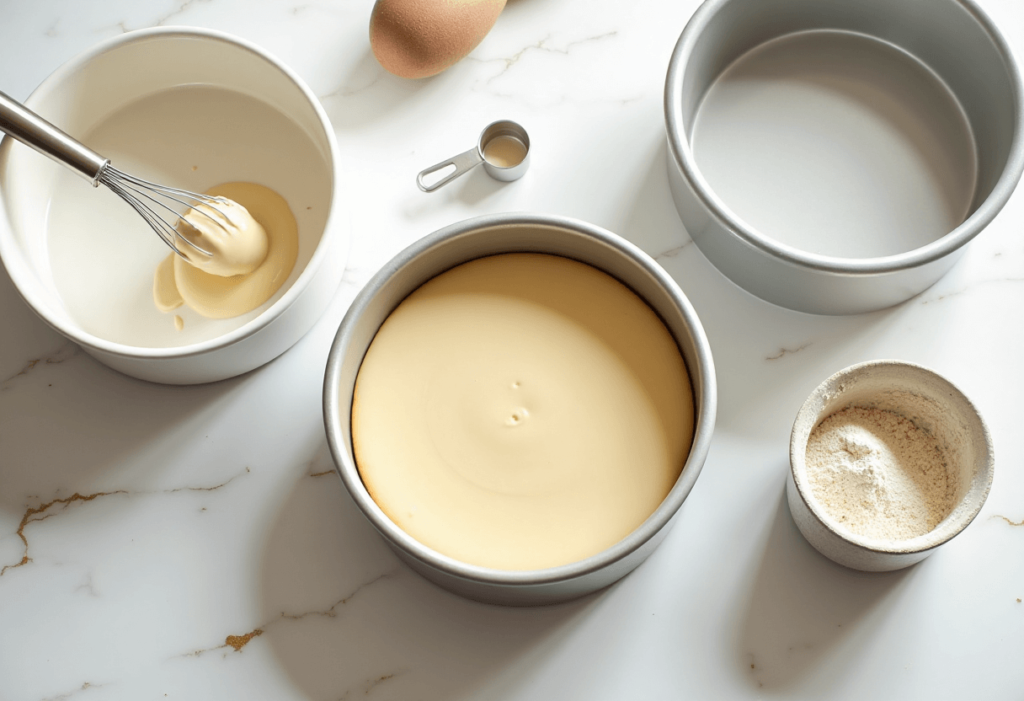
Step 1: Bake the Cakes
- Preheat oven to 350°F (175°C). Grease and line two or three 8-inch round cake pans.
- In a medium bowl, whisk together flour, baking powder, and salt.
- In a large bowl, beat butter and sugar until light and fluffy.
- Add eggs one at a time, then mix in vanilla.
- Alternate adding flour mixture and milk to the batter, beginning and ending with flour.
- Divide batter evenly among pans and smooth tops.
- Bake for 25–30 minutes, or until a toothpick comes out clean. Let cool completely.
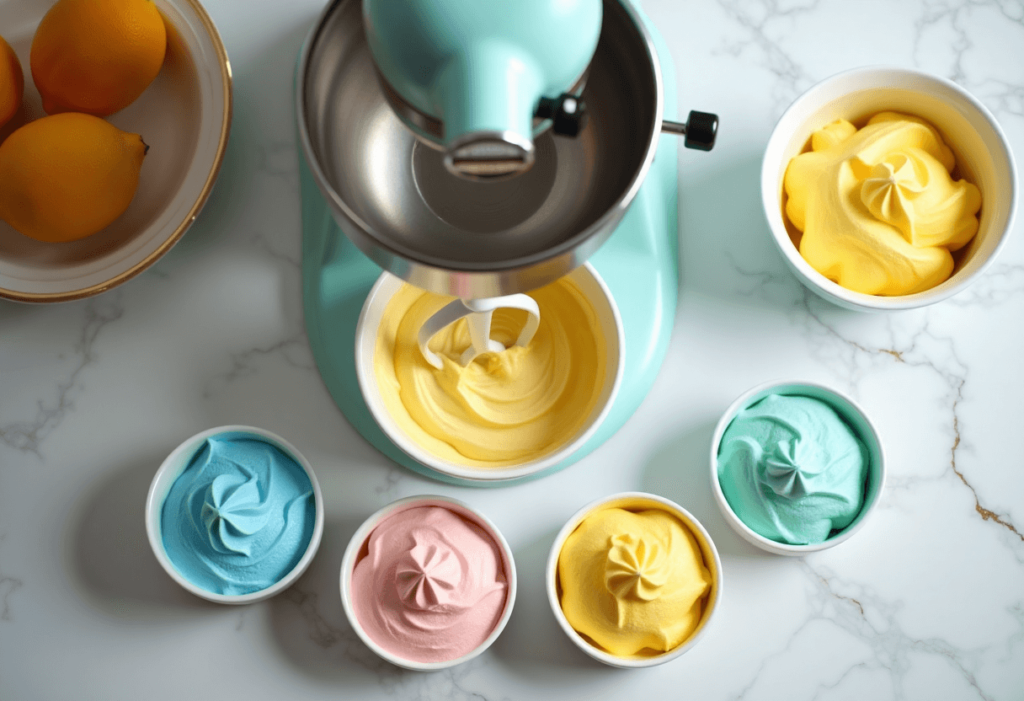
Step 2: Make the Buttercream
- Beat softened butter until creamy.
- Add powdered sugar gradually, then vanilla and milk until smooth and fluffy.
- Divide frosting into separate bowls and tint each with different gel food colorings.
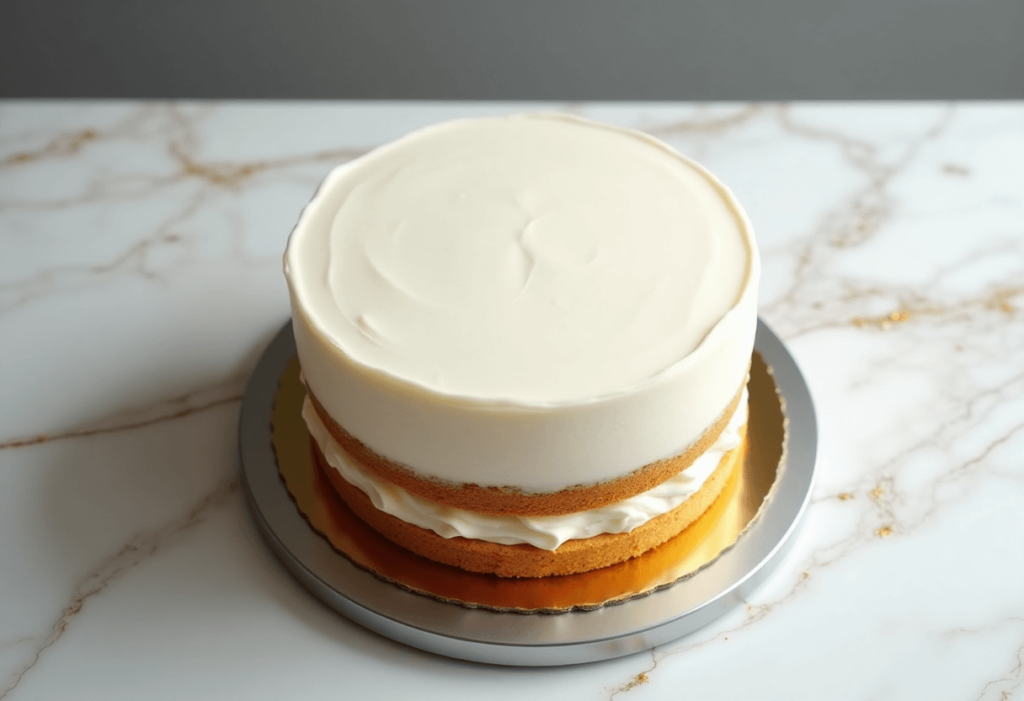
Step 3: Assemble and Frost the Cake
- Stack cake layers with a layer of plain buttercream between each.
- Apply a thin crumb coat and chill for 15–30 minutes.
- Apply a final smooth coat of white frosting around the cake.
Step 4: Decorate with “Paint”
- Use spoons or small spatulas to swipe colorful buttercream around the cake like paint.
- Layer and overlap colors like brush strokes—have fun with it!
- Optionally add edible gold leaf, sprinkles, or fondant shapes.
Step 5: Chill and Serve
- Chill the finished cake for at least 30 minutes to set.
- Slice and serve your edible art masterpiece! 🎨🍰
Leftovers & Storage
- Store in the fridge, covered, for up to 4 days.
- Bring to room temperature before serving for the best texture.
- Freeze slices tightly wrapped for up to 2 months—just thaw overnight in the fridge.
Final Thoughts
This Painter Cake is more than just dessert—it’s an activity, an expression, and a centerpiece all in one. The best part? No decorating skills required—just play with colors and enjoy the process.
🎨✨ I can’t wait to see what you create! Leave a comment and share your own cake masterpiece or any questions you have. Happy baking, little artists! 🍰🖌️
Leave a Reply