Cooking meat without a thermometer can feel like a guessing game. You don’t want dry, overcooked chicken—but undercooked meat is a no-go. The good news? Long before digital thermometers were common, cooks relied on simple visual and tactile clues to get it right.
With a little practice, you can confidently tell when meat is done using your senses. This guide breaks it down step by step so you can cook safely, deliciously, and stress-free—even when your thermometer is nowhere in sight.

Step 1: Use the Touch Test
One of the most reliable methods is how the meat feels when pressed.
Use a clean finger or tongs and gently press the thickest part of the meat.
Here’s what to look for:
- Very soft and squishy → Raw
- Soft with little resistance → Rare
- Springy but still tender → Medium
- Firm with little give → Well-done
For poultry, the meat should feel firm, not rubbery or jelly-like.
A helpful trick:
Compare the feel of meat to the base of your thumb when touching different fingers together. While not perfect, it gives you a reference point for firmness.
Step 2: Check the Juices
Juices tell you a lot about what’s happening inside the meat.
Pierce the thickest part with a knife or skewer and observe the liquid:
- Red or bloody juices → Undercooked
- Pink juices → Still needs time (especially for chicken or pork)
- Clear juices → Fully cooked
This method works especially well for:
- Whole chicken
- Chicken thighs
- Pork chops
- Roasts

Step 3: Look at the Color Inside
Color is one of the easiest doneness indicators—just make sure you check the center, not the surface.
Slice into the thickest part and look closely:
Poultry
- Fully cooked chicken or turkey should be white throughout
- No pink or translucent areas
- Thigh meat may look slightly darker but should not be raw-looking
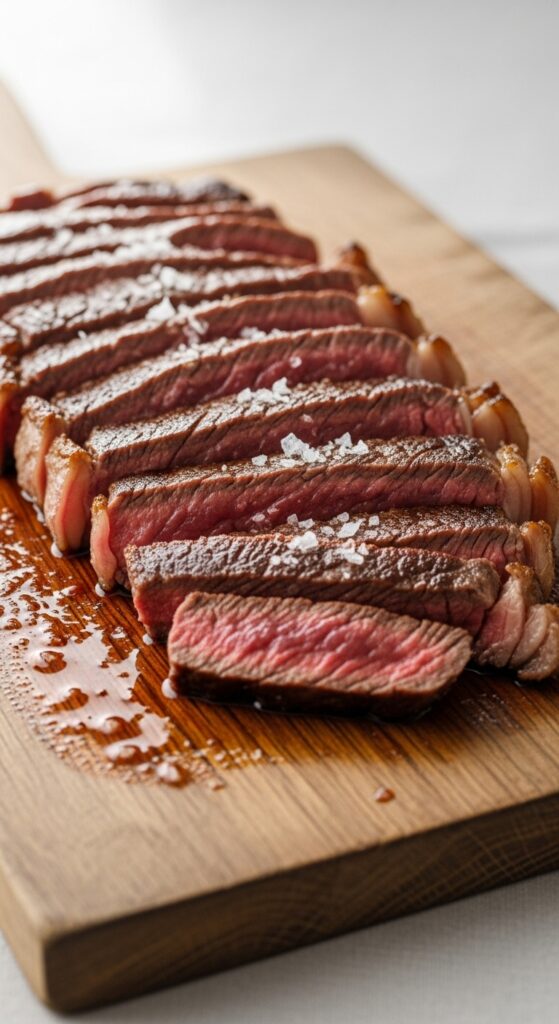
Beef & Lamb
- Rare: Red center
- Medium: Pink center
- Well-done: Brown throughout
Pork
- Slightly pink is okay, but it should look opaque, not glossy or raw
If the meat still looks shiny or gelatinous inside, it needs more time.
Step 4: Pay Attention to Cooking Time
While time alone isn’t foolproof, it’s a helpful guide when paired with other signs.
General stovetop or grill estimates:
- Chicken breast: 6–8 minutes per side
- Chicken thighs: 8–10 minutes per side
- Pork chops: 4–6 minutes per side
- Steak:
- Thin cut: 3–4 minutes per side
- Thick cut: 5–7 minutes per side
Always adjust based on thickness. Thicker cuts need more time at lower heat.

Step 5: Notice How the Meat Behaves
Meat gives off subtle clues as it cooks:
- Raw meat sticks to the pan
- Cooked meat releases more easily
- As meat finishes cooking, it shrinks slightly and firms up
- Bubbling fat and steady sizzling usually mean you’re close
If meat tears easily and looks dry, it’s likely overcooked. If it feels loose and floppy, give it more time.
Common Mistakes to Avoid
Even experienced cooks slip up sometimes. Watch out for these:
- Cutting too early (juices should rest, not flood out)
- Cooking on heat that’s too high
- Relying on color alone without checking texture
- Flipping meat constantly instead of letting it cook
Let meat rest for a few minutes after cooking. This finishes the process and keeps it juicy.
Pro Tips for Better Results
- Use medium heat for even cooking
- Flatten thick cuts slightly for uniform doneness
- Cover the pan briefly to help heat penetrate thicker meats
- Practice on the same cuts to build confidence
The more you cook, the easier these cues become to recognize.
Final Takeaway
You don’t need a thermometer to cook meat well—you just need to trust your senses. Texture, color, juices, and timing work together to tell you when meat is done.
With practice, these simple checks become second nature. Try them today, and you’ll feel more confident every time you cook.
Save this guide for later or pin it for your next cooking session.
Leave a Reply