Ever followed a recipe exactly—only to end up with dry muffins or soupy sauce? One of the biggest reasons recipes fail isn’t skill. It’s measurement. And if you don’t own a kitchen scale, don’t worry. You can still measure ingredients accurately using simple tools you already have.
This guide will show you how to measure common ingredients with confidence, avoid the most common mistakes, and get consistent results—no scale required.
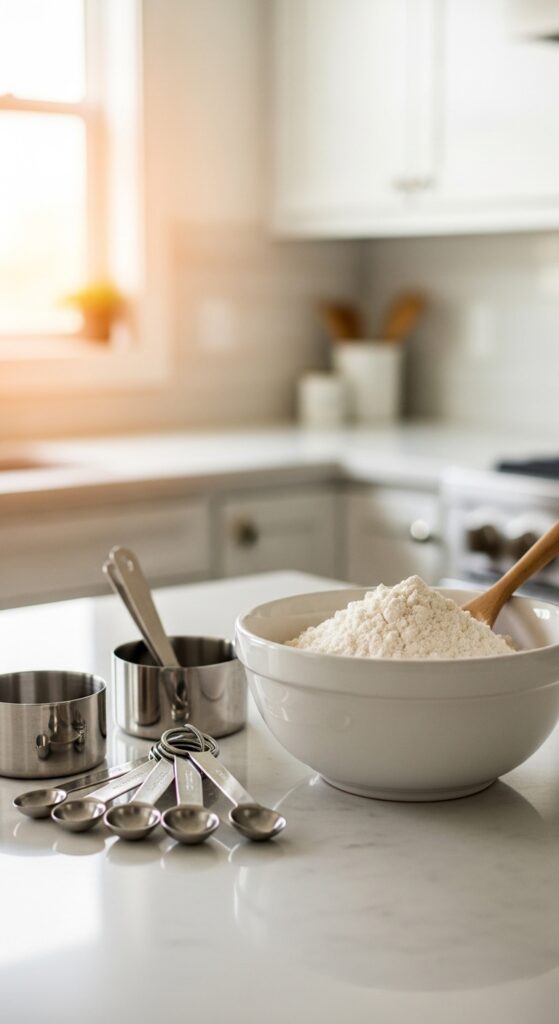
Step 1: Use Measuring Cups the Right Way
Measuring cups are your best friend—but only if you use them correctly.
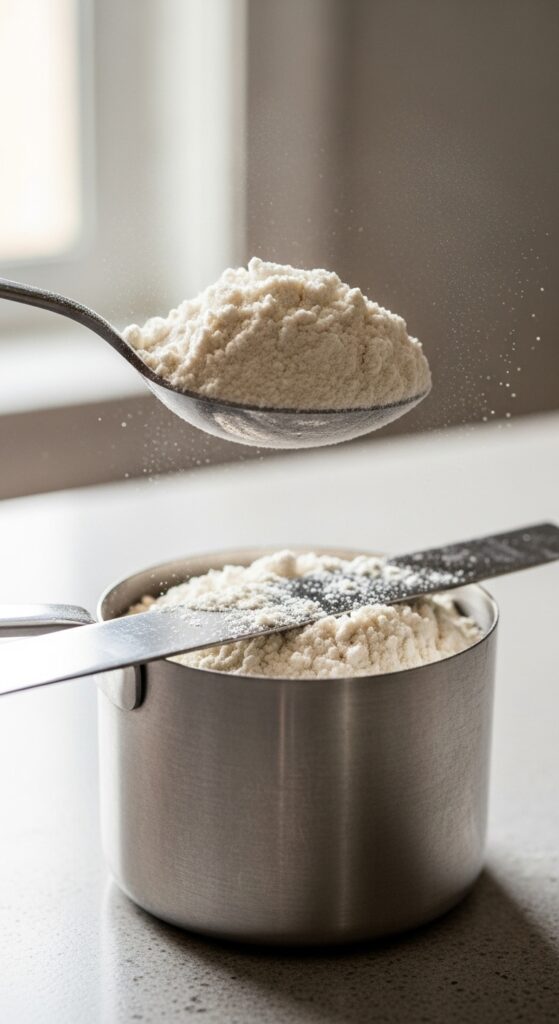
Dry ingredients (flour, sugar, cocoa powder):
- Use dry measuring cups
- Spoon the ingredient into the cup
- Level it off with the flat edge of a knife
Never scoop directly from the bag. This packs the ingredient down and gives you too much.
Liquid ingredients (milk, oil, water):
- Use a liquid measuring cup
- Place it on a flat surface
- Bend down so your eyes are level with the measurement line
This small adjustment makes a big difference.
Step 2: Learn Simple Ingredient Substitutions
When you don’t have the exact measuring tool, knowing common equivalents helps.
Here are a few useful ones:
- 1 cup = 16 tablespoons
- 1 tablespoon = 3 teaspoons
- ½ cup = 8 tablespoons
- ¼ cup = 4 tablespoons
This is especially helpful if you’re missing one size of measuring cup or spoon.
Tip: Keep a small conversion chart saved on your phone or pinned in your kitchen.
Step 3: Use Everyday Objects as Visual Guides
You can estimate surprisingly well using common household items.
Visual measurement hacks:
- 1 tablespoon ≈ the size of your thumb
- 1 teaspoon ≈ the tip of your thumb
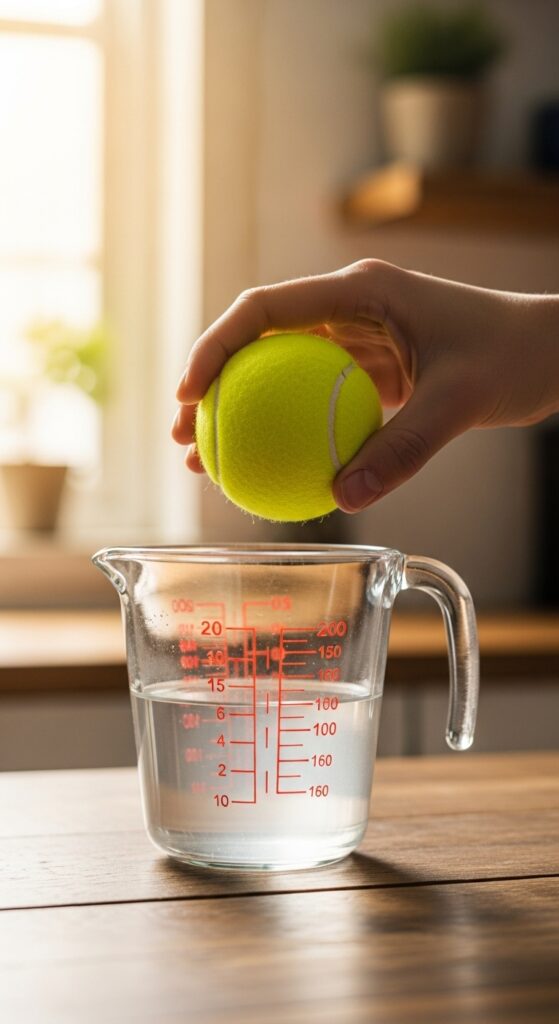
- ½ cup ≈ a tennis ball
- 1 cup ≈ a baseball or a clenched fist
These aren’t perfect, but they’re great for cooking and casual baking when precision isn’t critical.
Step 4: Pack or Don’t Pack—It Matters
Some ingredients need to be packed. Others absolutely don’t.
Pack these ingredients:
- Brown sugar
- Shortening
- Soft butter (when specified)
Do NOT pack:
- Flour
- Powdered sugar
- Cocoa powder
If a recipe says “packed,” press the ingredient firmly into the cup until it holds its shape. Otherwise, keep it loose and leveled.
Why This Works (Even Without a Scale)
Most home recipes are written assuming:
- Standard measuring cups
- Proper leveling
- Average ingredient density
When you follow correct measuring techniques, you’re actually matching what the recipe developer intended—even without weighing anything.
Accuracy isn’t about expensive tools. It’s about consistency.
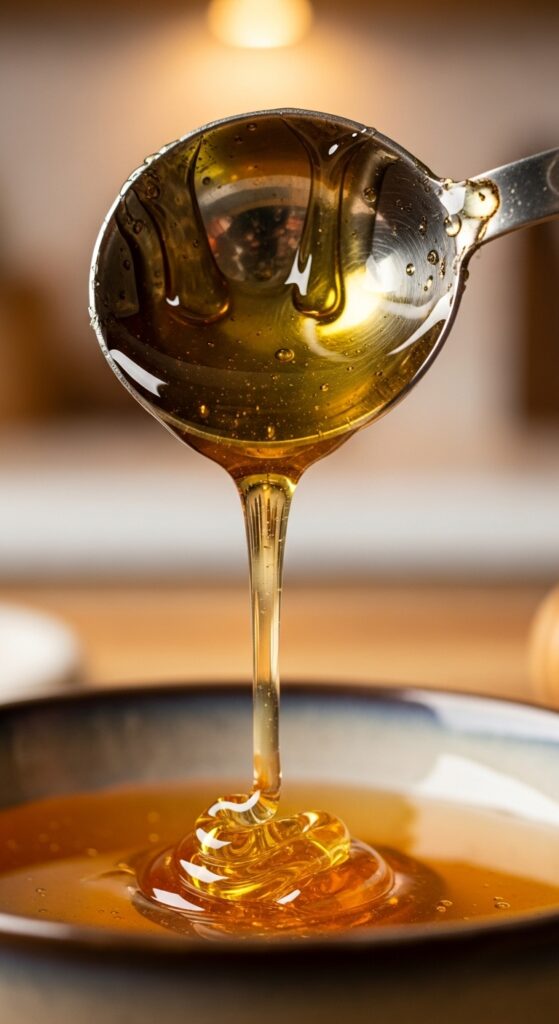
Step 5: Measure Sticky Ingredients Without the Mess
Sticky ingredients can throw off measurements and waste food.
Easy trick:
- Lightly coat the measuring cup or spoon with oil or cooking spray
- Then add honey, syrup, or molasses
The ingredient slides right out, and you get the full amount.
Common Mistakes to Avoid
These small errors can seriously affect your results:
- Scooping flour directly from the bag
- Measuring liquids in dry cups
- Estimating baking ingredients without leveling
- Ignoring whether ingredients should be packed
- Measuring over the mixing bowl (spills change amounts)
Slow down just a little—accuracy comes from intention, not speed.
Pro Tips for Better Results Every Time
- Stir flour before measuring to loosen it
- Use nested measuring cups for dry ingredients
- Use clear liquid cups for better visibility
- Keep measuring tools clean and dry
- Stick to one measuring system (don’t mix metric and US cups)
These habits create consistency, which matters more than perfection.
Final Touches: Trust the Process
You don’t need a scale to cook or bake confidently. With proper techniques, simple conversions, and a few visual tricks, you can measure ingredients accurately and get reliable results every time.
The more you practice, the better your instincts become.
Save this guide for later, and try it the next time you cook or bake—your recipes will thank you. 🍰📌
Leave a Reply