Craving a soft, sliceable low carb bread that actually tastes good? You’re not alone. Many low carb breads turn out dense, dry, or crumbly—and that kills a sandwich or toast moment fast. This guide shows you how to make low carb bread that’s soft, tender, and reliable every time.
The secret is simple: the right ratios, a few texture tricks, and a couple of reliable tools like a digital kitchen scale for exact measurements and a stand mixer to get a smooth batter without overworking it. With those, you’ll cut out guesswork and nail the crumb.
Read on for step-by-step instructions, exact measurements, timing, and troubleshooting so you can bake low carb bread today and have soft, delicious slices tomorrow.
Preparing Your Ingredients and Station
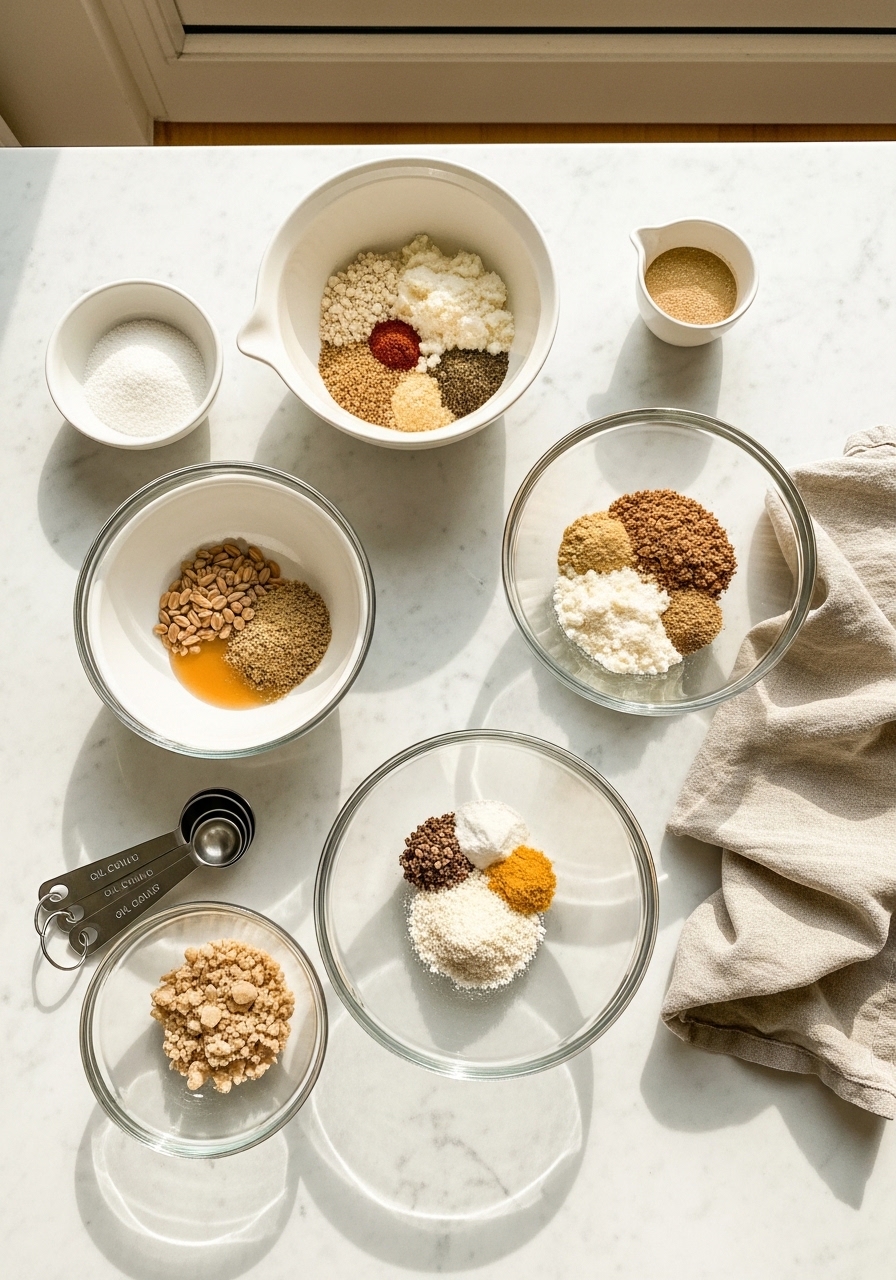
Start by weighing everything. Low carb recipes react to small changes, so use a digital kitchen scale for 1–2 g accuracy. Measure: 200g almond flour, 20g coconut flour, 10g psyllium husk, 1 tsp baking powder, 1/2 tsp salt.
Quick prep tips:
- Crack eggs into a bowl and whisk lightly.
- Melt 60g butter or use olive oil at room temp.
- Pre-cut parchment paper to fit your loaf pan for easy release — I use a sheet of parchment paper.
A set of measuring cups and spoons helps when you don’t want to weigh everything: consider a measuring+cups set for dry and wet measures.
Mixing and Baking Low Carb Bread
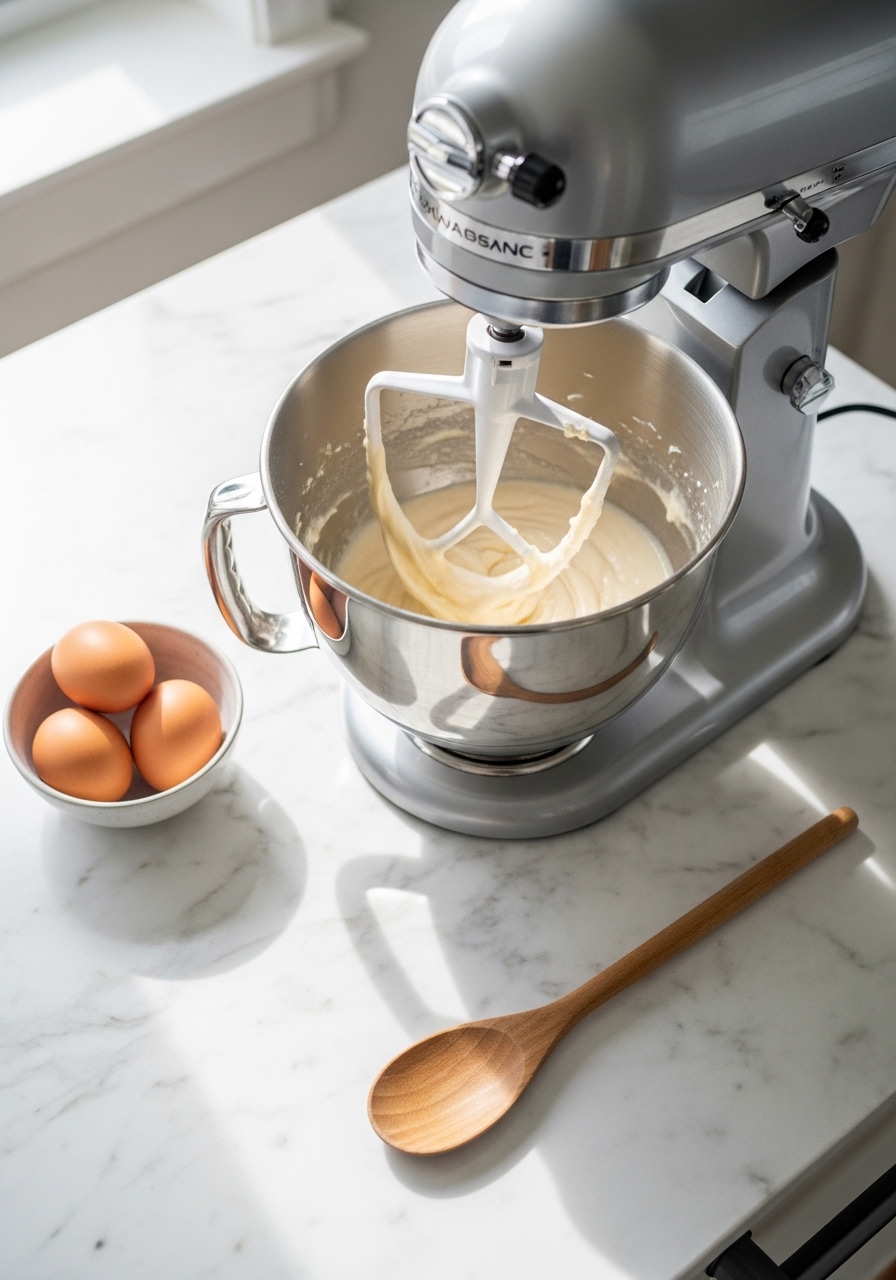
Proper mixing keeps the crumb soft. If you have a stand mixer, use the paddle attachment on low speed to combine dry and wet ingredients without aerating too much.
Steps:
- Whisk dry ingredients in a bowl: almond flour + coconut flour + psyllium + baking powder + salt.
- Add wet: 4 large eggs, melted butter, and 1 tbsp apple cider vinegar. Mix until just combined.
- Pour batter into a greased 8×4-inch loaf pan lined with parchment.
Tools that help:
- A stand+mixer speeds this up and prevents overmixing.
- Use a silicone+whisk for small batches.
- Fold and smooth the top with an offset+spatula for an even crust.
Bake at 350°F (175°C) for 40–50 minutes. Check at 35 minutes for color. If the top browns too fast, tent with foil.
Getting the Perfect Texture and Doneness
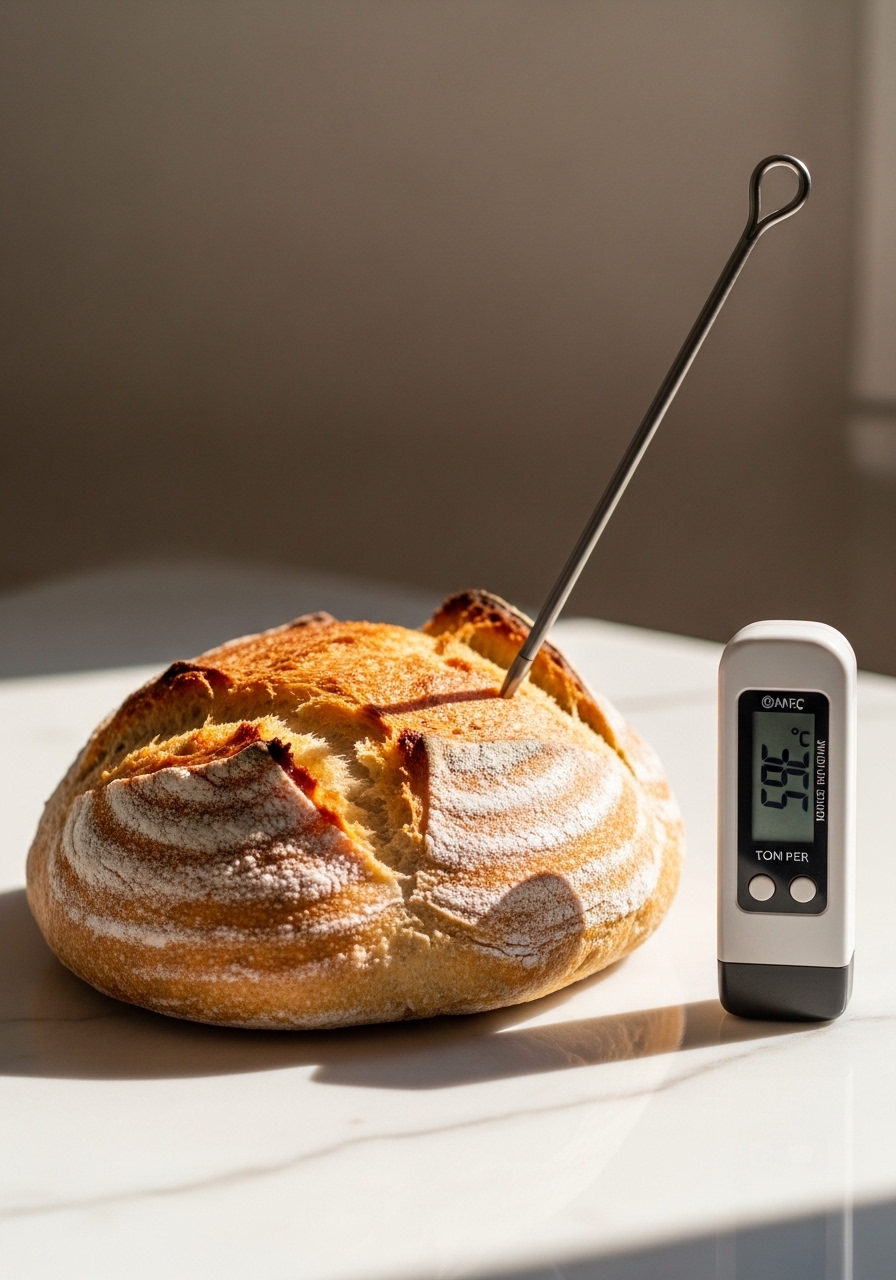
Soft low carb bread relies on the right internal temp and cooling routine.
- Aim for an internal temperature of 195°F–200°F. Verify with an instant-read+thermometer.
- Let the loaf rest 10 minutes in the pan, then remove and cool completely on a wire+cooling+rack. This prevents soggy bottoms.
Troubleshooting:
- If crumb is gummy: bake 5–10 minutes longer and confirm temp.
- If too dense: reduce psyllium by 2–3 g next time or add 1 tbsp more egg white for lift.
- If it collapses: don’t open the oven in the first 25 minutes.
A bench+scraper comes in handy to loosen the loaf edges before turning out.
Finishing Touches, Serving, and Storage
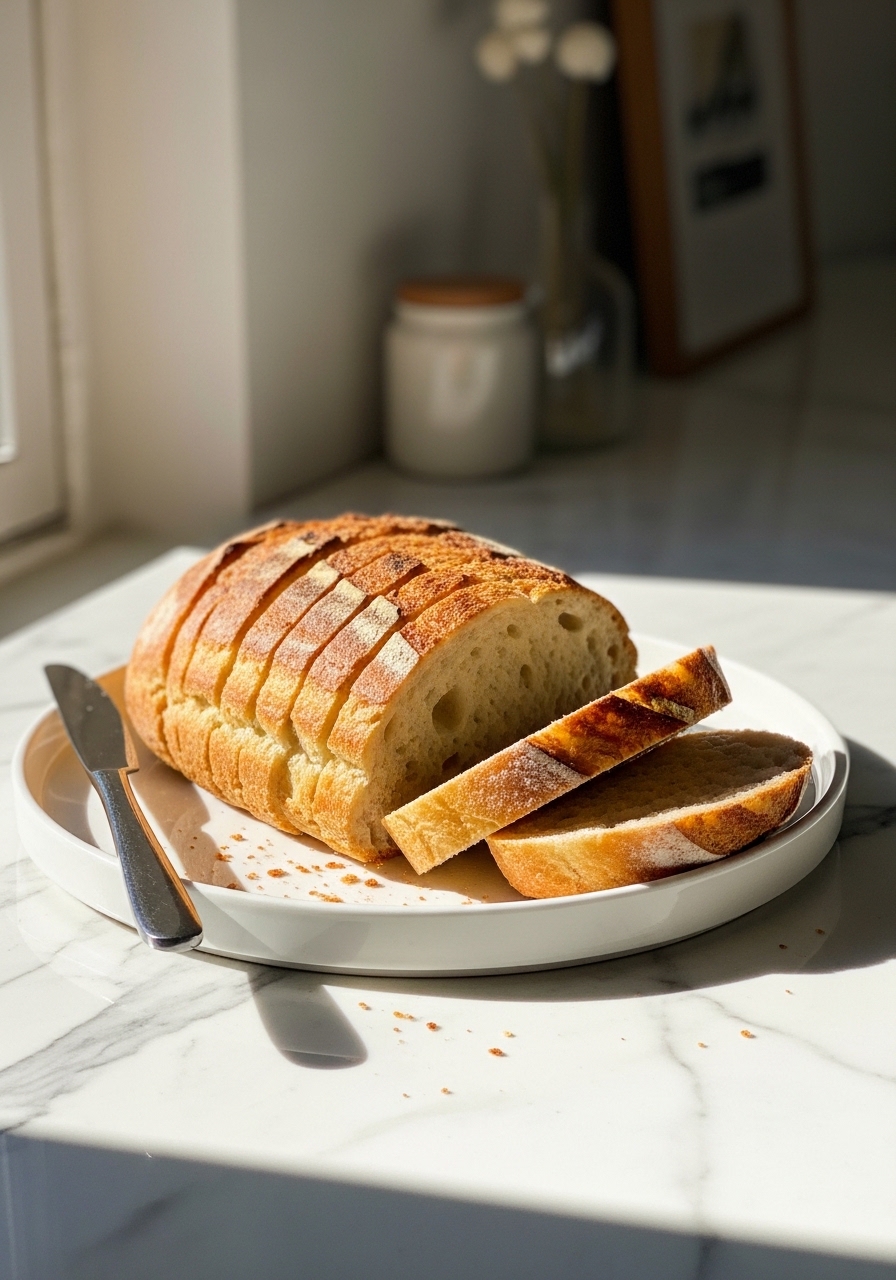
Once cooled, slice with a sharp serrated knife for clean cuts. Spreadable toppings work best while slices are slightly warm.
Storage tips:
- Store cooled slices in glass+storage+containers in the fridge for up to 5 days.
- Freeze individual slices in a airtight+containers or freezer bags for up to 3 months. Toast straight from frozen.
Small gear that helps:
- An offset+spatula spreads toppings smoothly.
- A loaf+pan with a removable bottom makes turning out a breeze.
You’ve learned how to make low carb bread that’s soft, sliceable, and pantry-friendly. Pin this guide so it’s ready next time you want fresh low carb bread. Which tip will you try first—more egg whites, a longer bake, or a different flour ratio? Ready to bake? Let's do it!
Leave a Reply