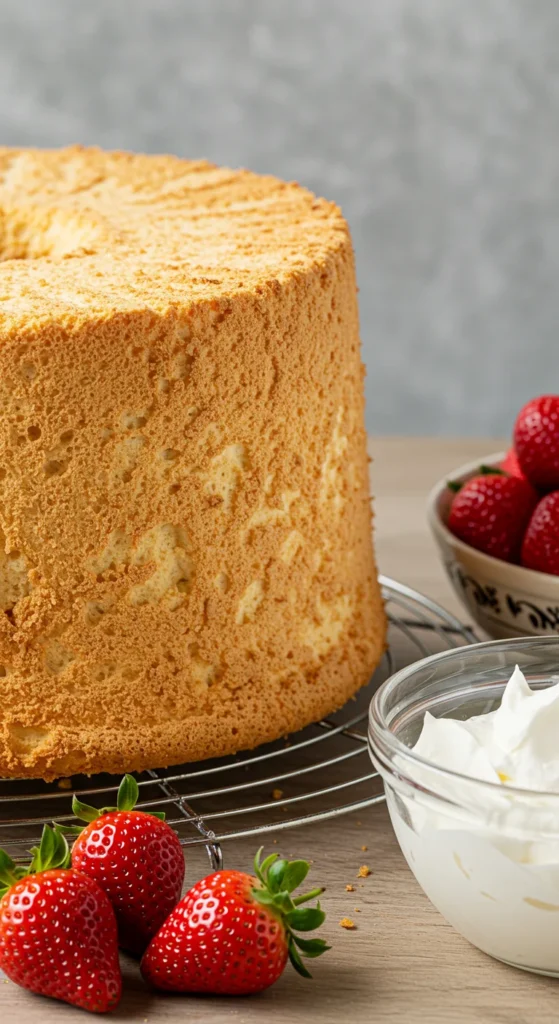
If you’ve ever craved a dessert that feels like biting into a cloud, angel food cake is it. This classic treat is feather-light, subtly sweet, and perfect for pairing with fresh fruit or a dollop of whipped cream. Unlike dense cakes loaded with butter, angel food cake relies on whipped egg whites for its signature airy texture. The result? A dessert that’s both elegant and guilt-free.
The Secret Behind Angel Food Cake
Angel food cake stands out because it’s made without butter or oil. Instead, stiffly beaten egg whites provide the structure. Sugar sweetens and stabilizes the meringue, while cake flour keeps the crumb delicate. The key is aeration—you’re essentially baking sweetened clouds into cake form.
Gather Your Ingredients
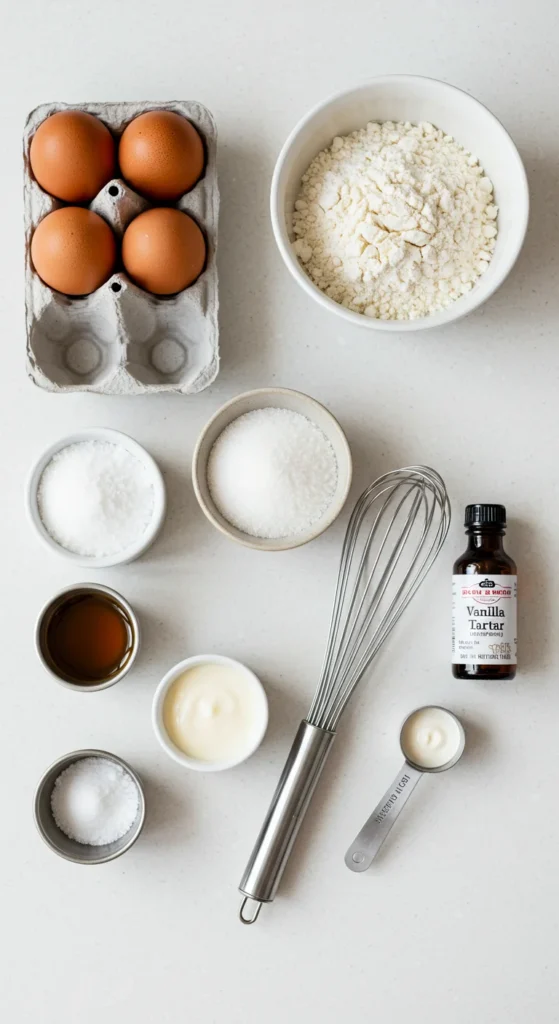
To get started, you’ll need:
- 1 cup cake flour (sifted)
- 1 ½ cups granulated sugar (divided)
- 12 large egg whites (room temperature)
- 1 ½ teaspoons cream of tartar
- ½ teaspoon salt
- 2 teaspoons vanilla extract
- Optional: ½ teaspoon almond extract for extra flavor
Tip: Use cake flour, not all-purpose. It has less protein, which helps keep the cake tender.
Step 1: Whip the Egg Whites
In a large, grease-free mixing bowl, whip the egg whites with cream of tartar and salt until soft peaks form. Gradually add in 1 cup of the sugar, a spoonful at a time, beating until stiff peaks hold.
This step is crucial—the meringue is what gives the cake its lightness.
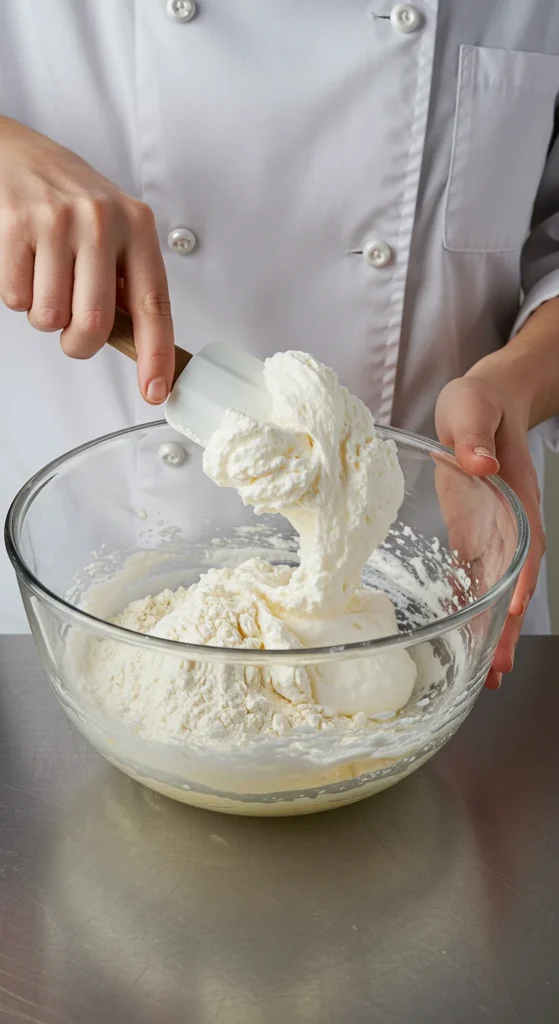
Step 2: Fold in Dry Ingredients
Sift the flour and remaining sugar together to remove any lumps. Gently fold this mixture into the egg whites in small batches. Use a spatula and a light hand—overmixing will deflate your meringue.
Finally, fold in vanilla (and almond extract if using).
Step 3: Bake in a Tube Pan
Spoon the batter into an ungreased 10-inch tube pan. Smooth the top with a spatula, but don’t bang the pan—air bubbles are your friend here.
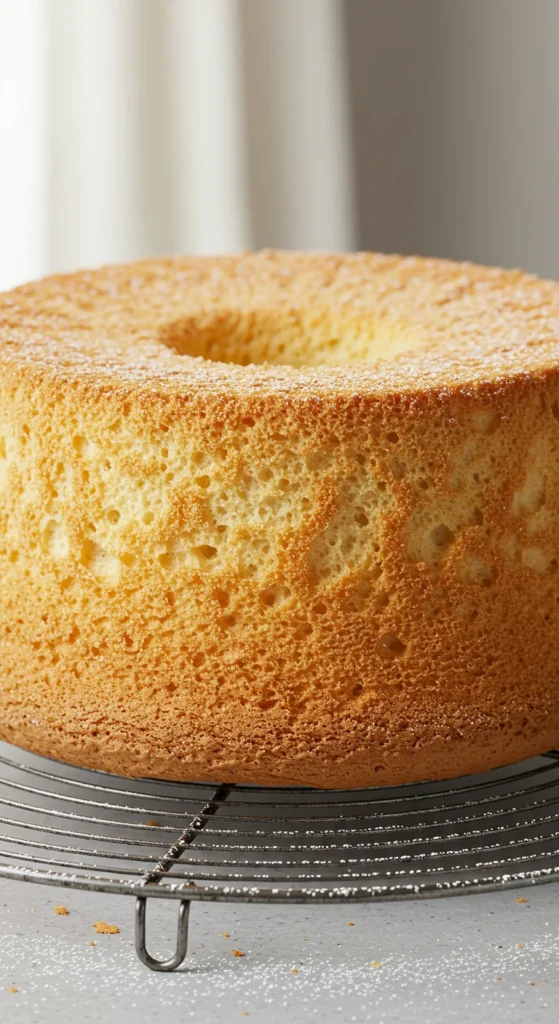
Bake at 350°F (175°C) for 35–40 minutes, or until the top is golden brown and springs back when lightly touched.
Step 4: Cool Upside Down
One of the quirkiest steps of making angel food cake: cooling it upside down. Turn the pan over onto its legs (or balance it on a bottle if your pan doesn’t have feet). Cooling upside down keeps the cake from collapsing as it sets.
Let it cool completely before loosening the edges with a knife and removing from the pan.
Step 5: Serve and Enjoy
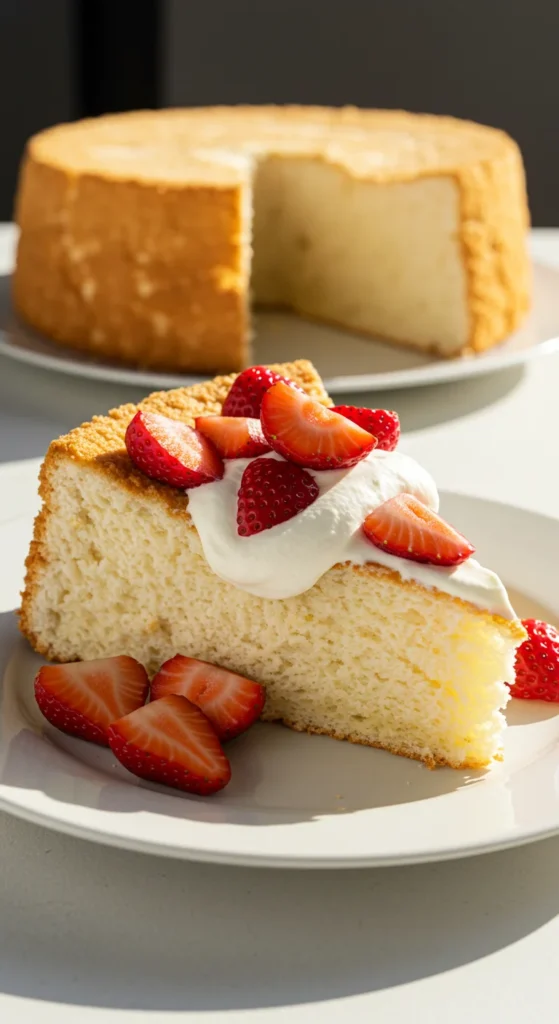
Slice gently with a serrated knife to avoid squishing the delicate crumb. Serve plain, dusted with powdered sugar, or topped with fresh berries and whipped cream. It’s a dessert that looks impressive but feels light and refreshing.
Extra Tips for Success
- Make sure your bowl and beaters are completely grease-free; even a trace of fat can ruin the meringue.
- Don’t grease the pan—the batter needs to cling to the sides to rise.
- Use room temperature egg whites for better volume.
- Store leftover cake in an airtight container at room temperature for up to 2 days, or freeze slices for later.
Final Thoughts
Angel food cake may seem intimidating, but with the right technique, it’s surprisingly simple. Light, airy, and versatile, it’s the perfect cake for spring gatherings, birthdays, or just an everyday treat.
👉 Save this recipe so you can whip up a cloud-like angel food cake anytime the craving strikes!
Leave a Reply