Store-bought whipped topping is convenient… but once you make it from scratch, there’s no going back.
Homemade whipped cream is lighter, fresher, and melts beautifully over desserts. It takes less than 5 minutes, uses just a few ingredients, and tastes like something from a cozy café.
And the best part? You probably already have everything you need.
Let’s make it.
Step 1: Gather the Right Ingredients
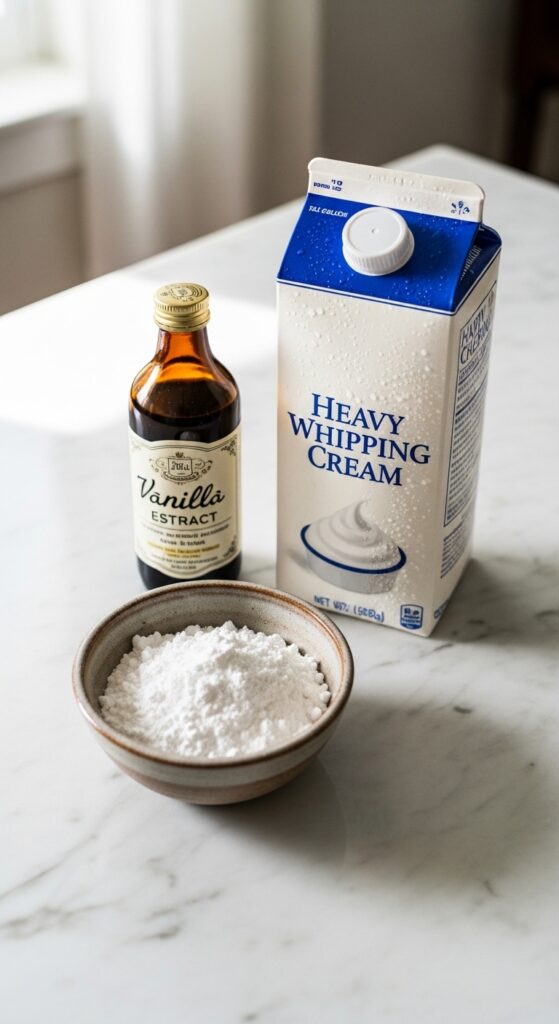
You only need three simple things:
- Heavy whipping cream (cold)
- Powdered sugar
- Vanilla extract
That’s it.
Why Heavy Cream Matters
Make sure it says:
- Heavy cream
- Heavy whipping cream
- At least 36% fat
The high fat content is what allows the cream to whip up thick and fluffy.
Lower-fat milk or half-and-half won’t work.
Step 2: Chill Everything First
This step makes a huge difference.
Before whipping:
- Place your mixing bowl in the freezer for 10–15 minutes
- Chill the beaters or whisk
- Keep the cream refrigerated until the last second
Cold tools + cold cream = faster whipping and fluffier results.
Warm cream won’t hold its shape as well.
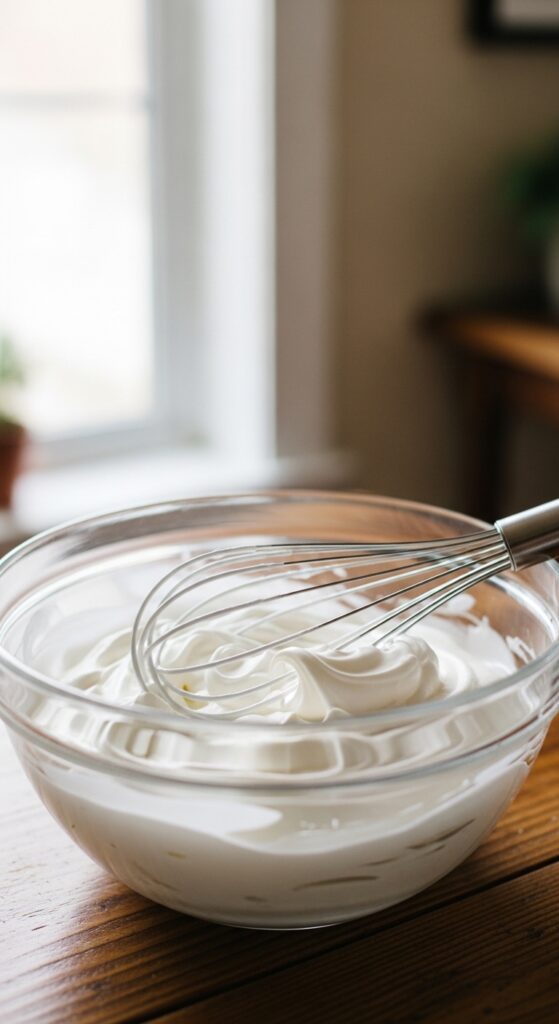
Step 3: Start Whipping
Pour 1 cup of cold heavy cream into your chilled bowl.
Begin beating on medium speed.
After about 30 seconds, it will look frothy.
Keep going.
You’ll see it thicken gradually — this usually takes 2–3 minutes with a hand mixer.

Step 4: Add Sugar and Vanilla
Once the cream starts to thicken (soft and creamy but not stiff yet), add:
- 2 tablespoons powdered sugar
- 1 teaspoon vanilla extract
Continue beating.
Adding sugar too early can slow the whipping process slightly, so wait until the cream has some body.
Step 5: Watch for Soft Peaks vs. Stiff Peaks
This is the most important part.
Soft Peaks
- Lift the whisk
- The cream gently folds over
- Perfect for topping pies or pancakes
Stiff Peaks
- The cream stands straight up
- Holds its shape firmly
- Ideal for piping onto cupcakes
Stop mixing as soon as you reach your desired consistency.
Overwhipping can turn it grainy — and eventually into butter.
How to Fix Overwhipped Cream
If it starts looking too thick or slightly curdled:
- Add 1–2 tablespoons cold heavy cream
- Gently whisk by hand until smooth again
If it fully separates into butter and liquid, you’ve gone too far — but now you accidentally made homemade butter!
Flavor Variations (Optional but Fun)
Once you master the base recipe, try:
- Almond extract instead of vanilla
- A spoonful of cocoa powder for chocolate whipped cream
- Maple syrup instead of sugar
- A dash of cinnamon
Keep additions light so the cream can still whip properly.
How to Store Homemade Whipped Cream
Fresh is best.
But you can store it:
- In an airtight container
- In the fridge
- For up to 24 hours
If it softens, just whisk lightly again before serving.
For longer hold (like for frosting cakes), you can add:
- 1 tablespoon cornstarch
- Or use stabilized whipped cream recipes
Why Homemade Whipped Cream Is Better
Here’s what you’ll notice immediately:
- It tastes fresher
- It isn’t overly sweet
- It melts naturally
- It has a soft, cloud-like texture
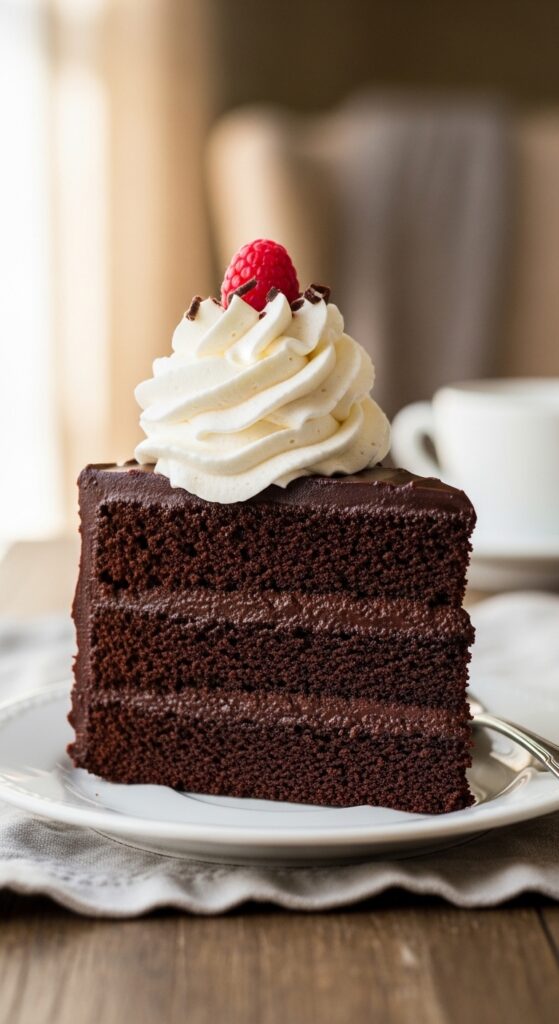
Once you try it on:
- Fresh berries
- Hot cocoa
- Pancakes
- Cake
- Iced coffee
You won’t want the store version again.
Common Mistakes to Avoid
Quick checklist:
- ❌ Using warm cream
- ❌ Overwhipping
- ❌ Using low-fat dairy
- ❌ Adding too much liquid flavoring
Keep it simple. Keep it cold. Don’t rush it.
Final Thoughts
Homemade whipped cream is one of those small kitchen skills that feels fancy… but takes almost no effort.
Three ingredients.
Five minutes.
Big upgrade to every dessert.
Try it once, and you’ll wonder why you ever bought it in a can.
Pin this guide so you always have it when dessert calls. 🍓
Leave a Reply