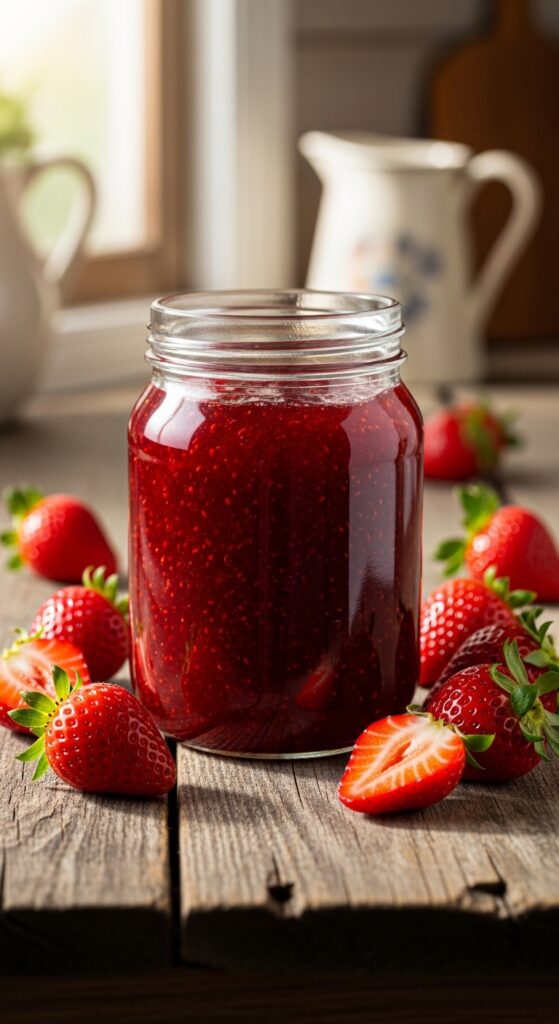
There’s something magical about homemade jam.
It tastes brighter. Fresher. More real than anything from a store shelf. But if you’ve ever looked up a recipe and immediately seen “add pectin,” you might have thought… do I really need that?
Good news: you don’t.
You can make thick, glossy, perfectly spreadable jam using just fruit, sugar, and a little patience.
Let’s walk through exactly how to make homemade jam without pectin — and have it set beautifully every time.
Why You Don’t Need Pectin
Pectin is a natural fiber found in fruit. It’s what helps jam thicken.
Here’s the secret:
Most fruits already contain natural pectin — especially when slightly underripe. When combined with sugar and heat, they gel on their own.
Fruits that work especially well:
- Strawberries
- Blueberries
- Raspberries
- Blackberries
- Peaches
- Plums
Citrus juice (like lemon) also helps activate natural pectin and balance sweetness.
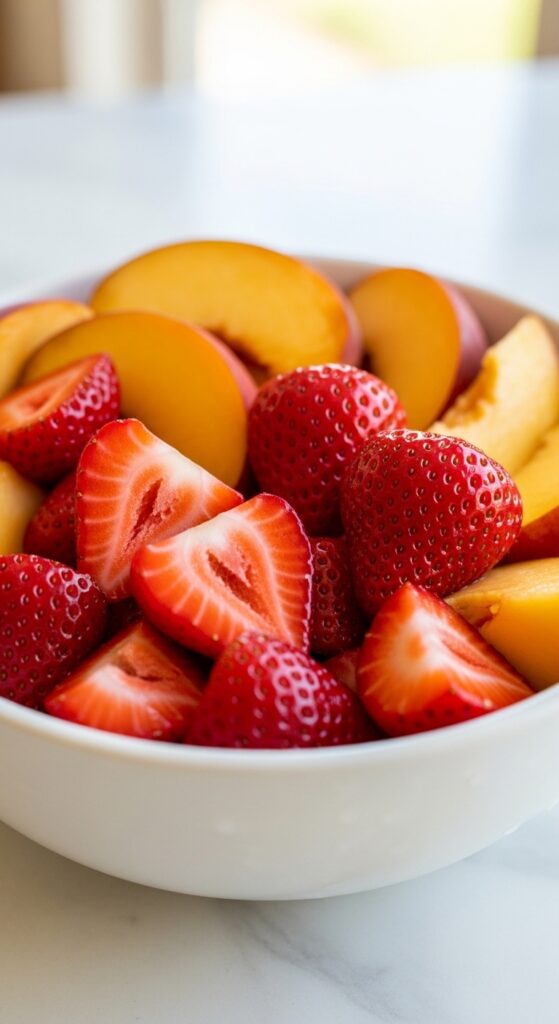
Step 1: Choose the Right Fruit
For best results:
- Use fresh, ripe fruit (but not overly soft or moldy)
- Mix in a small portion of slightly underripe fruit if possible
- Wash and remove stems or pits
Chop larger fruit into small, even pieces so it cooks evenly.
You’ll need:
- 4 cups chopped fruit
- 1 to 1½ cups sugar (adjust to taste)
- 1–2 tablespoons fresh lemon juice
That’s it.
Step 2: Combine and Let It Macerate
Place the fruit and sugar in a large bowl.
Stir gently and let it sit for 30–60 minutes.
This step pulls juice from the fruit and jumpstarts the thickening process. You’ll notice the fruit becoming glossy and syrupy.
Don’t skip this — it makes a big difference in texture and flavor.
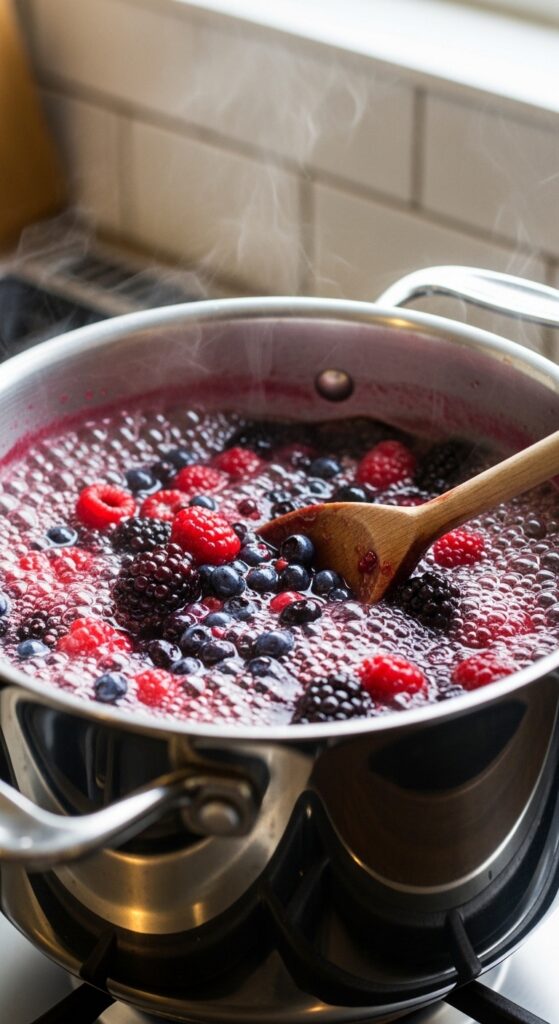
Step 3: Cook Low and Slow
Transfer the fruit mixture to a wide, heavy-bottomed pot.
Why wide? More surface area = faster evaporation = thicker jam.
Bring to a gentle boil over medium heat, stirring frequently to prevent sticking.
Then:
- Reduce to a steady simmer
- Stir often
- Skim off foam if needed
The mixture will start thin — that’s normal.
After about 20–30 minutes, it will begin to thicken.
Step 4: Test for Doneness (The Plate Test)
Here’s the easiest way to know when your jam is ready.
Before cooking, place a small plate in the freezer.
When you think the jam is close:
- Spoon a small amount onto the cold plate.
- Wait 30 seconds.
- Push it gently with your finger.
If it wrinkles slightly and holds its shape — it’s done.
If it’s still runny, simmer a few more minutes and test again.
Be patient. Jam thickens more as it cools.
Step 5: Add Lemon Juice
Stir in fresh lemon juice during the last few minutes of cooking.
Lemon juice:
- Brightens flavor
- Balances sweetness
- Helps natural pectin activate
This small addition keeps your jam from tasting flat.
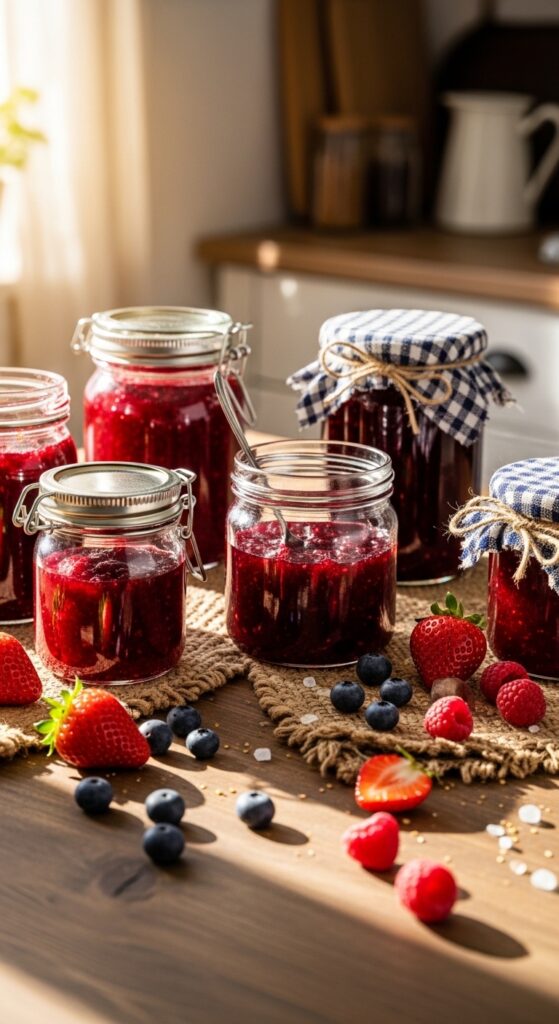
Step 6: Cool and Store
Once thickened:
- Remove from heat
- Let cool slightly
- Pour into clean glass jars
For refrigerator jam:
- Cool completely
- Seal and store in the fridge up to 3 weeks
For longer storage:
- Use proper water bath canning methods
Common Mistakes to Avoid
If your jam didn’t set, here’s why:
- Not cooked long enough
- Too much sugar reduction
- Skipped lemon juice
- Pot wasn’t wide enough
Remember: thickness comes from evaporation. If it’s runny, it likely needs more time.
Flavor Variations to Try
Once you master the basic method, experiment with:
- Strawberry + basil
- Peach + vanilla
- Blueberry + lemon zest
- Raspberry + chia seeds
Keep additions subtle so they don’t overpower the fruit.
Why This Method Works
Making jam without pectin forces the fruit to shine.
You get:
- More intense fruit flavor
- Softer, natural texture
- No added thickeners
- Simple ingredients
It’s slower than boxed pectin recipes — but the taste is worth it.
Homemade jam isn’t just a spread. It’s summer in a jar. It’s thoughtful. It’s satisfying.
Try a small batch this week. Once you see how simple it is, you’ll never go back to store-bought.
Save this guide for later — and enjoy every sweet spoonful. 🍓✨
Leave a Reply