Store-bought granola sounds healthy… until you flip the bag over and see all the added sugar and mystery oils.
And somehow, even after paying extra, it’s either too sweet or not crunchy enough.
The good news? Homemade granola is incredibly easy — and you control everything. The sweetness. The crunch. The ingredients. The flavor.
Once you make it yourself, you won’t go back.
Let’s walk through how to make granola that’s perfectly crunchy and actually healthy.
Step 1: Start With the Right Base
The foundation of crunchy granola is simple:
- 3 cups rolled oats (old-fashioned oats)
- 1 cup nuts (almonds, pecans, walnuts, or mixed)
- 1/2 cup seeds (pumpkin, sunflower, chia, or flax)
Avoid instant oats — they won’t give you that crisp texture.
Chop larger nuts into smaller pieces so everything toasts evenly.
This oat-to-nut ratio gives you crunch without overwhelming heaviness.
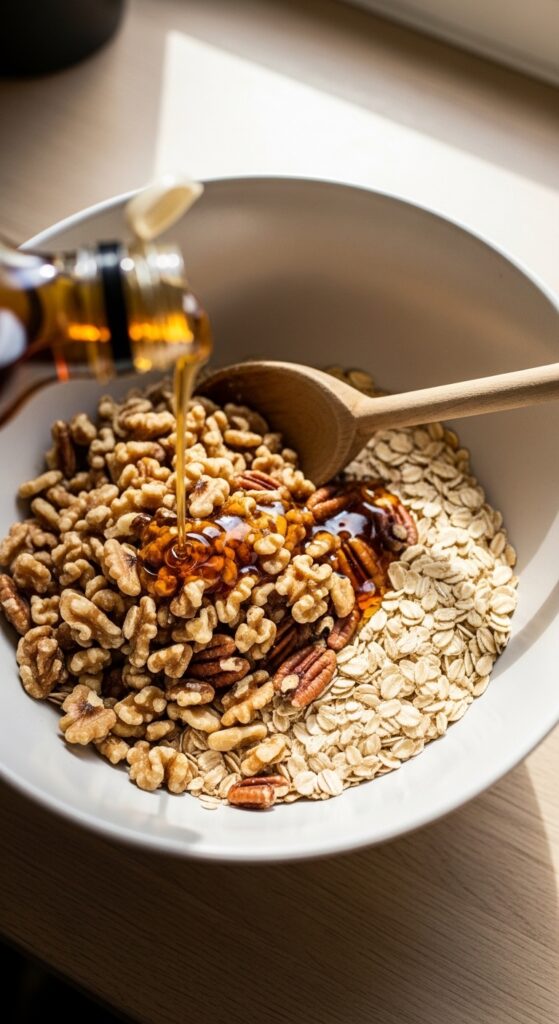
Step 2: Use Natural Sweeteners (But Not Too Much)
Sugar helps granola crisp up — but you don’t need much.
Use one of these:
- 1/4–1/3 cup maple syrup
- Raw honey
- Coconut sugar mixed with a little warm water
The key is balance. Too much sweetener makes it sticky and overly sweet. Too little and it won’t cluster.
For extra flavor, add:
- 1 teaspoon vanilla extract
- A pinch of sea salt
- 1/2 teaspoon cinnamon
That small pinch of salt makes everything taste richer.
Step 3: Add a Healthy Fat for Maximum Crunch
Fat is what gives granola that golden, crispy finish.
Use:
- 2–3 tablespoons melted coconut oil
- Or olive oil
- Or avocado oil
Don’t skip this. Oil helps the oats toast instead of dry out.
Mix your sweetener and oil together first, then pour over the dry ingredients and stir thoroughly.
Every oat should be lightly coated.
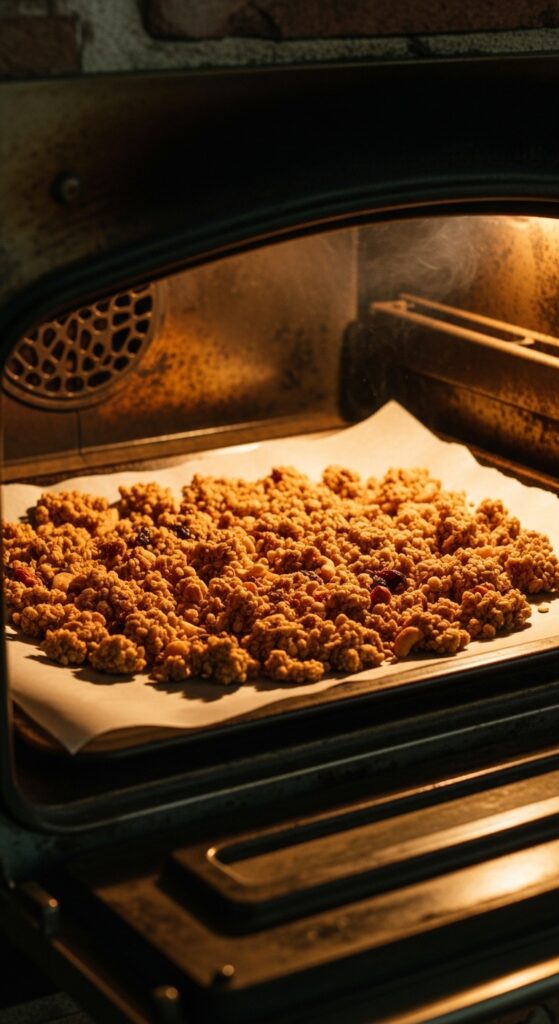
Step 4: Spread It Properly (This Is Crucial)
For chunky, crunchy clusters:
- Line a baking sheet with parchment paper
- Spread granola in an even layer
- Press it down firmly with a spatula
Pressing it down helps create those bakery-style clusters.
Bake at 325°F (165°C) for 20–25 minutes.
Halfway through baking, gently rotate the pan — but don’t stir if you want clusters.
Step 5: Let It Cool Completely
This is the step most people mess up.
Do. Not. Touch. It.
Granola crisps up as it cools. If you stir too early, you’ll break the clusters and lose crunch.
Let it cool on the baking sheet for at least 30–45 minutes.
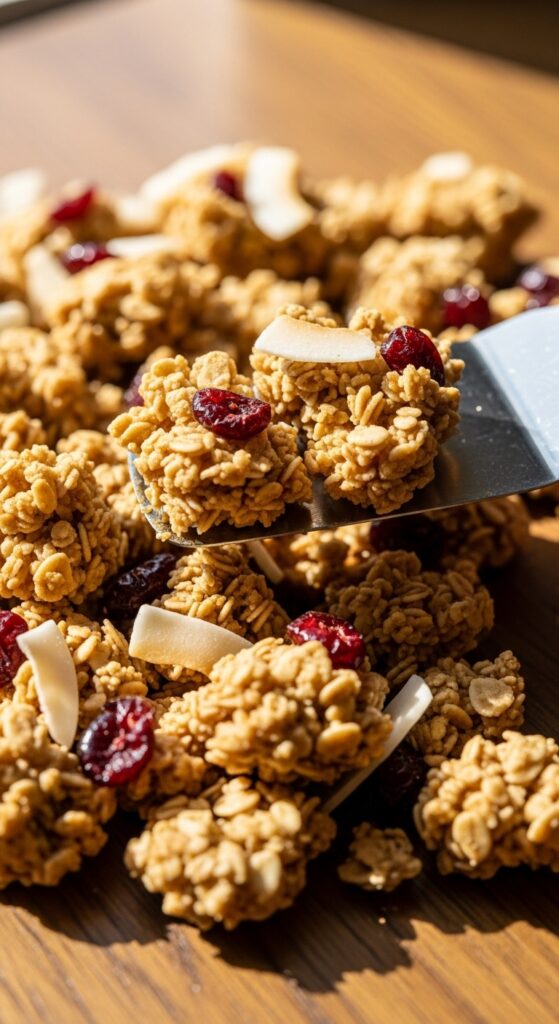
Once cool, break it into chunks.
That’s where the magic happens.
Step 6: Add Dried Fruit After Baking
Never bake dried fruit — it hardens and burns.
Instead, once your granola is fully cooled, mix in:
- Dried cranberries
- Raisins
- Chopped dates
- Coconut flakes
- Dark chocolate chips
This keeps everything soft and balanced.
Why This Method Works
Crunchy granola comes down to three things:
- The right amount of oil
- Moderate sweetener
- Proper cooling time
When those align, you get crisp clusters without excess sugar.
Homemade granola also lets you:
- Control ingredients
- Avoid processed oils
- Reduce added sugars
- Increase protein with nuts and seeds
It’s simple, clean, and customizable.
Flavor Ideas to Try
Once you master the base, experiment.
Peanut Butter Crunch
- Add 1–2 tablespoons peanut butter to the wet mixture.
Apple Cinnamon
- Add extra cinnamon and stir in dried apples after baking.
Chocolate Almond
- Cocoa powder in the base + dark chocolate chips after cooling.
Vanilla Coconut
- Extra vanilla + unsweetened coconut flakes.
The base recipe stays the same — just adjust the flavors.
Storage Tips
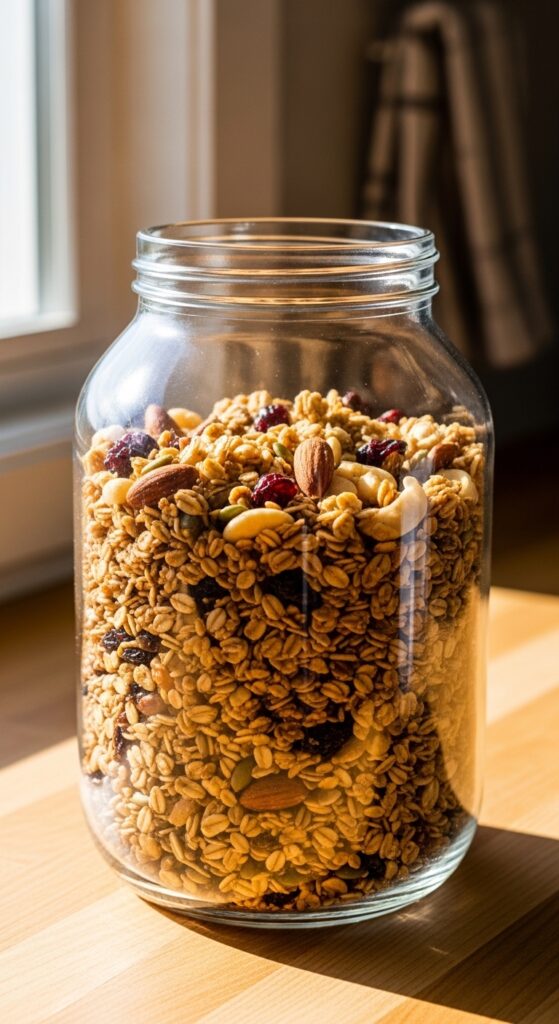
Store granola in:
- An airtight glass jar
- A sealed container
- A zip-top bag
It stays fresh for 2–3 weeks at room temperature.
Keep it dry and sealed to preserve crunch.
How to Use Your Homemade Granola
Sprinkle it on:
- Greek yogurt
- Smoothie bowls
- Oatmeal
- Ice cream
- Or eat it by the handful
It’s perfect for meal prep and quick breakfasts.
The Bottom Line
Making crunchy, healthy granola isn’t complicated.
It’s about simple ingredients, the right technique, and patience while it cools.
Once you taste homemade, you’ll never settle for bland store-bought again.
Try this recipe this week — and save it for your next meal prep day.
Leave a Reply