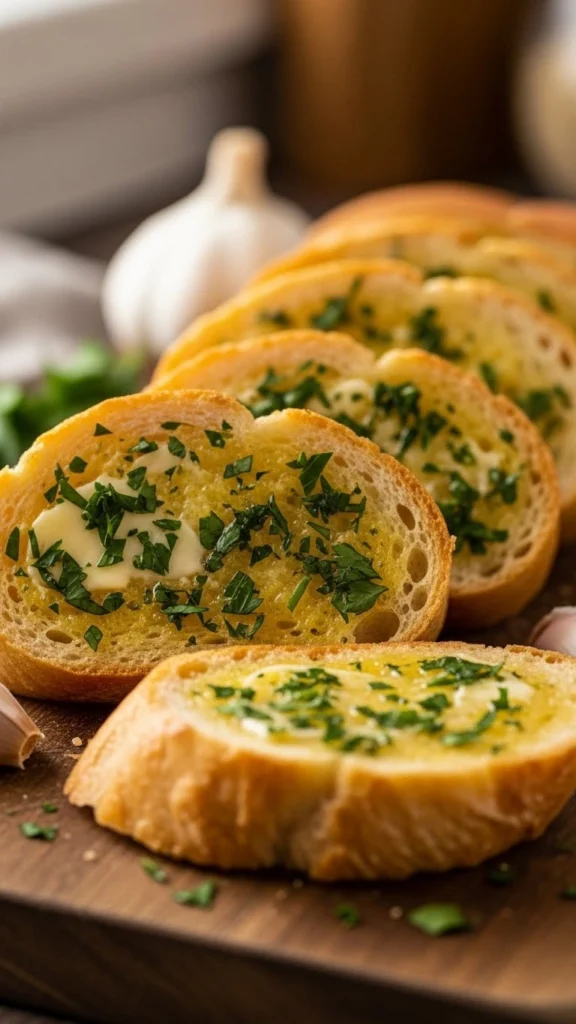
There’s something irresistible about freshly baked garlic bread. The moment it comes out of the oven—golden, crisp on the edges, soft and buttery in the center—the aroma alone can make everyone rush to the kitchen.
Whether you’re serving it with pasta, soup, or enjoying it on its own, perfect garlic bread can turn a simple meal into something special. The good news? You don’t need fancy ingredients or chef-level skills—just the right technique.
Why Homemade Garlic Bread Tastes Better
Homemade garlic bread beats store-bought every single time.
Full Control Over Flavor
When you make it yourself, you decide:
- How buttery it is
- How strong the garlic flavor should be
- How crispy or soft you want it
No preservatives, no artificial taste—just real, comforting flavor.
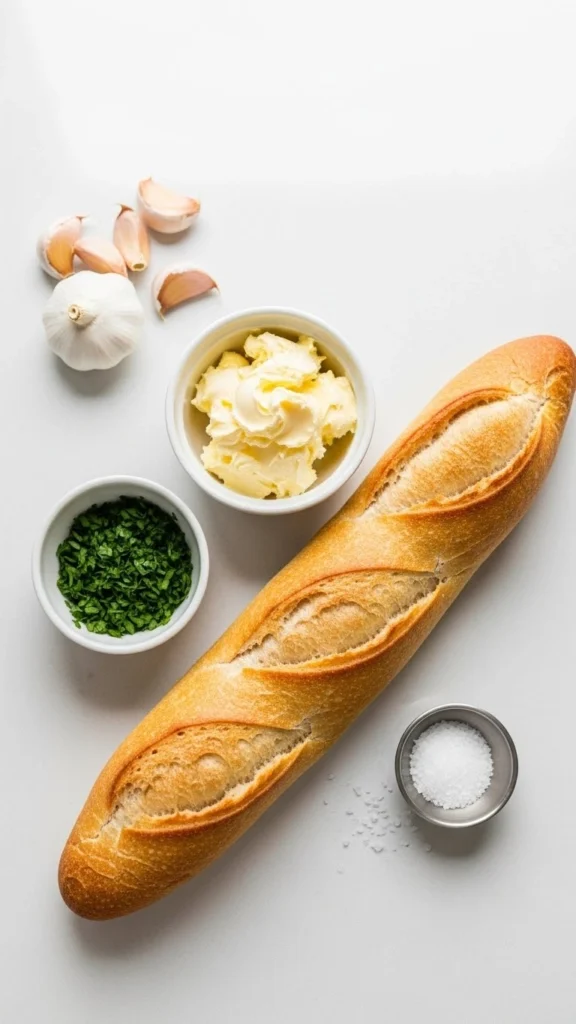
Ingredients You’ll Need
Garlic bread is all about simplicity.
Basic Ingredients
- French bread, baguette, or Italian loaf
- Unsalted butter (softened)
- Fresh garlic cloves
- Salt
- Fresh parsley (optional)
Optional Add-Ons
- Grated parmesan cheese
- Mozzarella cheese
- Chili flakes or black pepper
Tip: Fresh garlic gives the best flavor. Garlic powder works, but it won’t taste as bold or fresh.
Choosing the Right Bread
The bread you choose affects the final texture.
Best Bread Options
- French bread: Crispy crust, soft center
- Baguette: Extra crunchy, perfect for thin slices
- Italian loaf: Ideal for thicker, heartier garlic bread
Avoid very soft sandwich bread—it won’t crisp properly and can turn soggy.
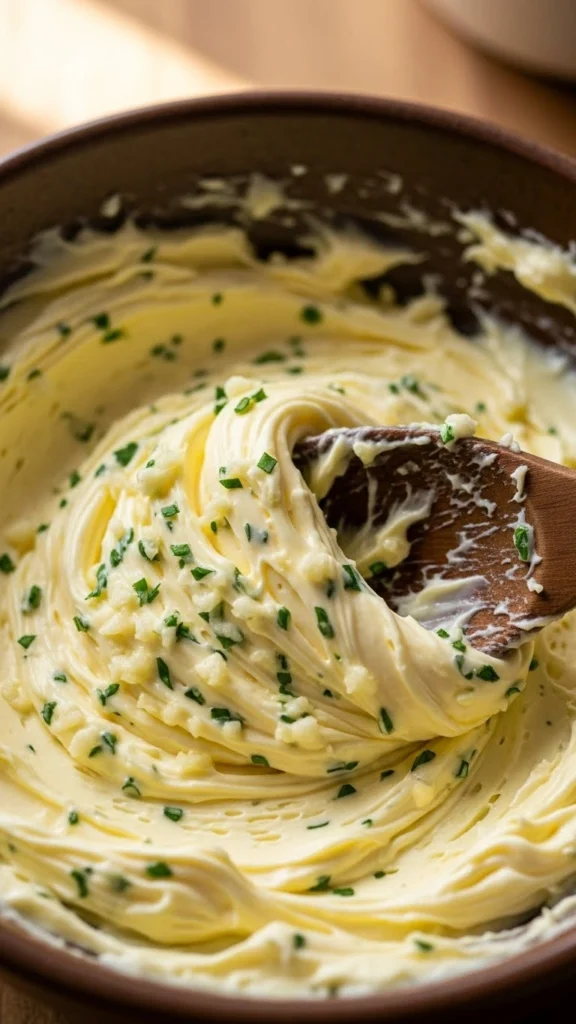
Making the Perfect Garlic Butter
This step is the heart of great garlic bread.
How to Prepare Garlic Butter
In a bowl, combine:
- Softened butter
- Finely minced garlic
- A pinch of salt
- Chopped parsley
Mix until smooth and evenly combined.
Flavor Boost Tip
Let the garlic butter sit for 5–10 minutes before spreading. This allows the garlic flavor to fully infuse into the butter.
Spreading the Butter Correctly
How you spread the butter matters more than you think.
Best Spreading Technique
- Slice bread lengthwise or into thick pieces
- Spread butter edge to edge
- Be generous—thin layers lead to dry bread
Optional at this stage:
- Sprinkle parmesan cheese
- Add chili flakes for a little heat
More butter equals more flavor and better crisping.
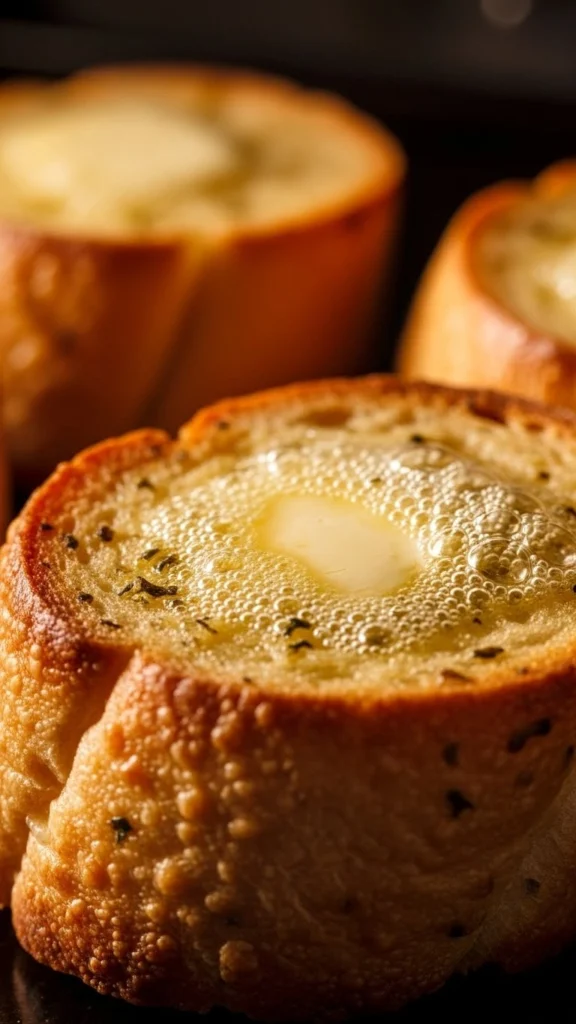
Baking for Buttery Centers and Crispy Edges
Now it’s time for the oven to do its magic.
Baking Instructions
- Preheat oven to 190°C (375°F)
- Place bread on a baking tray
- Bake for 10–12 minutes for soft-centered garlic bread
- Bake for 12–15 minutes for crispier edges
Extra Crisp Finish
For a golden, crunchy top:
- Turn on the broiler/grill for the last 1–2 minutes
- Watch carefully to avoid burning
Optional Cheesy Garlic Bread Upgrade
If you love cheese, this step is for you.
How to Add Cheese
- Sprinkle mozzarella or parmesan on top
- Bake for an extra 2–3 minutes until melted and bubbly
Cheesy garlic bread pairs perfectly with:
- Spaghetti and pasta dishes
- Tomato soup
- Fresh salads
Just don’t overload the cheese—balance keeps it crispy.
Common Garlic Bread Mistakes to Avoid
Even simple recipes can go wrong without these tips.
Avoid These Errors
- Using cold butter (hard to spread)
- Burning the garlic by overbaking
- Skipping salt
- Using too little butter
- Baking at very high heat
Small mistakes can ruin the texture and flavor.
How to Serve Garlic Bread Like a Pro
Garlic bread is best enjoyed fresh.
Serving Tips
- Serve immediately while hot
- Cut just before serving to keep it crisp
- Pair with pasta, soups, or salads

Final Thoughts
Perfect garlic bread should be crispy on the outside, soft and buttery on the inside, and full of garlic flavor. Once you master this method, you’ll find yourself making it again and again—for family dinners, guests, or late-night cravings.
Save this recipe for later, pin it to your favorites, and enjoy buttery, crispy garlic bread anytime you want!
Leave a Reply