There’s nothing more disappointing than soggy French toast. You want that perfect contrast: a crisp, golden exterior with a soft, custardy center that melts in your mouth. The good news? Achieving restaurant-quality French toast at home is easier than you think—it just takes the right bread, the right soak, and a few smart cooking tricks.
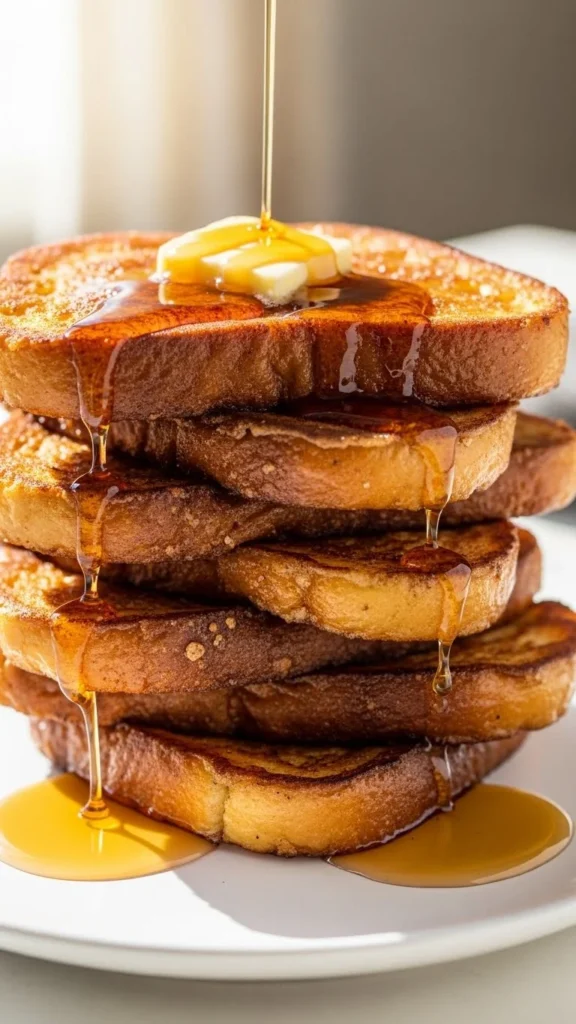
Whether you’re making a cozy weekend breakfast or hosting brunch, this guide will show you exactly how to make French toast that’s crispy on the outside and perfectly tender inside—every single time.
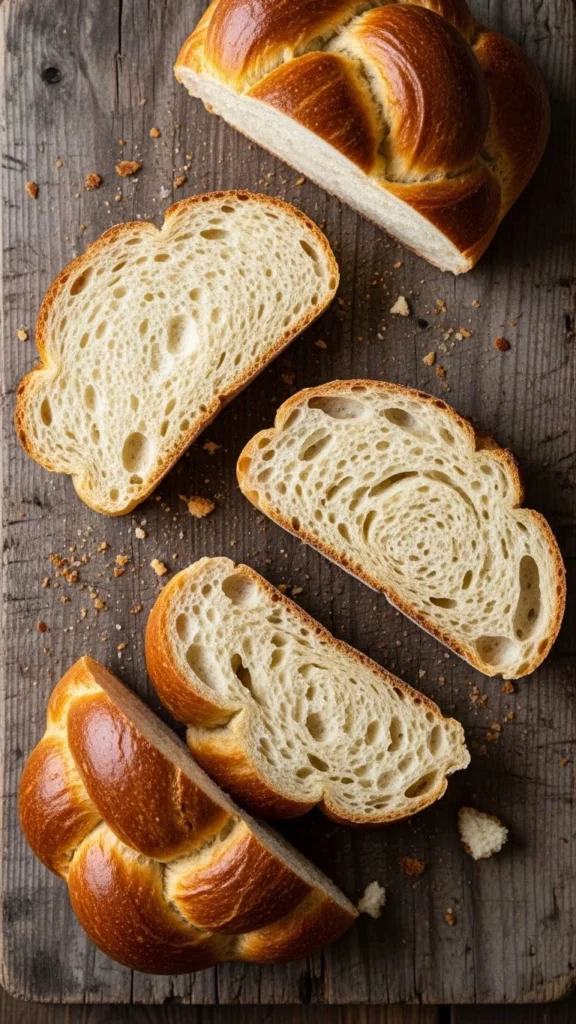
Start With the Right Bread (This Matters More Than You Think)
French toast lives or dies by the bread you choose. Soft sandwich bread absorbs too much liquid and turns mushy before it ever crisps.
Best breads for crispy French toast:
- Brioche
- Challah
- Texas toast
- French baguette (slightly stale)
Thicker slices work best—about ¾ to 1 inch thick.
Pro tip:
Day-old or slightly stale bread is ideal. It absorbs the custard without falling apart, which means better structure and better browning.
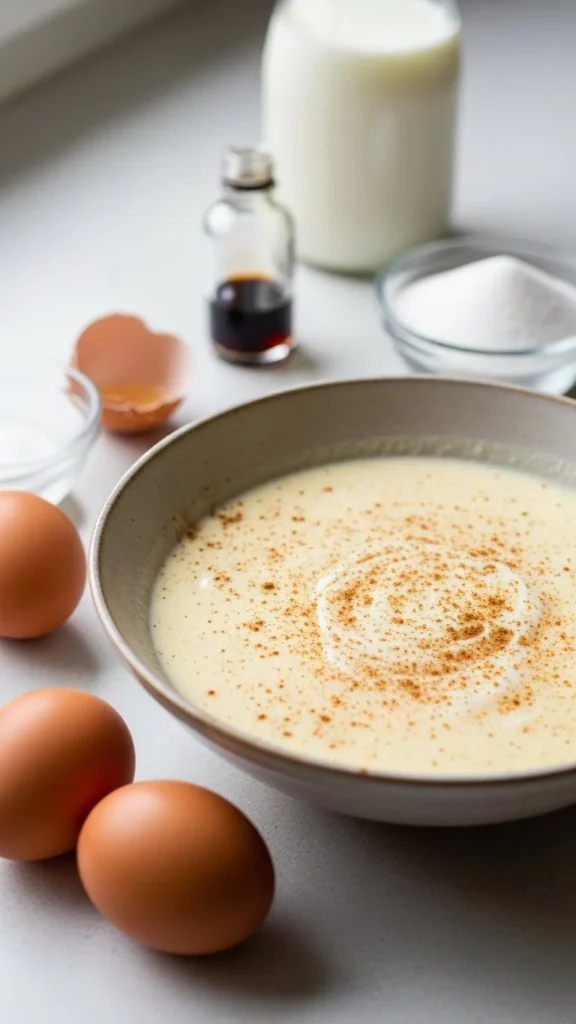
Build a Custard That Crisps, Not Sogs
The custard mixture should coat the bread, not drown it. Too much milk equals limp French toast.
The ideal custard balance:
- Eggs for structure
- Milk or cream for richness
- A touch of sugar for caramelization
- Flavor boosters like vanilla and cinnamon
A simple formula:
- 2 large eggs
- ½ cup milk (or half-and-half for richer results)
- 1 tablespoon sugar
- ½ teaspoon vanilla
- Pinch of salt
- Optional: cinnamon or nutmeg
Whisk until smooth, but don’t overbeat—you don’t want too much air.
Dip Quickly—Don’t Soak
This is where many people go wrong.
French toast is not a sponge bath. A quick dip is all you need.
How to dip correctly:
- Dip each slice for 5–10 seconds per side
- Let excess custard drip off before cooking
- The bread should feel coated, not saturated
If your bread is dripping wet, it will steam instead of crisp.
Use the Right Pan and Fat Combination
For golden, crispy edges, your pan setup is crucial.
Best pan options:
- Nonstick skillet
- Cast iron skillet
- Well-seasoned stainless steel pan
Fat matters too:
- Butter = flavor
- Oil = higher heat and better crisping
Best combo:
Use half butter and half neutral oil (like canola or avocado oil). The oil prevents burning, while the butter adds that classic flavor.
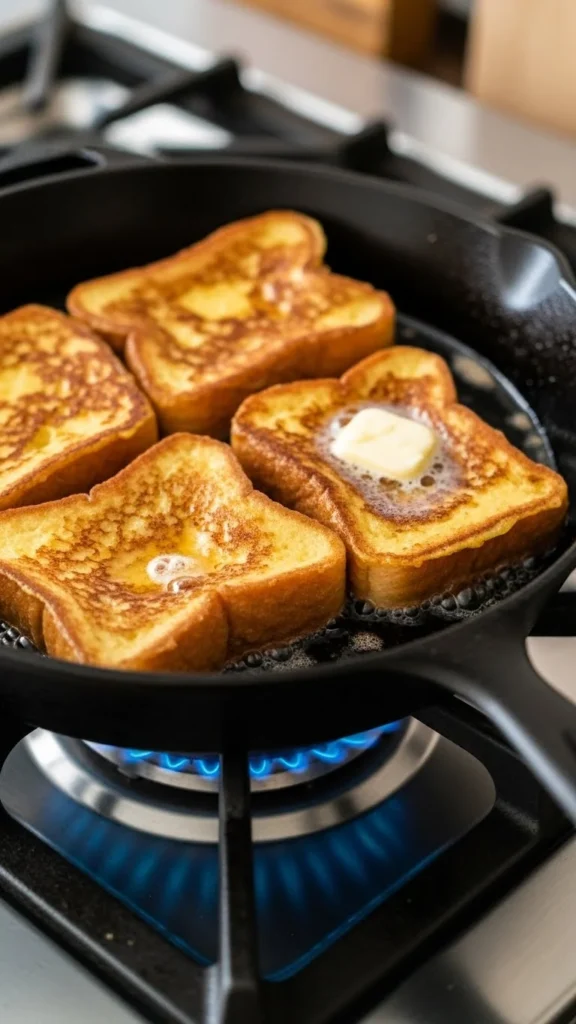
Control the Heat for Even Browning
High heat burns the outside before the inside cooks. Low heat dries everything out.
Ideal cooking method:
- Medium to medium-low heat
- Let the pan fully preheat before adding bread
- Cook 3–4 minutes per side until deeply golden
Resist the urge to flip too early. Let the crust form naturally.
The Secret Crunch Boost (Optional but Amazing)
If you want next-level crispiness, try one of these tricks:
- Sprinkle a tiny pinch of sugar onto the pan before placing the bread
- Add a tablespoon of cornstarch to the custard
- Finish cooked slices in a 375°F (190°C) oven for 5 minutes
These methods help evaporate excess moisture and enhance browning.
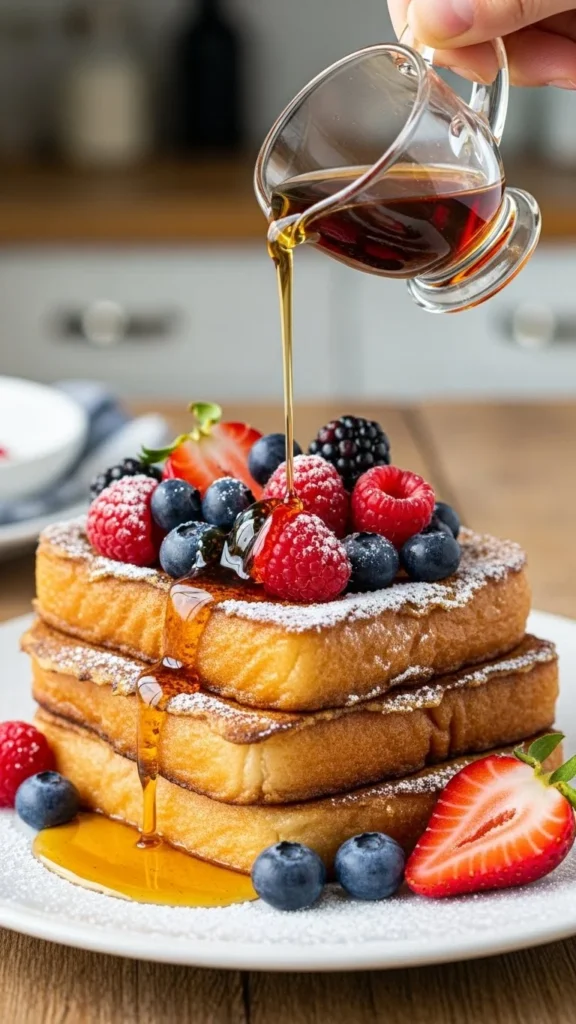
Finish Strong With Toppings That Don’t Kill the Crunch
Crispy French toast deserves smart toppings.
Best toppings for texture:
- Light dusting of powdered sugar
- Fresh berries
- Soft butter
- Warm syrup added just before eating
Avoid pouring cold syrup too early—it softens the crust fast.
Common French Toast Mistakes to Avoid
Skip these if you want perfect results:
- Using thin, fresh sandwich bread
- Oversoaking the bread
- Cooking on heat that’s too high
- Using only butter in the pan
- Stacking slices immediately after cooking (this traps steam)
Place finished slices on a wire rack if cooking in batches.
Final Takeaway: Crispy French Toast Is All About Balance
Golden, crispy French toast isn’t complicated—it’s controlled. The right bread, a balanced custard, quick dipping, proper heat, and smart pan fat make all the difference. Once you master these basics, you’ll never settle for soggy slices again.
Save this recipe for later and turn your next breakfast into a crispy, golden win! 🍞✨
Leave a Reply