Store-bought hummus is convenient… but let’s be honest — it’s rarely that creamy.
Sometimes it’s grainy.
Sometimes it’s bland.
Sometimes it tastes more like lemon than chickpeas.
The good news? Ultra-smooth, restaurant-style hummus is surprisingly easy to make at home — and once you try it, you’ll never go back.
Let’s break it down step by step.
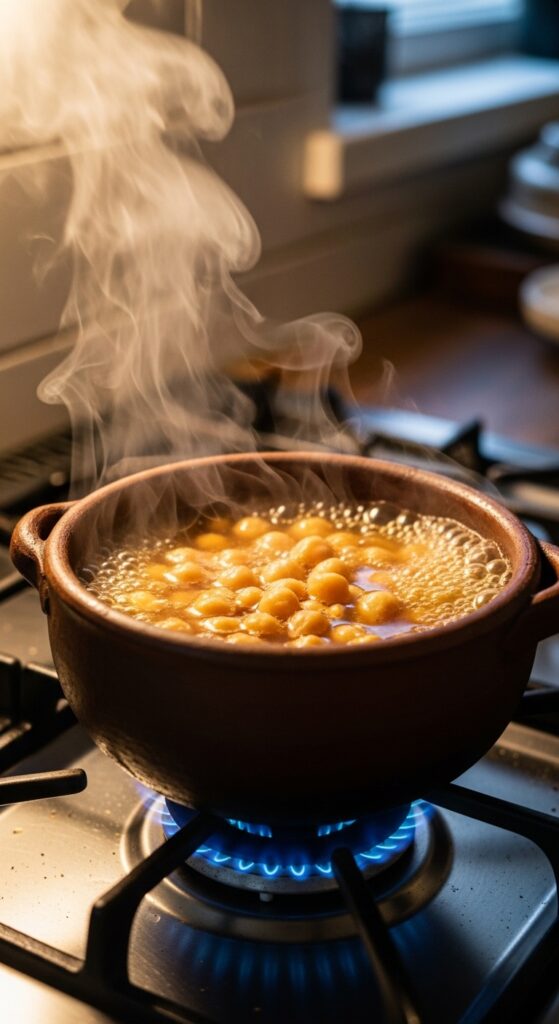
Step 1: Use Quality Chickpeas (And Cook Them Right)
The secret to creamy hummus starts here.
You can use:
- Canned chickpeas (quick option)
- Dried chickpeas (best texture)
If using canned:
- Drain and rinse well
- Simmer them for 15–20 minutes in fresh water
Yes — even canned ones.
Simmering softens them further and helps remove that slightly firm texture that causes graininess.
If using dried:
- Soak overnight
- Cook until very soft (almost falling apart)
Soft chickpeas = smooth hummus.
Step 2: Add Baking Soda (The Creaminess Hack)
Here’s a little-known trick.
While simmering chickpeas, add:
- ½ teaspoon baking soda
Why?
It helps break down the skins and softens the chickpeas even more.
After simmering:
- Rinse thoroughly
- Rub them gently to loosen skins (optional but helpful)
Removing skins isn’t mandatory — but it makes the texture unbelievably silky.
Step 3: Blend Tahini and Lemon First
Most people throw everything into the blender at once.
Don’t.
For ultra-creamy hummus, blend these first:
- ½ cup tahini
- 2–3 tablespoons fresh lemon juice
- 1 small garlic clove
- 2–4 tablespoons ice-cold water
Blend until pale, fluffy, and smooth.
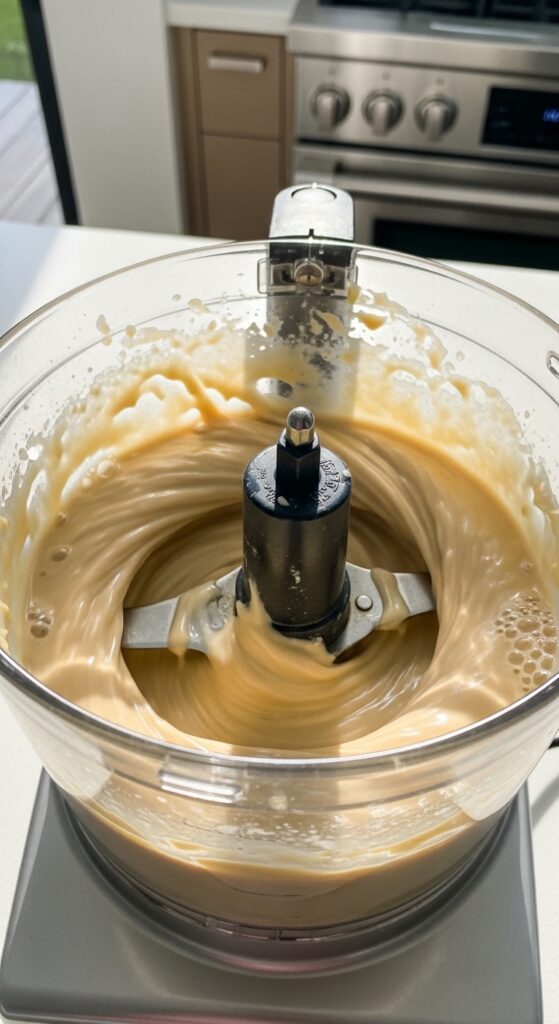
This step whips the tahini and creates a creamy base before adding chickpeas.
It makes a huge difference.
Step 4: Add Chickpeas Gradually
Now add your softened chickpeas.
Blend for at least 2–3 minutes.
Yes — longer than you think.
If needed, add:
- 1–3 tablespoons ice water
- A drizzle of olive oil
The texture should be:
- Thick but smooth
- Creamy and light
- Spreadable, not stiff
Don’t rush this step. The longer you blend, the silkier it becomes.
Step 5: Season Properly
Now it’s time to bring it to life.
Add:
- ¾ teaspoon salt (or to taste)
- ½ teaspoon ground cumin
- Extra lemon if needed
Taste and adjust.
If it feels flat, it probably needs:
- A little more salt
- Or a squeeze of lemon
Balance is everything.
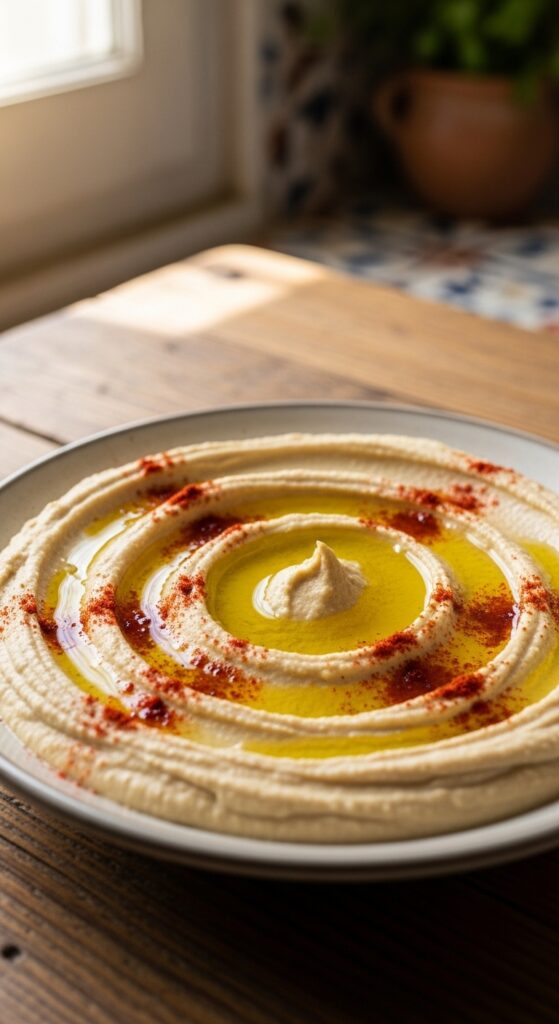
Step 6: Serve It Like a Pro
Presentation makes homemade hummus feel special.
Spread it in a shallow bowl.
Use the back of a spoon to create swoops.
Top with:
- A generous drizzle of olive oil
- Paprika or sumac
- Fresh parsley
- Whole chickpeas
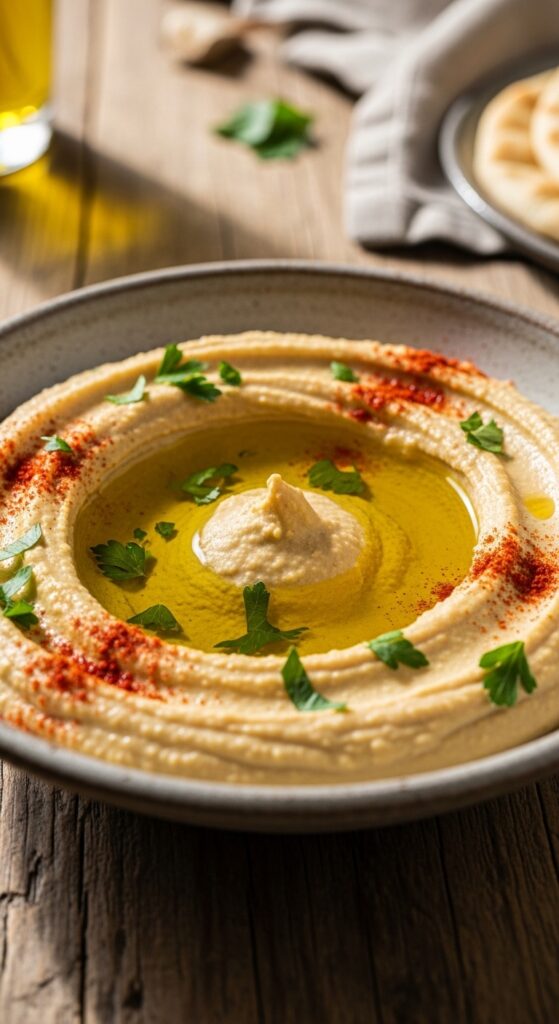
Serve with:
- Warm pita bread
- Fresh veggies
- Crackers
- Grilled meats
It instantly looks restaurant-worthy.
Why Homemade Hummus Tastes Better
When you make it yourself:
- You control the texture
- You adjust the seasoning
- You use real, fresh lemon
- You skip preservatives
And the flavor? Fresh, nutty, bright, and creamy.
It’s hard to go back to store-bought after this.
Common Mistakes to Avoid
- ❌ Not cooking chickpeas long enough
- ❌ Skipping the tahini blending step
- ❌ Not blending long enough
- ❌ Using bottled lemon juice
- ❌ Adding too much olive oil inside (use it mostly for topping)
Small tweaks = major difference.
Pro Tips for Extra Creamy Hummus
Want next-level smooth?
- Peel chickpea skins completely
- Use a high-speed blender
- Add a spoonful of Greek yogurt (not traditional, but ultra-creamy)
- Let hummus rest 30 minutes before serving
The flavor actually improves as it sits.
How Long Does It Last?
Store in an airtight container in the fridge.
It stays fresh for:
- 4–5 days
Before serving again:
- Stir well
- Add a tiny splash of water or lemon to refresh texture
Final Thoughts
Creamy hummus isn’t about complicated ingredients.
It’s about:
- Extra-soft chickpeas
- Whipped tahini
- Enough blending
- Balanced seasoning
Once you master this method, you’ll always have a quick, healthy dip ready in your fridge.
Try it this week — and taste the difference.
Save this recipe for your next snack board. 🥙
Leave a Reply