You’ve baked the cake, but the frosting looks messy and the top is uneven. If you’ve searched for How to Decorate a Stunning Birthday Cake with Simple Techniques, you’re in the right place. You’ll get straightforward steps that make the cake look polished, even if you’re not a pro.
The secret? Small, reliable tools. A digital kitchen scale helps with consistent cake layers and a stand mixer makes silky frosting fast. These save time and prevent common mistakes.
Read on to learn step-by-step how to decorate a birthday cake with simple techniques, from leveling to piping to the final photo-ready touches. You’ll finish with a cake that looks special and is pin-worthy.
Getting Your Station Ready for Easy Decorating

Prep saves time and keeps your cake neat. Center your tools: a cake turntable, an offset spatula, a bench scraper and a couple of piping bags. A turntable makes smoothing much easier; spin, don’t tug.
Quick checklist:
- Weigh cakes with a digital kitchen scale for even layers.
- Cool fully on a wire cooling rack — warm cakes tear when you level them.
- Keep a bowl of warm water and a clean towel nearby for spatula wipes.
Leveling and the Crumb Coat for a Smooth Base
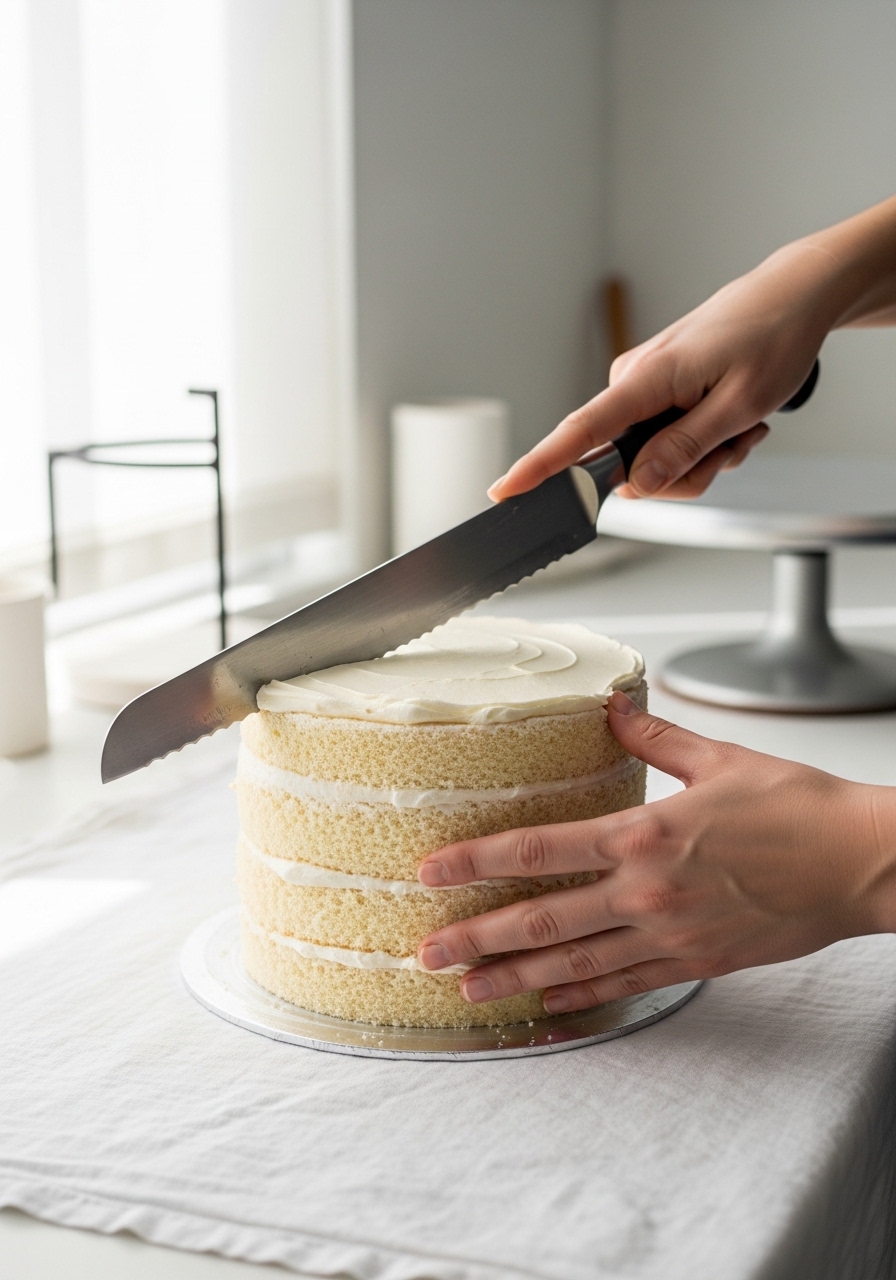
The base makes or breaks the look. Level each layer with a serrated knife or a cake leveler. Stack with a thin layer of frosting between layers — about 1/4 inch — to lock crumbs in.
Steps:
- Trim domes so each layer is flat.
- Add a crumb coat: a thin layer of frosting around the whole cake.
- Chill for 15–30 minutes until slightly firm.
Tips:
- Use a bench scraper against the turntable for perfectly straight sides.
- If frosting seems grainy, whip it briefly in a stand mixer to smooth.
Smoothing Frosting and Creating Clean Edges
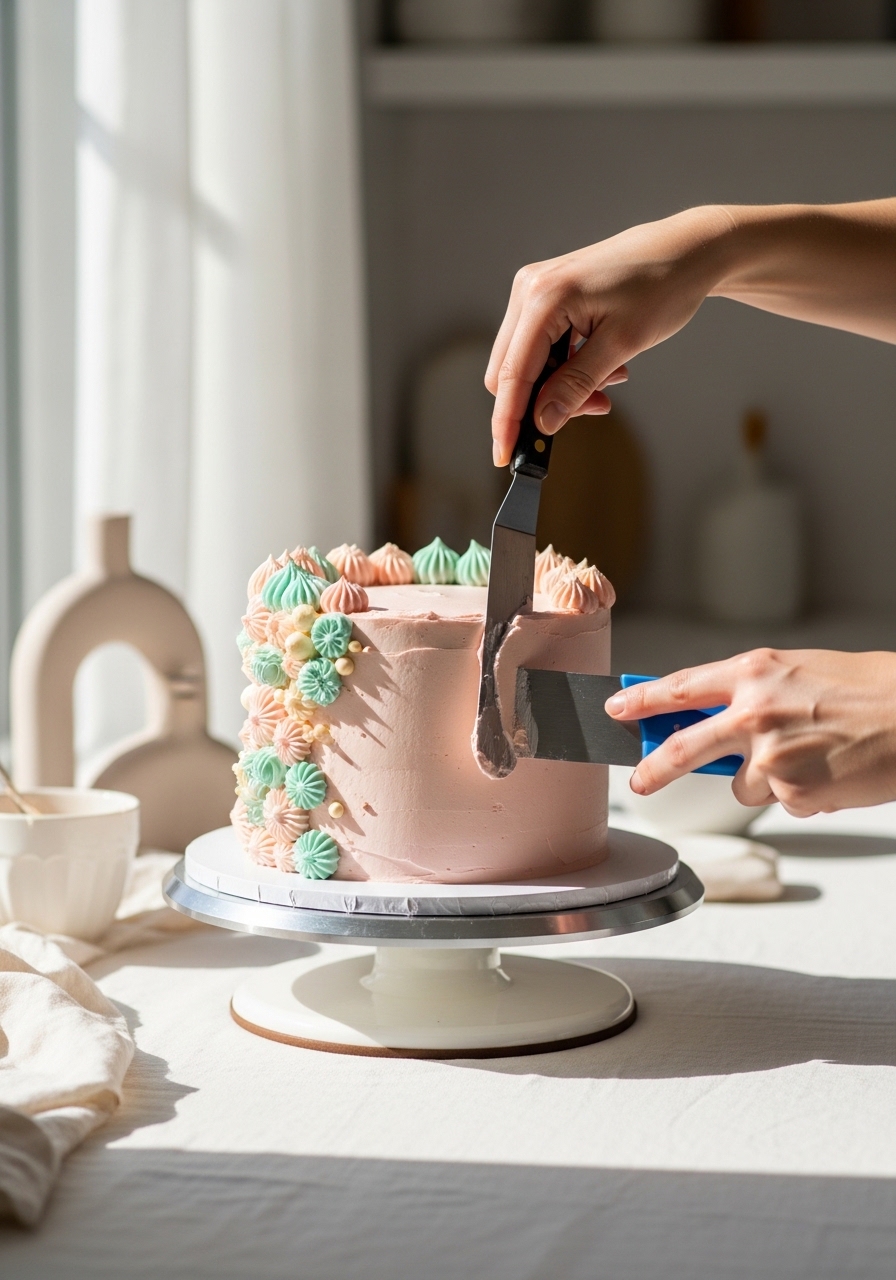
A smooth finish looks high-end and takes just a few tricks. Apply a slightly thicker final coat of frosting, then use an offset spatula to push excess to the sides as you spin the cake.
How to:
- Hold the bench scraper steady vertical and spin the turntable for straight sides.
- Warm the spatula in hot water, dry, then lightly smooth the top for a glassy finish.
Quick pro tips:
- Remove air bubbles by tapping the turntable gently.
- Chill 10 minutes between passes if frosting softens.
Simple Piping, Borders, and Final Touches
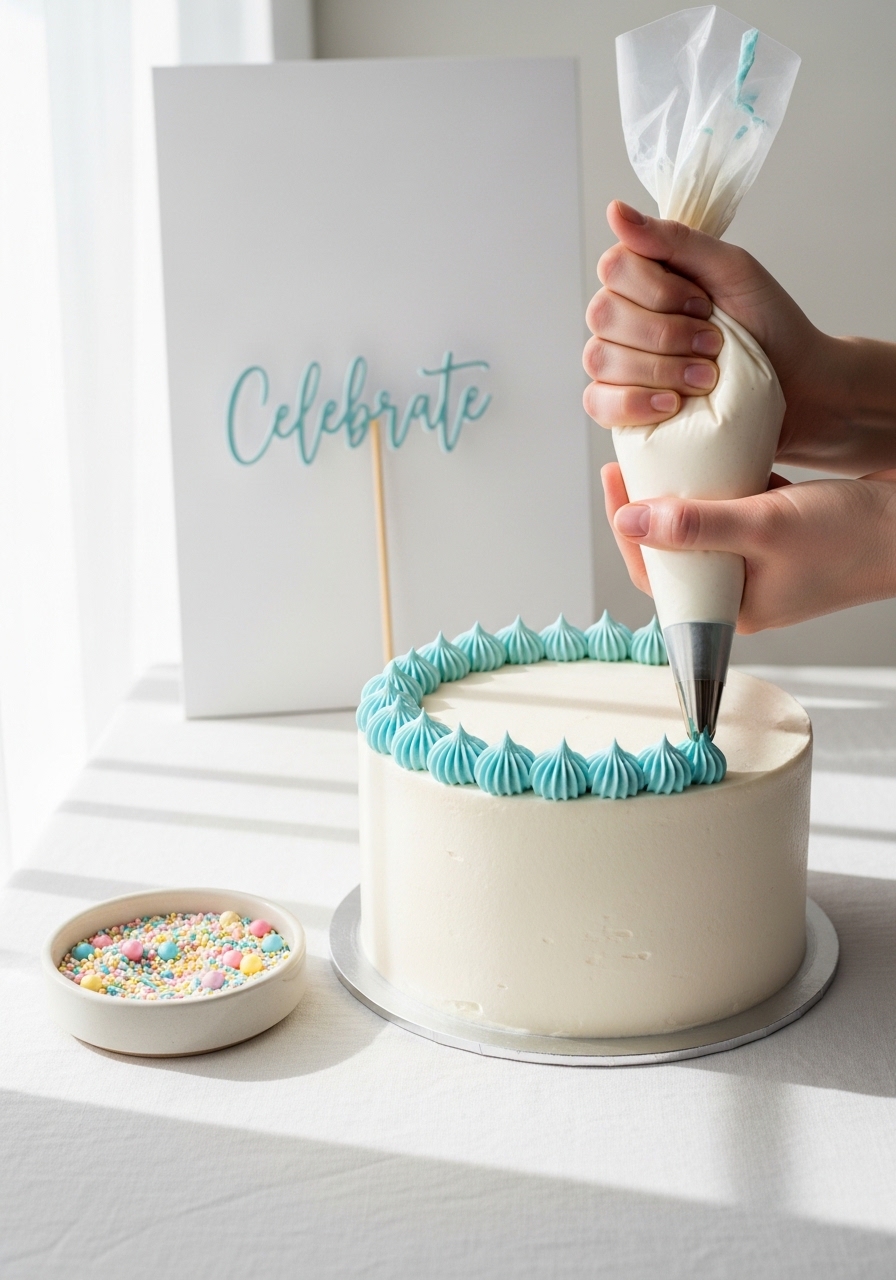
Add personality with easy piping and toppings. Use a set of decorating tips and reusable piping bags for consistent shapes.
Try these quick ideas:
- Pipe a shell or rosette border around the base and top edge using a large star tip.
- Scatter a modest amount of pastel sprinkles from a small spoon — less is more visually.
- Add a simple topper or fresh edible flowers for height.
Tools that help:
- A silicone whisk keeps frosting lump-free during mixing.
- Store leftovers in glass storage containers for freshness.
Troubleshooting and Make-Ahead Options
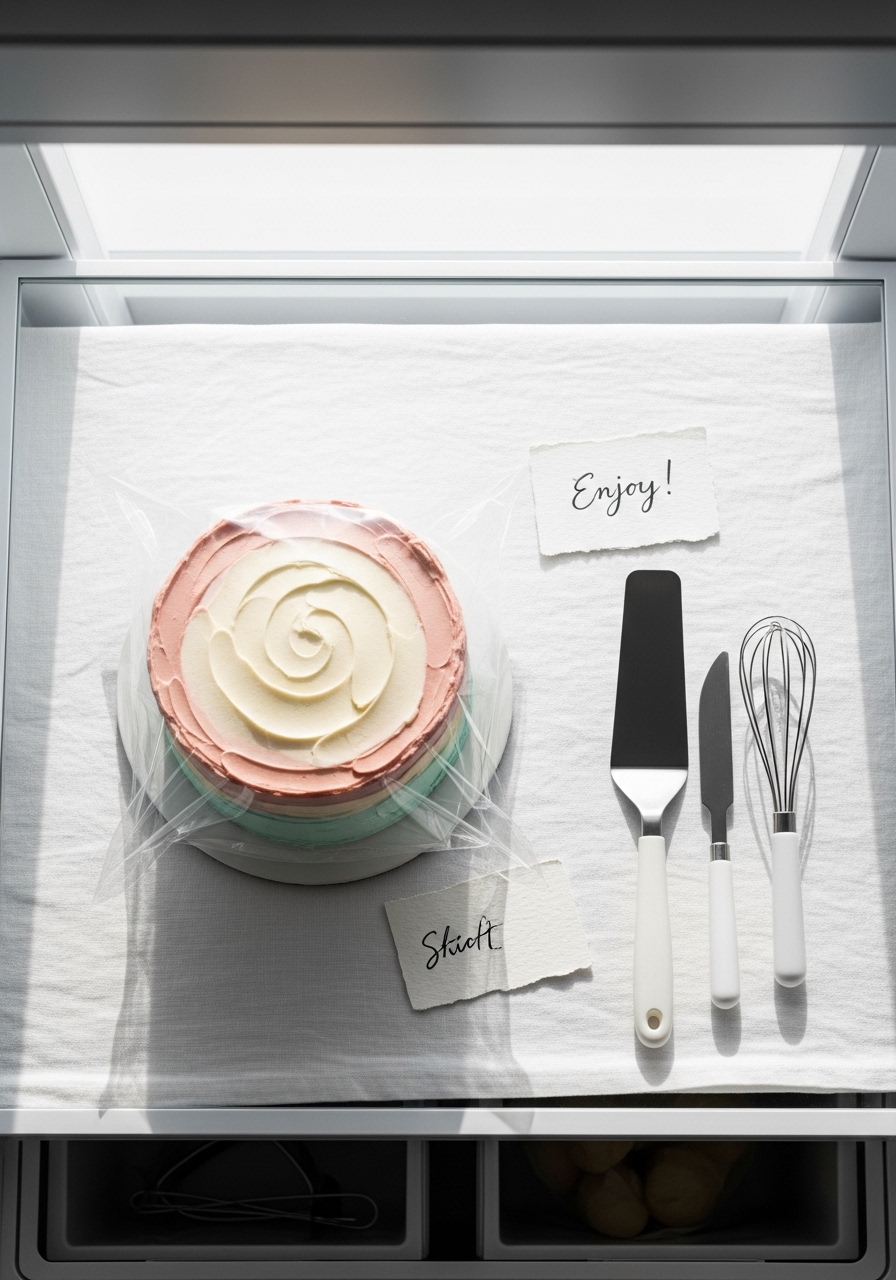
If frosting splits or feels greasy, chill and re-whip lightly in the stand mixer. For transport, chill the cake solid and use a sturdy cake box.
Storage tips:
- Make the cake up to 24 hours ahead for best texture.
- Keep at cool room temperature if filled with buttercream; refrigerate if using cream cheese or whipped cream.
Common mistakes:
- Overfilling piping bag — fill halfway to keep control.
- Skipping the crumb coat — it leads to scattered crumbs on the final coat.
Once you practice these steps, decorating becomes faster and less stressful. Grab an offset spatula if you don’t have one — it’s the single tool that makes smoothing easy. Pin this guide for your next birthday bake and try one tip at a time. Which simple technique will you try first?
Leave a Reply