Cooking with a timer can feel safe — until it doesn’t. Maybe it goes off while you’re in another room, or the food still isn’t done even though the timer says it should be. Great cooks don’t just cook by minutes; they cook by sight, sound, smell, and feel. The good news? You can learn this skill too, even if you’re a beginner.
Cooking without always relying on a kitchen timer helps you become more confident, flexible, and intuitive in the kitchen. Instead of stressing over exact minutes, you’ll start understanding when food is truly ready.
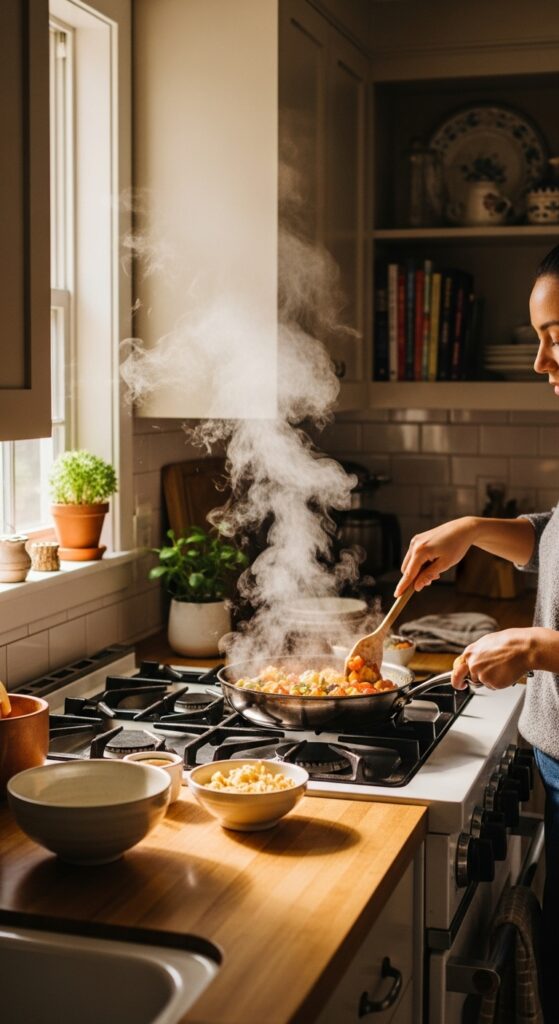
Step 1: Learn What “Done” Looks Like
The biggest secret to cooking without a timer is knowing visual cues. Food tells you when it’s ready — you just have to watch.
Here are a few examples:
- Vegetables: Bright, vibrant colors usually mean tender and done. Dull or gray often means overcooked.
- Meat: Chicken turns from pink to white, beef browns and releases juices, fish flakes easily with a fork.
- Baked goods: Edges pull slightly away from the pan, tops turn golden, and the center looks set.
Instead of walking away, stay nearby and check in often. Over time, you’ll recognize these signs instantly.

Step 2: Use Your Nose More Than You Think
Smell is one of the most powerful tools in cooking. Before food burns, it usually smells like it’s about to.
Pay attention to these scent cues:
- Toasting bread: Nutty and warm means perfect. Sharp or smoky means it’s time to act.
- Garlic: Fragrant and mellow is ideal. Bitter or acrid means it’s burning.
- Baked items: A rich, sweet smell filling the kitchen often means they’re almost done.
If something smells amazing, it’s usually close. If the smell changes suddenly, check immediately.
Step 3: Listen to the Sounds of Cooking
Cooking makes noise — and those sounds change as food cooks.
Examples to notice:
- Sizzling: Loud sizzling usually means moisture is still evaporating. Softer sizzling means browning has started.
- Boiling: Rolling bubbles mean high heat; gentle bubbles mean a simmer.
- Silence: If something suddenly stops making noise, it might be out of moisture or overcooked.
Try cooking one meal without music or distractions. Just listen. It’s surprisingly helpful.

Step 4: Touch and Texture Tell the Truth
Timers can’t feel food — but you can.
Use safe tools like a spoon, fork, or tongs to check texture:
- Pasta: Bite it. It should be tender but slightly firm.
- Potatoes: A fork should slide in easily without falling apart.
- Meat: Firmer usually means more cooked; springy often means just right.
For baked goods, lightly press the top. If it springs back, it’s usually done.
Step 5: Understand Heat, Not Just Time
Cooking time changes based on heat level, pan size, and ingredients. That’s why timers can be misleading.
Keep these tips in mind:
- High heat cooks faster but burns easier.
- Low heat takes longer but is more forgiving.
- Crowded pans cook slower than empty ones.
- Cold ingredients take longer to heat through.
Once you understand how heat behaves, you’ll stop depending on exact minutes and start adjusting naturally.
Common Mistakes When Ditching the Timer
Going timer-free doesn’t mean guessing wildly. Avoid these common mistakes:
- Walking away completely
- Cooking on high heat the entire time
- Not checking food until it’s too late
- Ignoring smells or sounds
You don’t need to hover — just stay aware.
Pro Tips to Build Confidence Faster
- Cook the same meals repeatedly to learn patterns
- Use timers as backups, not leaders
- Taste food throughout the cooking process
- Take mental notes of what worked and what didn’t
The more you practice, the less you’ll think about it.

Final Thoughts
Learning how to cook without always relying on a kitchen timer is about trust — trusting your senses and yourself. Once you start paying attention, cooking becomes less stressful and more enjoyable. You’ll adapt faster, fix mistakes sooner, and feel more in control.
Try cooking one meal this week by watching, smelling, listening, and tasting instead of watching the clock. You might be surprised how well it turns out.
Save this for later, or pin it for your next cooking day. 🍳
Leave a Reply