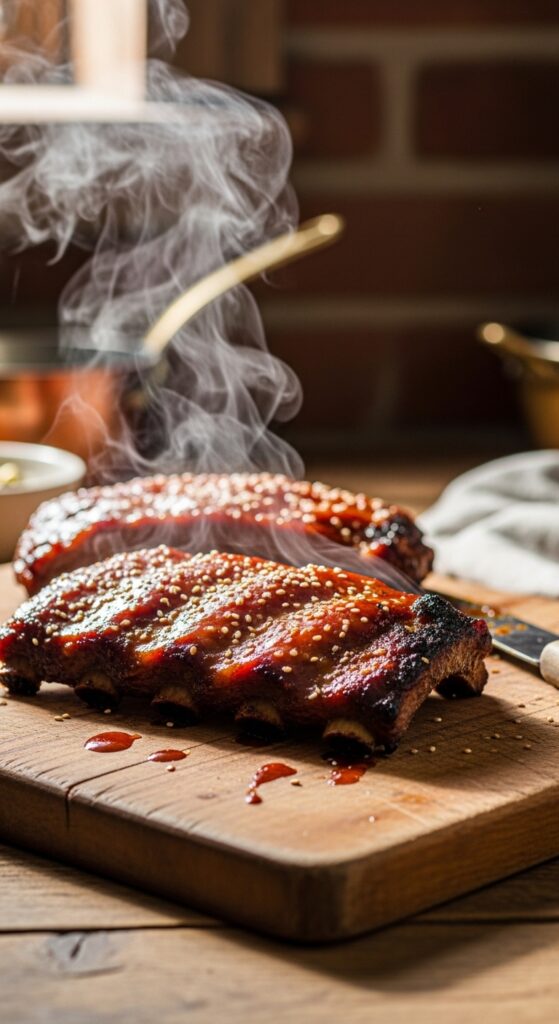
There’s nothing more disappointing than biting into ribs that look amazing… but turn out tough and chewy.
The good news? You don’t need a smoker or a fancy grill to get ribs that are tender, juicy, and literally falling off the bone.
With the right method, you can make restaurant-quality ribs right in your kitchen.
Let’s break it down step by step.
Step 1: Choose the Right Type of Ribs
Not all ribs cook the same.
Here are the most common options:
- Baby back ribs – Smaller, leaner, cook faster
- Spare ribs – Larger, meatier, slightly fattier
- St. Louis-style ribs – Trimmed spare ribs, uniform shape
For beginners, baby back ribs are the easiest to manage and become tender quickly.
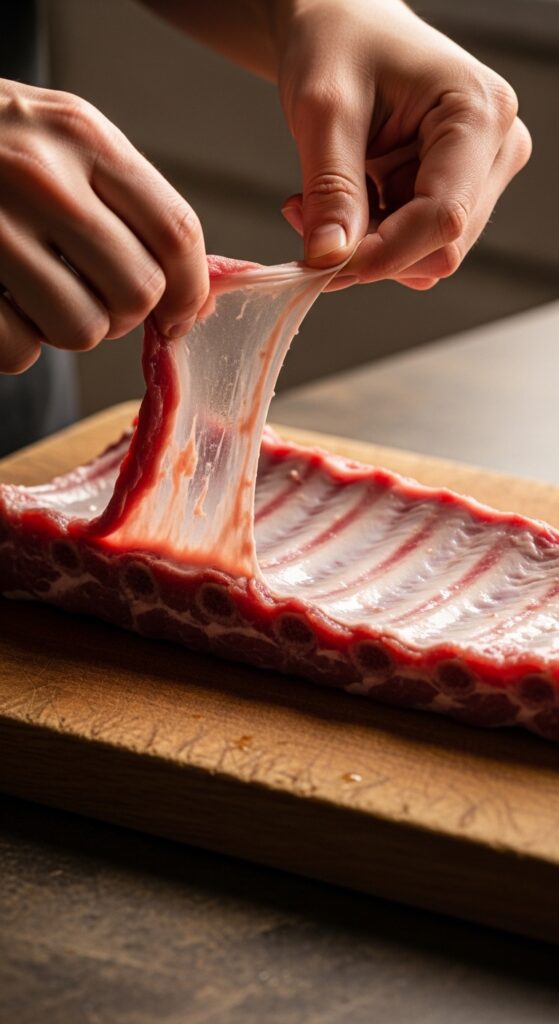
Step 2: Remove the Membrane (Don’t Skip This)
Flip the ribs over.
On the bone side, you’ll see a thin, shiny membrane.
Slide a knife under one edge, grab it with a paper towel, and pull it off in one piece.
Why this matters:
- It prevents toughness
- Allows seasoning to penetrate
- Helps ribs become truly fall-apart tender
This small step makes a big difference.
Step 3: Season Generously
Great ribs start with a bold dry rub.
Simple homemade rib rub:
- 2 tbsp brown sugar
- 1 tbsp paprika
- 1 tsp garlic powder
- 1 tsp onion powder
- 1 tsp salt
- ½ tsp black pepper
- Optional: pinch cayenne
Pat the ribs dry, then coat both sides generously.
Press the seasoning into the meat so it sticks.
Let them sit at room temperature for 30 minutes (or refrigerate up to overnight for deeper flavor).
Step 4: Cook Low and Slow (The Secret)
Low heat + time = tender ribs.
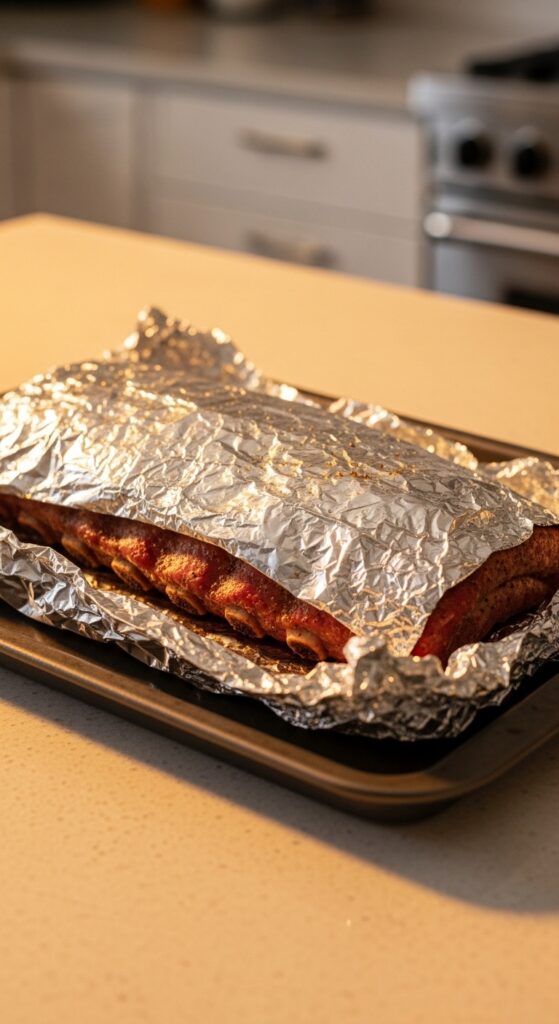
Oven Method (Foolproof)
- Preheat oven to 300°F (150°C).
- Place ribs on foil.
- Add a splash of apple juice or broth.
- Wrap tightly in foil (this traps steam).
- Bake for 2.5–3 hours.
The steam gently breaks down connective tissue, making the meat incredibly tender.
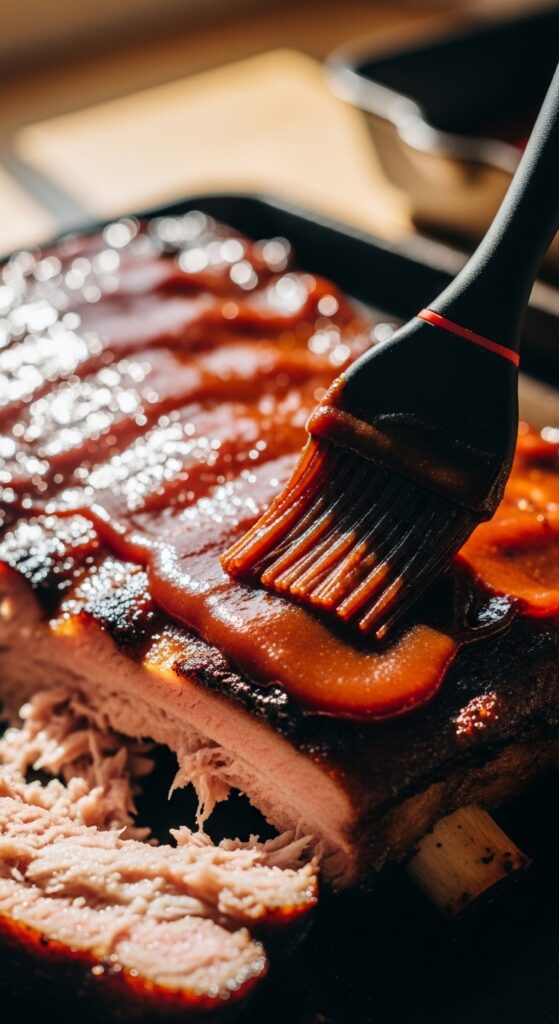
Step 5: Add Sauce and Finish Hot
After slow cooking, carefully unwrap the ribs.
They should bend easily and feel very tender.
Now:
- Brush generously with your favorite barbecue sauce.
- Return to oven uncovered at 425°F (220°C) for 10–15 minutes.
Or broil for 3–5 minutes to caramelize the sauce.
This step creates that sticky, glossy finish.
Step 6: Let Them Rest Before Cutting
This part is hard — but important.
Let the ribs rest for 10 minutes before slicing.
Resting:
- Locks in juices
- Keeps meat tender
- Makes slicing cleaner
Use a sharp knife and cut between the bones.
How to Tell When Ribs Are Done
Perfect ribs should:
- Bend easily when lifted
- Have meat pulling slightly back from the bones
- Reach an internal temperature of about 190–203°F
At this temperature, collagen breaks down fully — which is what creates that fall-off-the-bone texture.
Common Mistakes to Avoid
- Cooking at too high a temperature
- Skipping the foil wrap
- Not removing the membrane
- Using too little seasoning
- Saucing too early (it can burn)
Low and slow wins every time.
Want Grill Flavor?
After oven cooking, you can:
- Finish ribs on a hot grill for 5–10 minutes
- Add a small amount of liquid smoke to your rub
- Use smoked paprika for deeper flavor
This gives you that backyard BBQ taste without fully smoking them.
Final Thoughts
Tender ribs aren’t about complicated techniques.
They’re about:
- Removing the membrane
- Seasoning boldly
- Cooking low and slow
- Finishing with heat
Follow this method once — and you’ll never serve dry ribs again.
Save this guide for your next cookout.
Or better yet, make them this weekend and watch them disappear. 🍖
Leave a Reply