Chicken breast has a reputation.
Dry.
Bland.
Overcooked.
But it doesn’t have to be that way.
When cooked properly, chicken breast can be incredibly juicy, tender, and packed with flavor. The secret isn’t complicated — it’s just about using the right technique and knowing when to stop cooking.
If you’ve ever sliced into a beautiful piece of chicken only to find it dry and disappointing, this guide is for you.
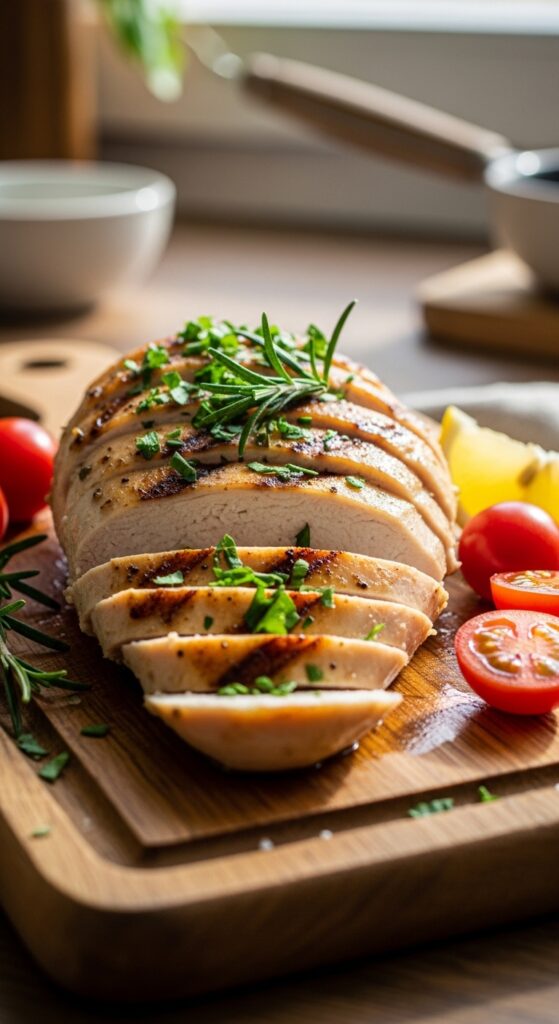
Let’s fix dry chicken for good.
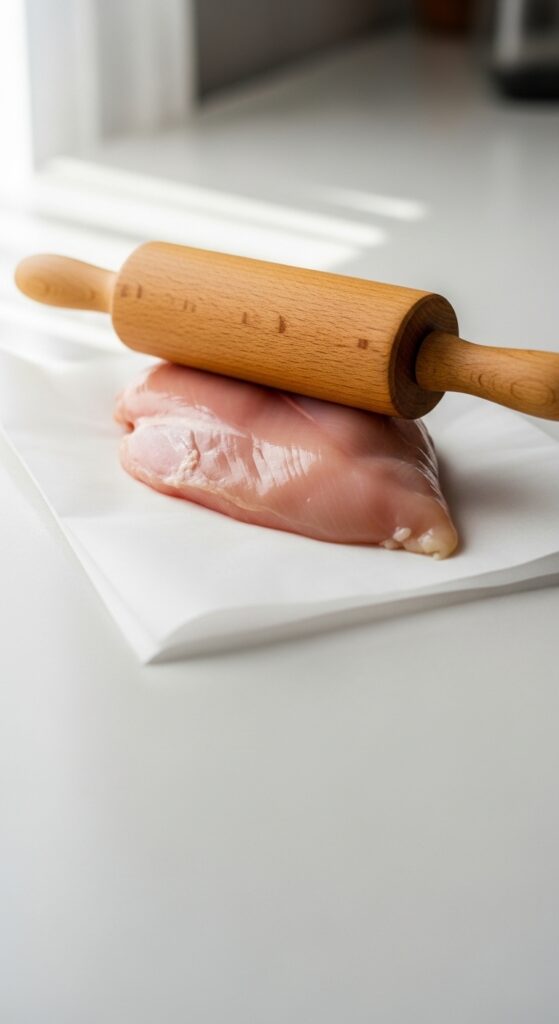
Step 1: Start with Even Thickness
One of the biggest reasons chicken dries out? Uneven thickness.
Chicken breasts are usually thicker on one end and thinner on the other. That means one side overcooks while the other finishes cooking.
Here’s what to do:
- Place the chicken between two pieces of parchment paper or plastic wrap
- Gently pound it with a meat mallet or rolling pin
- Aim for even thickness (about ¾ inch)
This ensures even cooking from edge to center.
Step 2: Season Generously (And Early)
Chicken breast is lean — which means it needs help in the flavor department.
At minimum, use:
- Salt
- Black pepper
- Olive oil
For extra flavor, add:
- Garlic powder
- Paprika
- Italian seasoning
- Lemon zest
Pro tip: Salt the chicken at least 15–30 minutes before cooking. This helps it retain moisture and enhances flavor.
If you have time, you can also quickly brine it:
- 4 cups water
- ¼ cup salt
- Soak chicken for 30 minutes
This simple step makes a noticeable difference.
Step 3: Use the Right Cooking Method
You don’t need anything fancy — just control the heat.
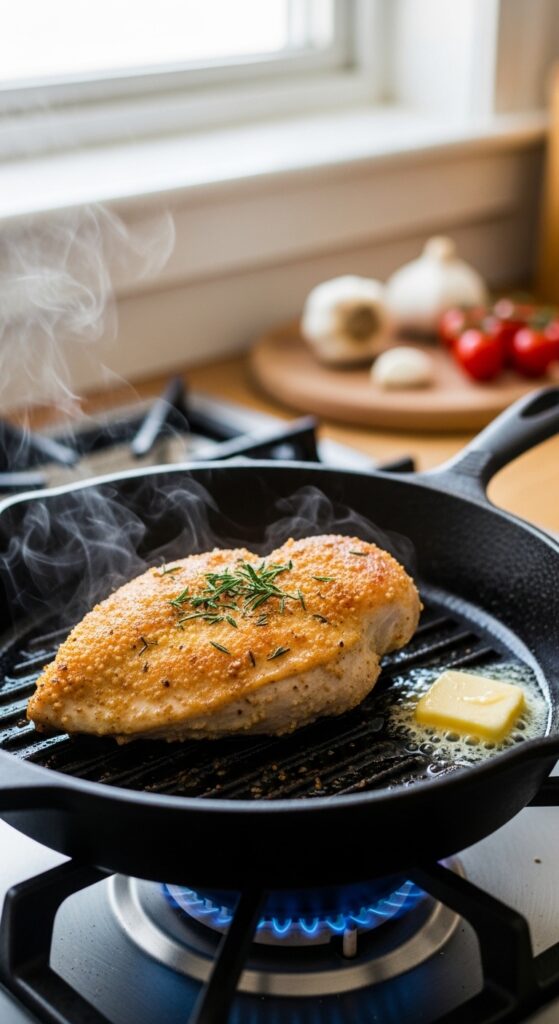
Pan-Seared Method (Best for Juiciness)
- Heat a skillet over medium heat.
- Add 1–2 tablespoons oil.
- Once hot, add the chicken.
- Cook 5–7 minutes per side.
Don’t constantly flip it. Let it develop a golden crust before turning.
Oven Method (Hands-Off Option)
- Preheat oven to 400°F (200°C).
- Place chicken in a lightly oiled baking dish.
- Bake for 18–22 minutes.
Optional: Cover loosely with foil for extra moisture.
Step 4: Don’t Overcook It (This Is Everything)
This is the most important step.
Chicken breast is done at 165°F (74°C).
Use a meat thermometer if possible. Insert it into the thickest part.
Remove the chicken from heat once it hits 160–162°F. It will continue cooking as it rests and reach 165°F naturally.
Overcooking by even a few minutes is what causes dryness.
If you don’t have a thermometer:
- Cut into the thickest part
- Juices should run clear
- Meat should be white but still moist
But honestly? A thermometer is worth it.
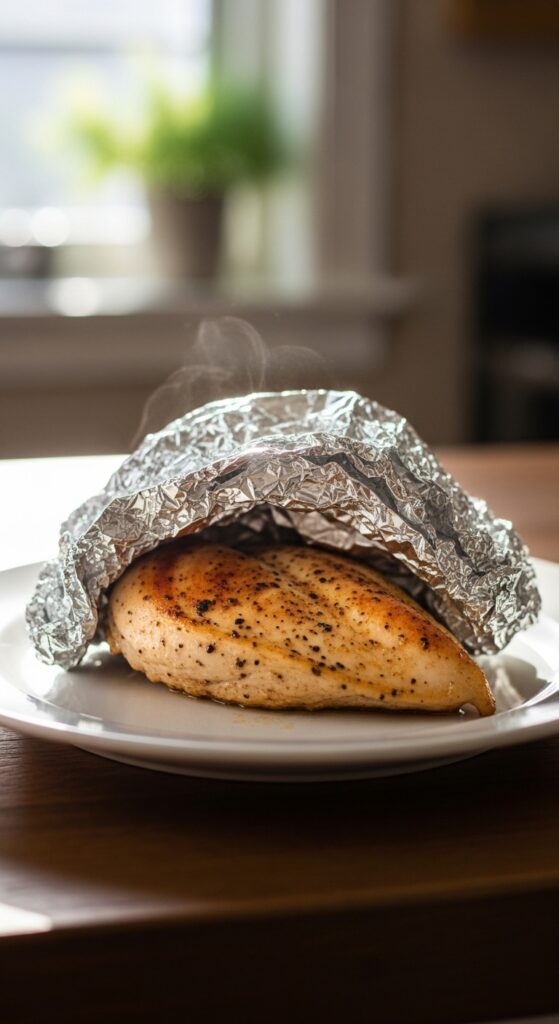
Step 5: Let It Rest
Resting is non-negotiable.
After cooking:
- Transfer chicken to a plate
- Let it rest for 5–10 minutes
- Do not slice immediately
Resting allows juices to redistribute inside the meat instead of spilling out onto the cutting board.
This step alone can be the difference between juicy and dry.
Bonus: Add Moisture After Cooking
Want even more insurance against dryness?
Try:
- Slicing and drizzling with pan juices
- Adding a squeeze of fresh lemon
- Topping with a simple butter sauce
- Serving with a creamy dressing or salsa
Moisture on the outside enhances the perception of juiciness inside.
Common Mistakes That Dry Out Chicken
Avoid these:
- Cooking on high heat the entire time
- Skipping the resting step
- Not pounding to even thickness
- Guessing doneness without checking temperature
- Baking too long “just to be safe”
Chicken breast cooks quickly — especially when evenly flattened.
Final Thoughts
Juicy chicken breast isn’t about luck.
It’s about:
- Even thickness
- Proper seasoning
- Moderate heat
- Accurate temperature
- Resting time
That’s it.
Once you master these simple steps, dry chicken will be a thing of the past.
Try this method tonight.
Save it for later.
And pin this guide so you never overcook chicken again.
Leave a Reply