Love crispy bacon… but hate the grease splatters, smoky kitchen, and stovetop cleanup afterward?
You’re not alone.
Cooking bacon the traditional way can feel like a mini disaster. Grease pops everywhere. Your clothes smell like smoke. And somehow, you’re still left with uneven strips.
The good news? You can get perfectly crispy bacon — without the mess.
Let’s walk through the cleanest, easiest method that works every time.
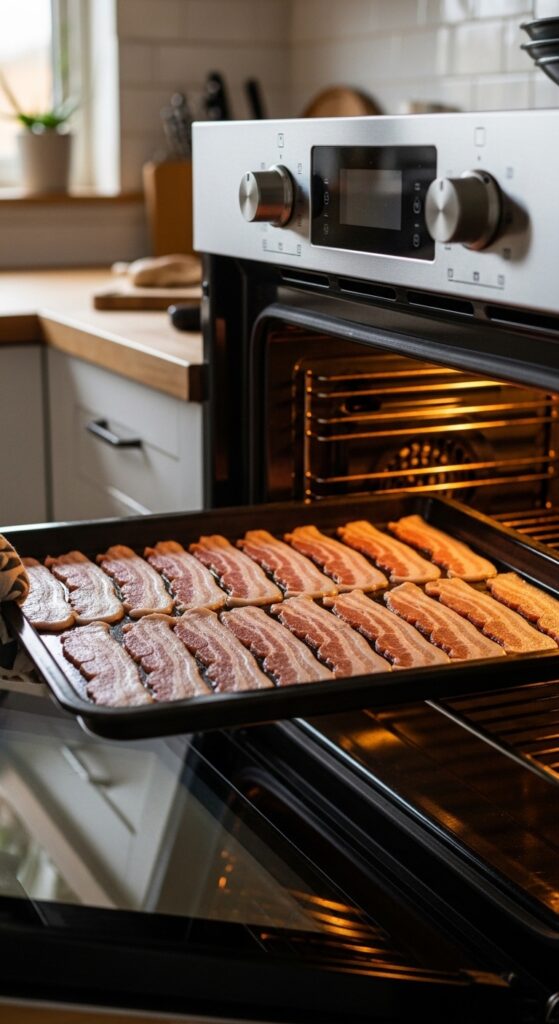
Step 1: Use the Oven (Not the Stovetop)
If you’re still frying bacon in a pan, this is your sign to switch.
The oven method:
- Cooks bacon evenly
- Eliminates grease splatter
- Requires almost no babysitting
- Makes cleanup incredibly easy
Instead of standing over a hot skillet, you let the oven do the work.
Bonus? You can cook an entire pack at once.
Step 2: Line Your Baking Sheet Properly
This step is what makes it “no mess.”
Here’s what you’ll need:
- A rimmed baking sheet
- Parchment paper or aluminum foil
- Optional: a wire rack
Line the entire sheet with parchment paper or foil, making sure it goes up the sides slightly.

Why this matters:
The rim catches grease.
The lining prevents sticking.
Cleanup becomes as simple as tossing the paper away.
If you want extra crispiness, place a wire rack on top so the bacon sits slightly elevated.
Step 3: Arrange the Bacon Correctly
Lay the bacon strips flat in a single layer.
- Don’t overlap
- Don’t crowd
- Slight touching is fine
You don’t need oil.
You don’t need seasoning.
Bacon has plenty of fat on its own.
If cooking multiple batches, use separate trays instead of stacking strips.
Step 4: Start With a Cold Oven
This is the secret most people skip.
Place the tray in a cold oven.
Then turn it to 400°F (200°C).
Starting cold helps:
- Render the fat slowly
- Reduce splattering
- Cook more evenly
Set a timer for 15–20 minutes.
Thick-cut bacon may need 20–25 minutes.
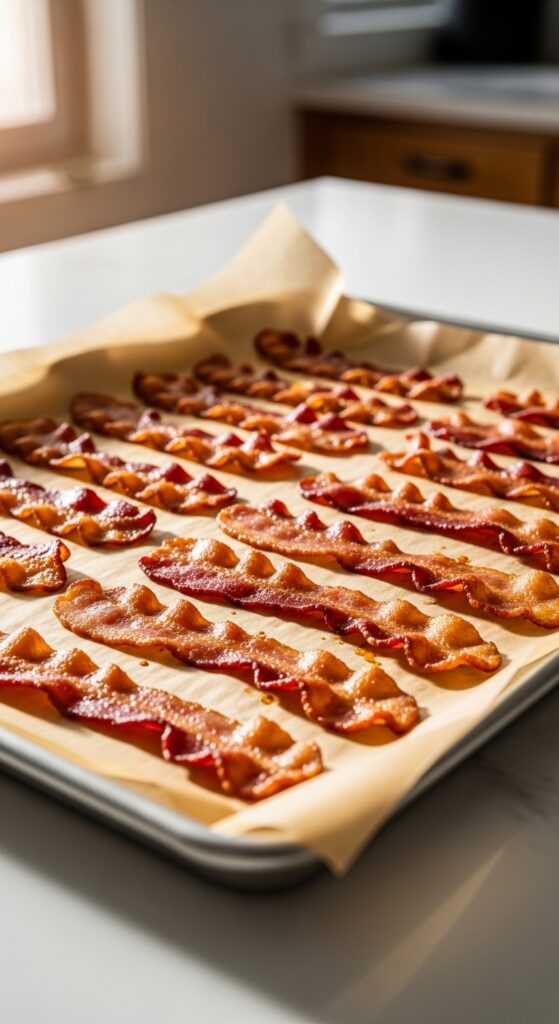
Step 5: Watch for Visual Cues (Not Just Time)
Every oven is different.
Your bacon is ready when:
- It’s deep golden brown
- The fat looks fully rendered
- The edges are slightly curled
- It looks just a bit darker than you think it should
Remember: bacon crisps more as it cools.
If you like it extra crispy, leave it in for an additional 2–3 minutes — but watch closely.
Step 6: Drain Properly for Maximum Crisp
As soon as you remove the tray:
- Transfer bacon to a paper towel-lined plate
- Let it cool for 5 minutes
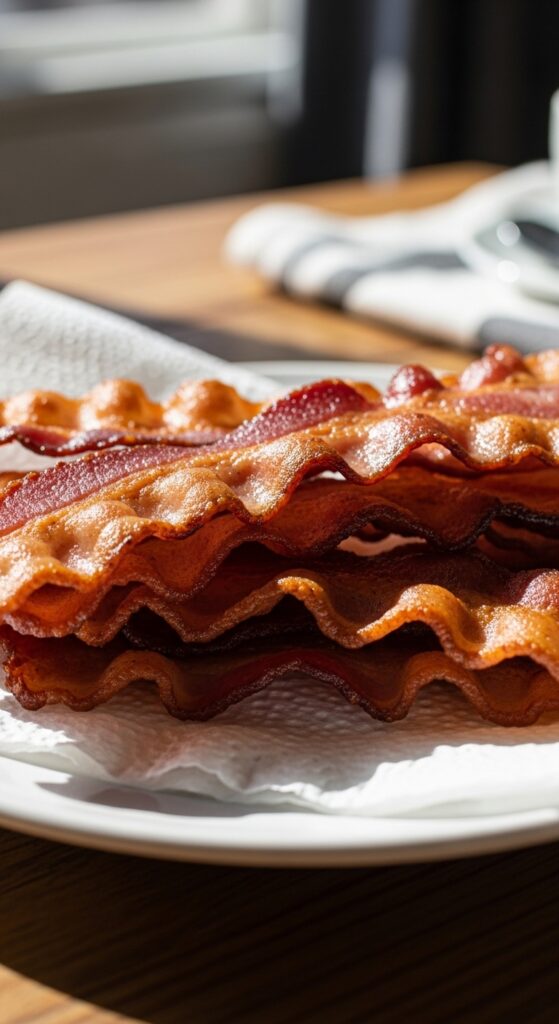
This absorbs excess grease and helps it crisp up perfectly.
Why This Method Is So Much Cleaner
Let’s compare quickly:
Stovetop:
- Grease splatters everywhere
- Requires constant flipping
- Uneven cooking
- Smoky kitchen
Oven Method:
- No splatter
- No flipping
- Even crisp texture
- Easy cleanup
Once you try this, you probably won’t go back.
Pro Tips for Even Better Bacon
Want next-level results?
For Extra Crispy Bacon:
- Use a wire rack
- Bake a few minutes longer
- Choose regular-cut instead of thick-cut
For Less Smoke:
- Avoid cooking above 400°F
- Don’t let grease burn
- Clean your oven regularly
For Easy Grease Disposal:
- Let grease cool completely
- Pour into a jar
- Throw away once solid
Never pour bacon grease down the sink.
Common Mistakes to Avoid
- ❌ Overcrowding the pan
- ❌ Using a flat sheet without rims
- ❌ Starting in a hot oven
- ❌ Walking away too long at the end
- ❌ Skipping the draining step
Small adjustments make a big difference.
Bonus: Air Fryer Option (Small Batches)
If you’re only cooking a few slices, an air fryer works well.
- Set to 375°F
- Cook 8–10 minutes
- Check halfway through
It’s fast and fairly tidy — but better for small amounts.
Final Thoughts
Crispy bacon doesn’t have to mean greasy chaos.
With the oven method, you get:
- Perfectly crisp strips
- Minimal cleanup
- No grease splatter
- Zero standing over a hot pan
Once you try this, it becomes your go-to.
Next breakfast will be easier — and way less messy.
Save this for your next brunch morning. 🥓
Leave a Reply