You love the speed of air frying, but greasy crumbs and stubborn baked-on bits make you dread cleanup. If you’ve ever shoved a tray into the sink and vowed to clean it later, this guide shows you how to clean an air fryer quickly and properly—without stress or damaging parts.
The trick is a short routine plus a few smart tools: a silicone spatula for scraping and a set of glass storage containers to soak small parts. Follow these simple steps and you'll keep your air fryer running like new.
You’ll learn fast daily wipes, a step-by-step deep clean, and quick fixes for stuck-on grease. Each section includes timed steps, tips, and product suggestions that genuinely save time.
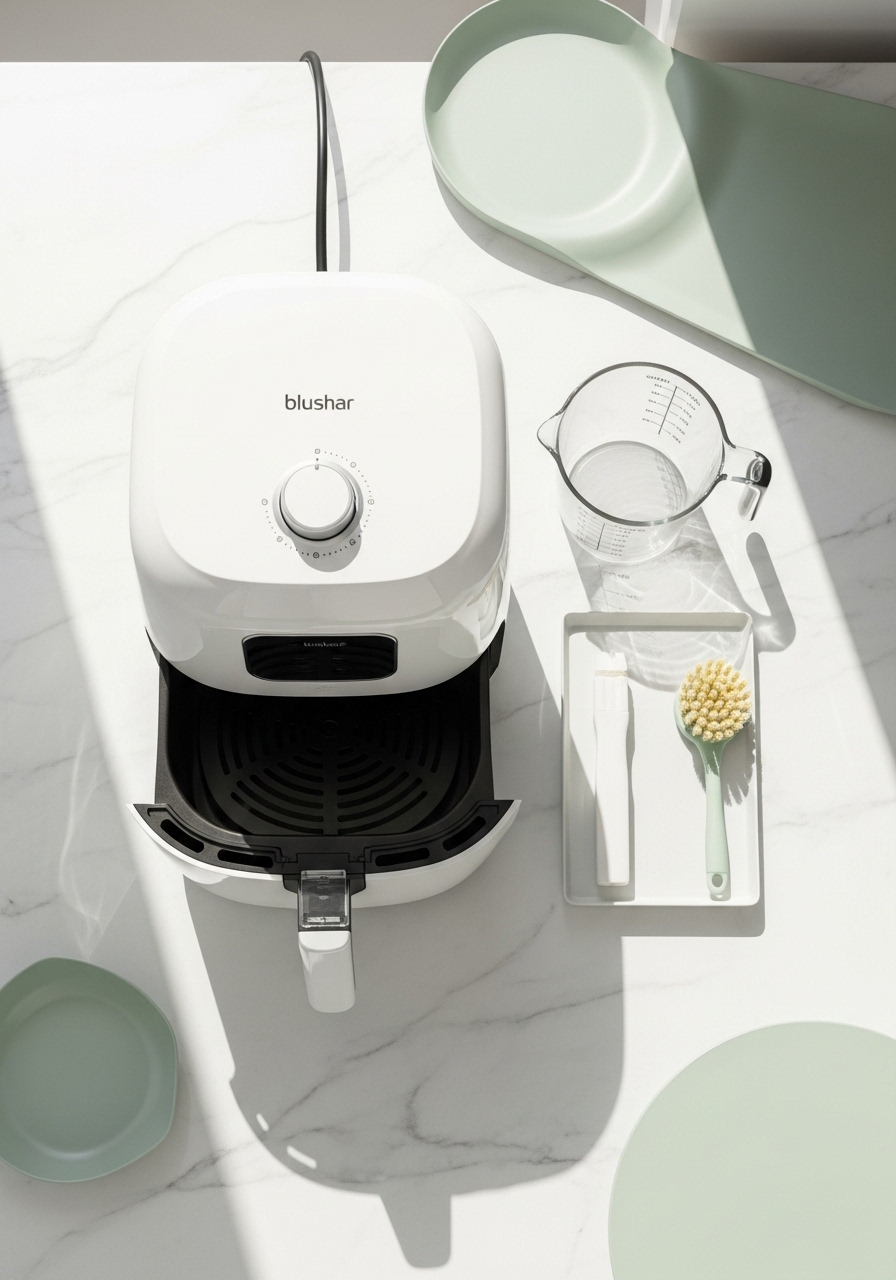
Prepare the Air Fryer and Your Station

- Unplug the air fryer and let it cool for at least 30 minutes.
- Remove the basket and tray and set them on a towel or rack to dry after cleaning.
- Fill a glass prep bowl or sink with warm water and 1 cup white vinegar + 1 cup water to loosen grease.
- Use a measuring cup for accurate ratios.
Tip: Soaking small parts for 10–15 minutes makes the next steps much faster.
Remove Crumbs and Loose Debris
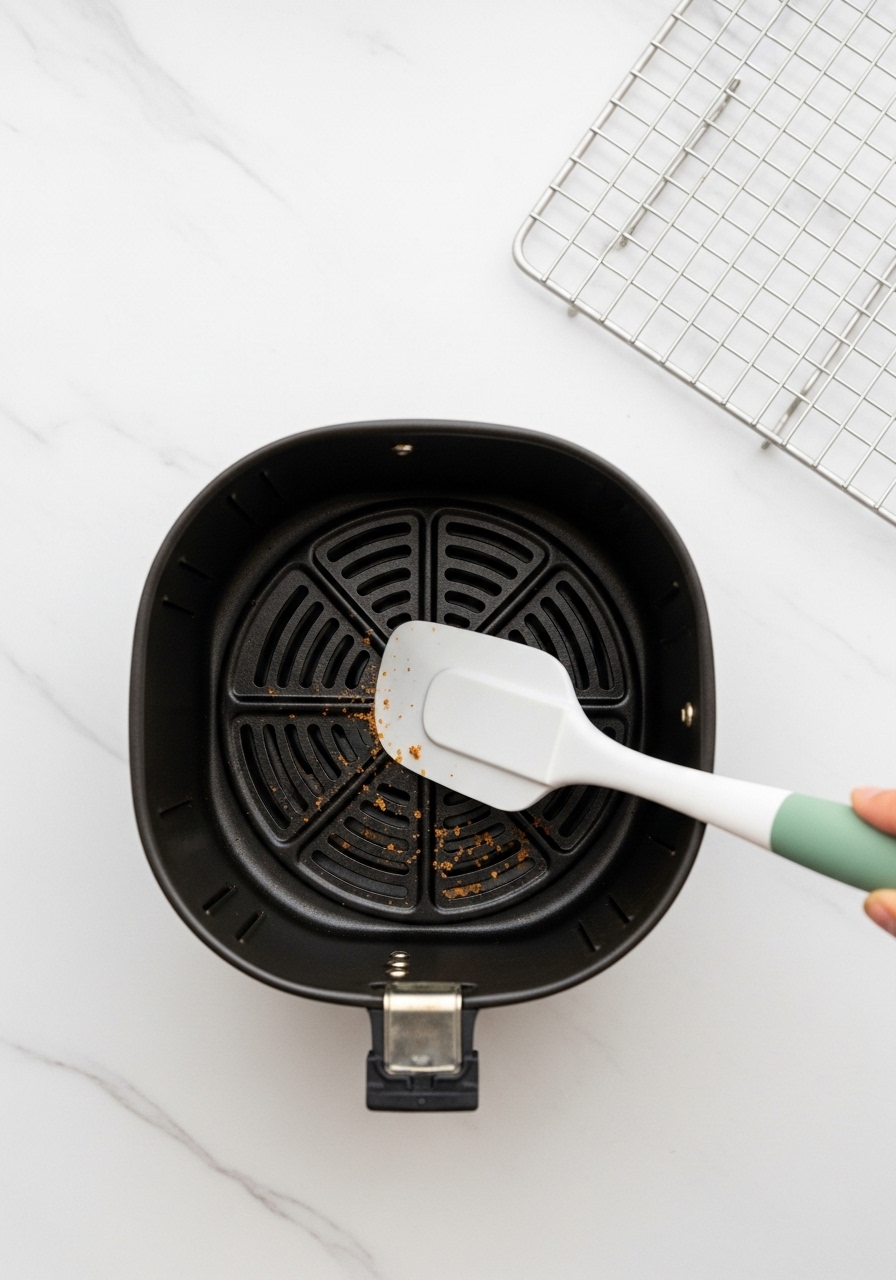
- Shake out crumbs into the trash or compost.
- Gently scrape the basket with a silicone spatula to lift baked-on bits—silicone won’t scratch the nonstick coating.
- Run the basket under warm water and use a soft brush or cloth to clean the holes.
Quick tip:
- For regular maintenance wipe, give the inside a 2–3 minute scrub after each cook so buildup never accumulates.
Deep Clean Stubborn Grease and Baked-On Bits
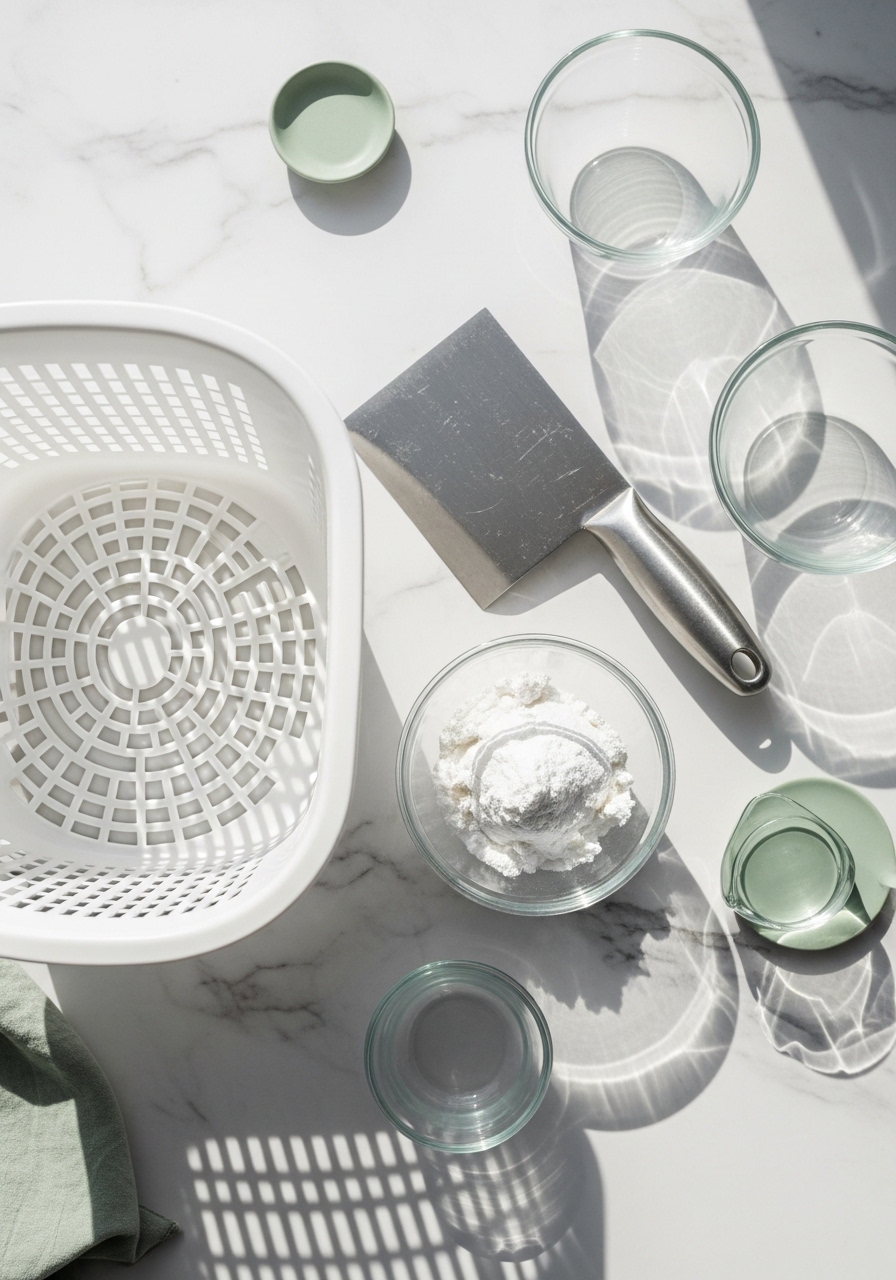
- Make a paste of 1 tbsp baking soda + 1 tbsp water in a glass prep bowl.
- Apply paste to stubborn spots and let sit 10 minutes, then scrape gently with a bench scraper for stuck-on residue.
- Rinse thoroughly and dry on a wire cooling rack to allow airflow and prevent rust.
Warning: Never submerge the main unit or get the heating element excessively wet. Use a damp cloth to wipe the interior heating element area.
Clean the Exterior and Reassemble Quickly
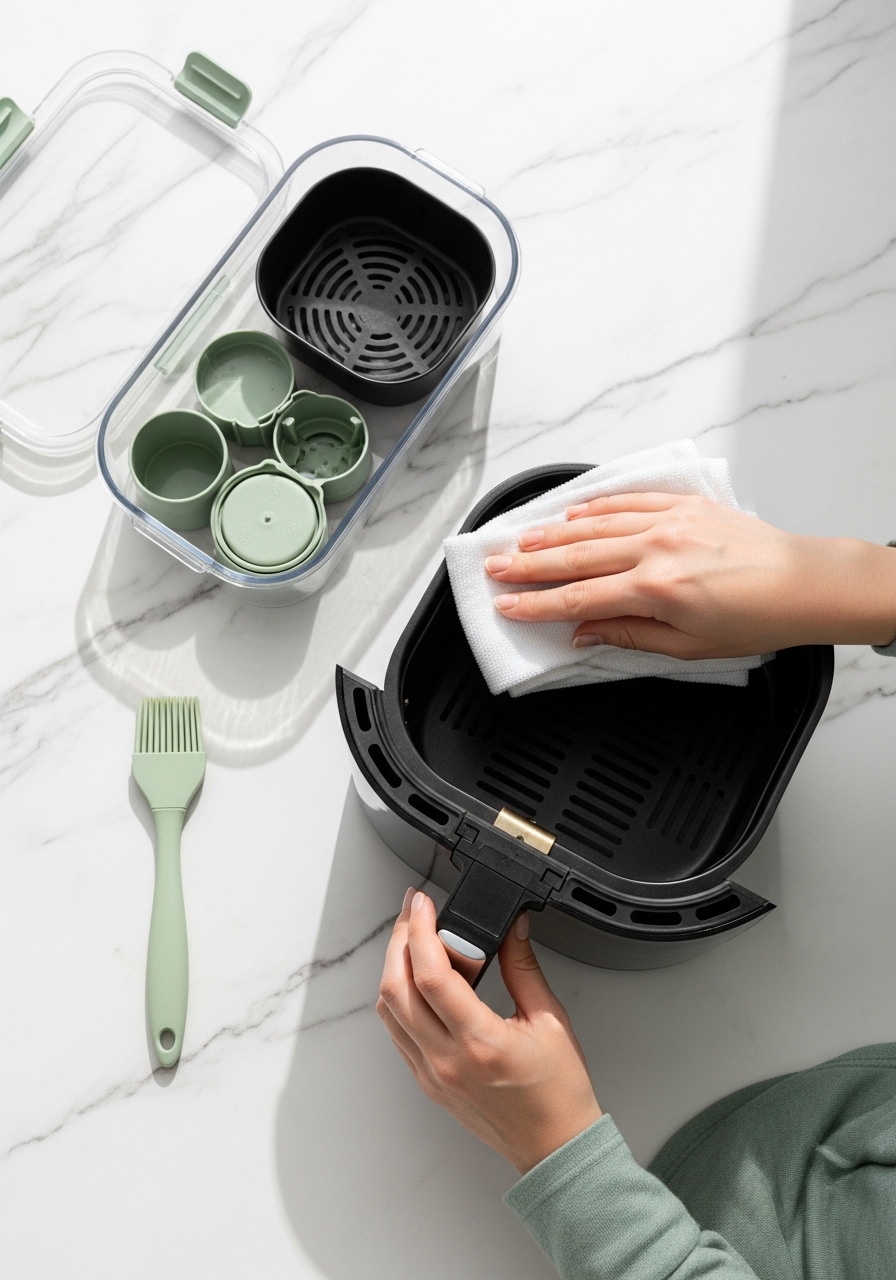
- Wipe the exterior with a damp cloth. For vents, use a soft brush to remove dust.
- Dry all parts fully. Store baskets and accessories in airtight containers if you won't reassemble right away.
- For routine touch-ups, a silicone basting brush helps remove crumbs from crevices before a full wash.
Pro tip: Lay trays on a parchment paper round before cooking greasy items to limit cleanup next time.
Quick Troubleshooting and Time-Saving Tips
- If odor lingers, run the air fryer at 350°F for 5 minutes with a bowl of vinegar inside (monitor closely).
- For uneven cooking residue, check for warped trays; consider replacing parts and storing extras in glass storage containers.
- Schedule a 10-minute wipe after heavy use and a 30–40 minute deep clean weekly if you cook daily.
Which shortcut will you try first? A quick scrub after each use prevents long deep-clean sessions.
You’ve cut the dread out of cleanup and learned how to clean an air fryer quickly and properly so it stays reliable and odor-free. Save this guide and pin it for your next cleaning day. Consider keeping a silicone spatula handy—it’s the one tool that keeps your nonstick parts safe. Ready to make this happen? Pin this guide and share with a friend who air fries.
Leave a Reply