Cracking the code to the perfect boiled egg isn’t as simple as dropping it in water and waiting. Timing makes all the difference between a soft, jammy yolk and a firm, fully cooked center. If you’ve ever struggled to get your eggs just right, don’t worry—you’re about to master the art of boiling eggs exactly the way you like them.
Step 1: Gather Your Tools and Ingredients
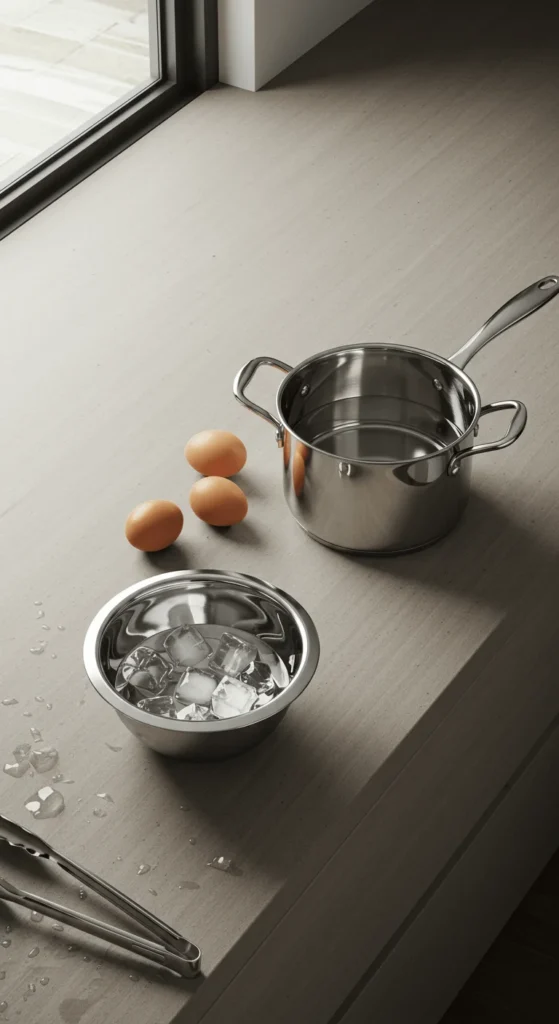
Before diving in, make sure you have everything ready. Boiling eggs is simple, but a little prep ensures consistency every time.
You’ll need:
- Fresh eggs (room temperature works best)
- A medium saucepan
- Cold water
- A slotted spoon
- A bowl of ice water (for cooling after cooking)
Step 2: Start with Cold Water
Place your eggs gently in a saucepan and cover them with cold water, about an inch above the eggs. Starting with cold water helps prevent cracking and ensures even cooking.
Tip: Don’t overcrowd the pot—eggs need a little breathing room!
Step 3: Bring to a Boil, Then Simmer
Set your pot over medium-high heat and bring the water to a rolling boil. Once boiling, immediately lower the heat so the water simmers gently. This prevents the eggs from bouncing around and cracking.
Step 4: Time It to Perfection
This is where the magic happens. The cooking time determines everything. Use a timer for accuracy—guessing rarely works.
- Soft-boiled (jammy yolk, slightly runny): 6–7 minutes
- Medium-boiled (custardy, semi-firm yolk): 8–9 minutes
- Hard-boiled (fully set yolk, no runny center): 10–12 minutes
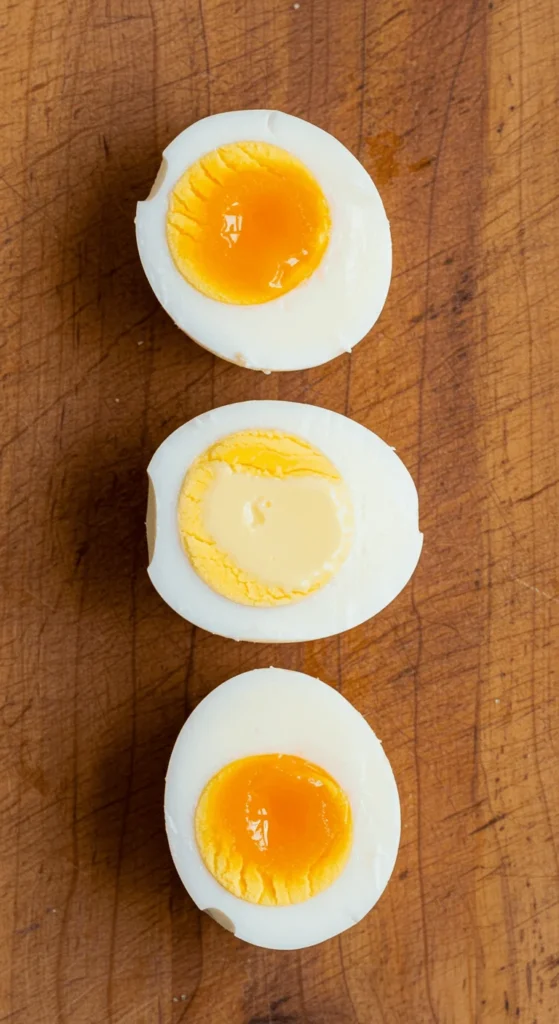
Pro Tip: If you like a slightly creamier hard-boiled egg, pull them out at 10 minutes. For fully dry yolks, let them go the full 12.
Step 5: Chill Immediately
Once your eggs reach your desired doneness, quickly transfer them to a bowl of ice water. Let them sit for at least 5 minutes. This stops the cooking process and makes peeling a breeze.
Skipping this step often leads to rubbery whites or green-tinted yolks (caused by overcooking).
Step 6: Peel Like a Pro
Peeling eggs doesn’t have to be a struggle. Try these tricks:
- Roll the egg gently on the counter to crack the shell.
- Start peeling from the wider end (where there’s usually an air pocket).
- Peel under running water to loosen stubborn shells.
Tips for Foolproof Boiled Eggs
- Older eggs peel easier. Fresh eggs taste great, but slightly older eggs release their shells with less fuss.
- Cook in batches. If meal-prepping, boil a dozen at once and store in the fridge for up to a week.
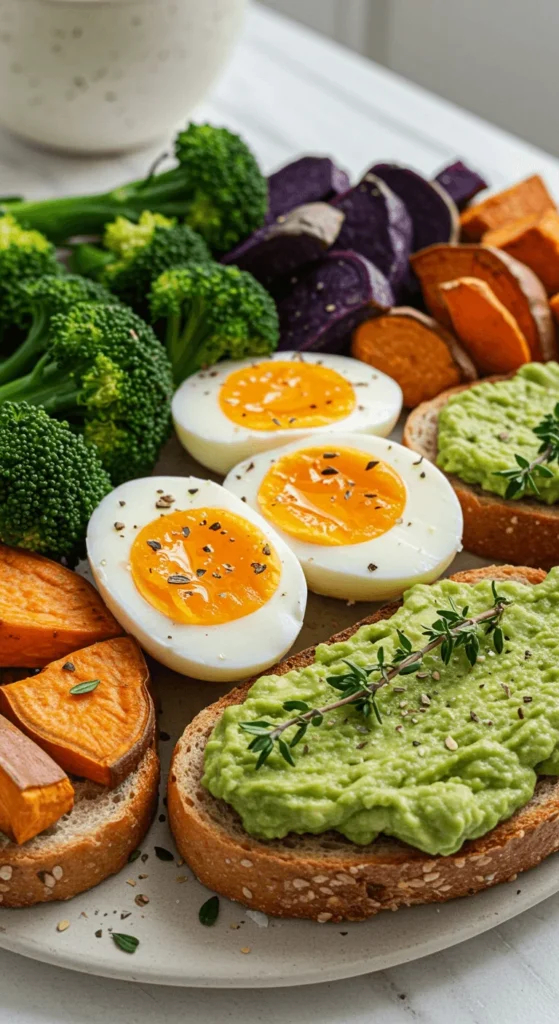
- Use them creatively. Soft-boiled for ramen, medium for salads, hard for deviled eggs or quick snacks.
Final Thoughts
Mastering boiled eggs isn’t about luck—it’s about timing. Once you find your favorite doneness, it’ll feel effortless every time. Whether you’re team soft, medium, or hard, you’ll never face an overcooked or undercooked egg again.
✨ Save this guide so you can always come back to it the next time you’re craving the perfect boiled egg!
Leave a Reply