There’s nothing more disappointing than biting into a scone that’s dry, dense, and crumbly in all the wrong ways.
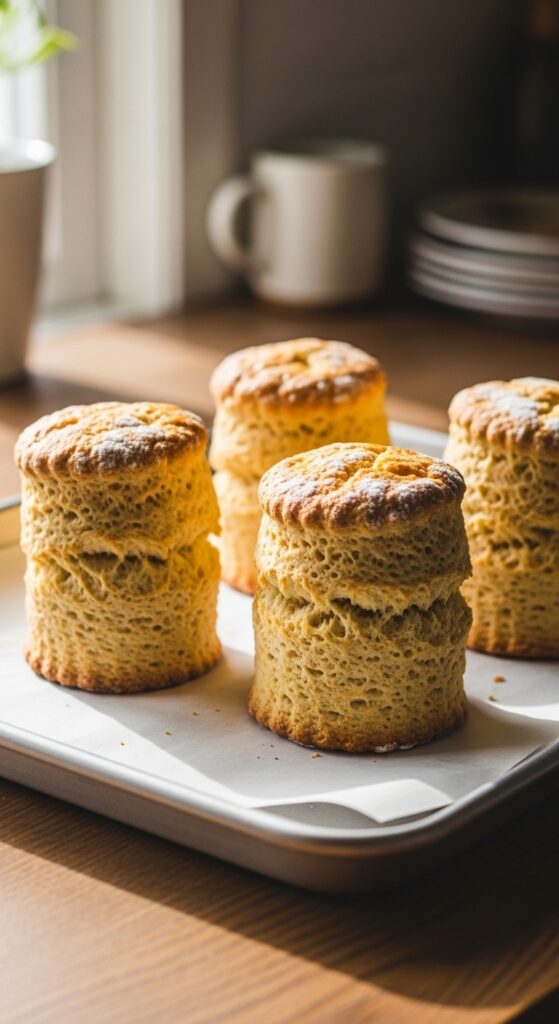
Scones should be tall. Tender. Light. Slightly crisp on the outside and soft inside. The kind you’d proudly serve with tea — or quietly eat straight off the baking tray.
If yours keep turning out heavy, don’t worry. A few simple tweaks can completely change your results.
Let’s fix your scones for good.
Step 1: Start with Cold Ingredients
This is the golden rule.
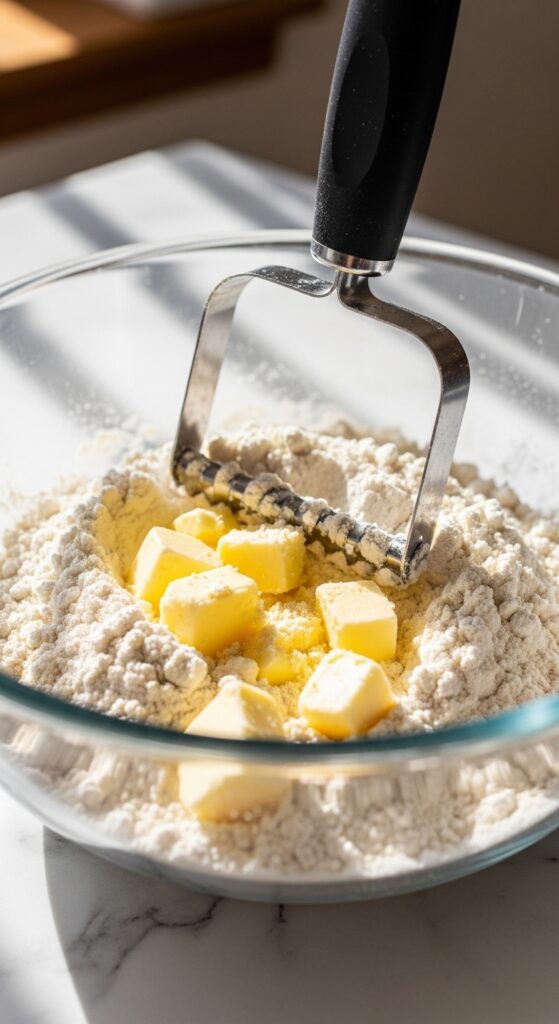
Cold butter + cold liquid = flaky, fluffy texture.
Why? Because when cold butter hits a hot oven, it creates steam. That steam forms little air pockets, which make your scones rise beautifully.
What to do:
- Use very cold butter (even freeze it for 10 minutes first)
- Use cold milk or cream
- If your kitchen is warm, chill the dough briefly before baking
Cut the butter into small cubes and work it into the flour quickly. You want small, visible bits of butter throughout the dough — not a smooth paste.
Step 2: Don’t Overmix the Dough
This is where many scones go wrong.
Overmixing develops gluten — and gluten makes baked goods chewy and dense. That’s great for bread. Not great for scones.
Once you add the liquid:
- Stir just until combined
- The dough should look slightly shaggy
- It’s okay if it looks imperfect
Resist the urge to keep mixing until smooth.
Think “gentle folding,” not “aggressive stirring.”
Step 3: Use the Right Technique to Shape
Instead of rolling the dough with a rolling pin, gently pat it into shape with your hands.
Here’s how:
- Turn the dough onto a lightly floured surface.
- Gently press it into a 1-inch thick circle.
- Fold it in half.
- Gently press again.
- Repeat once more.
This folding technique creates layers — similar to a shortcut lamination process — which helps produce a taller, fluffier scone.
Then:
- Pat into a final 1-inch thick round
- Cut straight down with a sharp cutter (don’t twist!)
Twisting seals the edges and prevents proper rising.
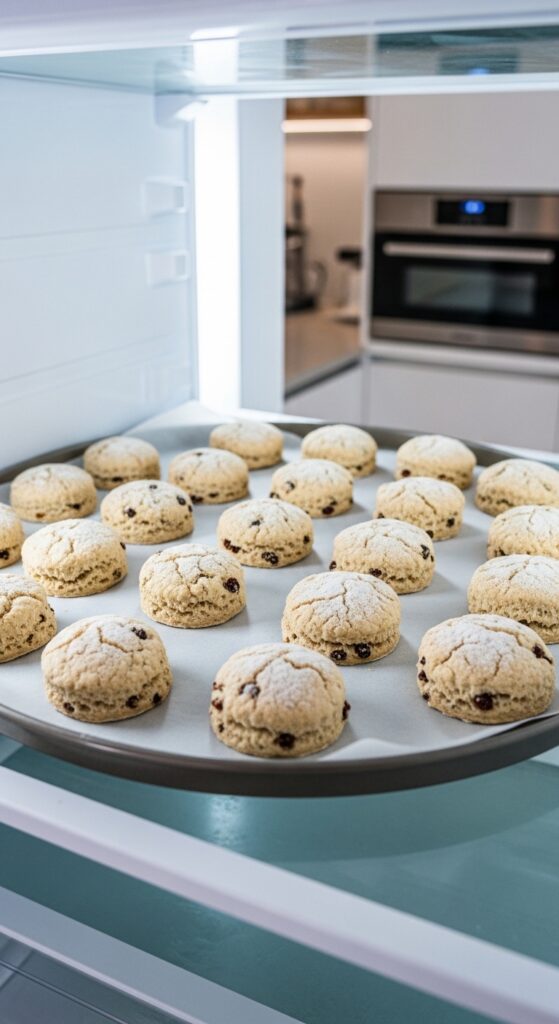
Step 4: Chill Before Baking
This small step makes a big difference.
After cutting your scones, place them on a lined baking tray and chill for 15–20 minutes.
Why this works:
- Re-chills the butter
- Prevents spreading
- Encourages upward rise
If you want bakery-style height, don’t skip this.
Step 5: Bake at High Heat
Scones love high heat.
Bake at 400–425°F (200–220°C) depending on your oven.
The high temperature:
- Activates baking powder quickly
- Creates fast steam from butter
- Helps scones rise before they set
Bake until:
- Tops are lightly golden
- Edges are crisp
- Bottoms are golden brown
Avoid overbaking — that’s the fastest way to dry them out.
Optional Add-Ins (Without Ruining Texture)
Want to level up your scones? Add flavor without sacrificing fluffiness.
Try:
- Fresh blueberries
- Mini chocolate chips
- Lemon zest
- Dried cranberries
- Orange zest + white chocolate
Tip: Toss add-ins in a little flour before mixing in. This prevents sinking and keeps the dough balanced.
Common Mistakes That Make Scones Dense
If your scones are still heavy, check for these:
- Butter too warm
- Overmixed dough
- Too much flour (always spoon and level!)
- Dough rolled too thin
- Oven not fully preheated
Tiny changes = big improvements.
Final Touches for Bakery-Style Results
Before baking, brush the tops lightly with:
- Cream (for golden shine)
- Or milk
- Or egg wash for deeper color
For a sweet version, sprinkle a little coarse sugar on top.
Once baked:
- Let them cool slightly
- Slice gently
- Serve warm with butter, jam, or clotted cream

Why This Method Works
Light and fluffy scones come down to three things:
- Cold fat
- Minimal handling
- High heat
That’s it.
You don’t need complicated techniques — just a few mindful steps and a gentle touch.
Once you try this method, you’ll notice the difference immediately: taller rise, tender crumb, soft interior.
And suddenly, scones won’t feel intimidating anymore.
Bake a batch this weekend. Experiment with flavors. Make it part of your slow morning ritual.
Save this for later — and enjoy every fluffy bite. 🫖✨
Leave a Reply