Nothing ruins a gorgeous layer cake faster than lopsided, uneven layers. You know the struggle—one layer rises like a mountain while the other looks like a pancake. The result? A wobbly, unstable cake that’s hard to frost and even harder to make look pretty. The good news is, with a few simple tricks, you can bake beautifully level cakes every single time.
Why Even Layers Matter
Even layers aren’t just about looks—they’re about structure. A cake with flat, level layers stacks neatly, supports frosting without sliding, and slices cleanly. If you’ve ever seen bakery cakes that look flawless, this is their secret: symmetry from the start.
Step 1: Prep Your Pans Properly
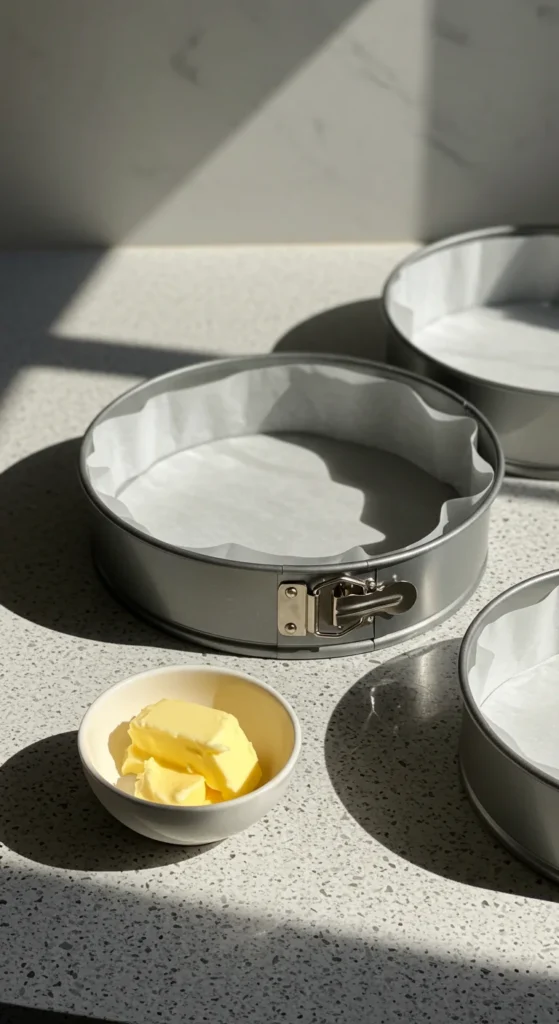
Great cakes begin before the batter even hits the oven.
- Grease pans with butter or nonstick spray.
- Line the bottoms with parchment paper to prevent sticking.
- For best results, use light-colored metal pans. Dark pans can cause uneven baking.
Pro tip: Invest in pans of the same brand and size so your layers match perfectly.
Step 2: Weigh Your Batter
Eyeballing batter between pans almost always leads to uneven layers. Instead, grab a kitchen scale.
- Place your pan on the scale, zero it out, and pour in batter.
- Repeat for each pan until they’re equal.
- This ensures every layer bakes at the same height.
No scale? Use a measuring cup to portion out batter evenly.
Step 3: Use Baking Strips
Ever notice cakes that dome in the center? That’s because the edges bake faster than the middle. Baking strips (fabric bands soaked in water and wrapped around pans) help insulate the sides so everything bakes at the same pace.
You can buy reusable strips or DIY with a wet towel folded around the pan and secured with a safety pin.

Step 4: Trim if Needed
Even with the best prep, sometimes cakes still dome slightly. That’s where trimming comes in.
- Once cooled, use a serrated knife or cake leveler to slice off the top.
- Rotate the cake as you cut for an even surface.
- Save the scraps for cake pops or snacking (baker’s treat!).
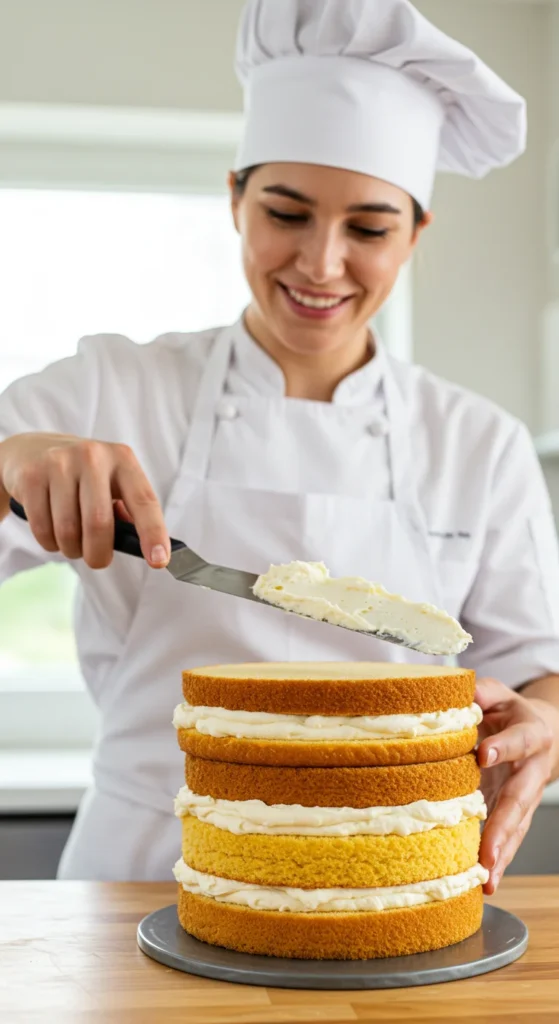
Step 5: Chill Before Stacking
Cold cakes are easier to handle and frost. After trimming, wrap each layer in plastic wrap and chill in the fridge for 30–60 minutes. This makes the cake sturdier and reduces crumbs when frosting.
Extra Tips for Success
- Don’t overmix your batter—this can cause uneven rising.
- Bake on the middle oven rack for consistent heat.
- If your oven runs hot, reduce the temperature by 10–15°F.
- For tall cakes, bake thinner layers instead of trying to slice one thick cake in half.
Final Thoughts
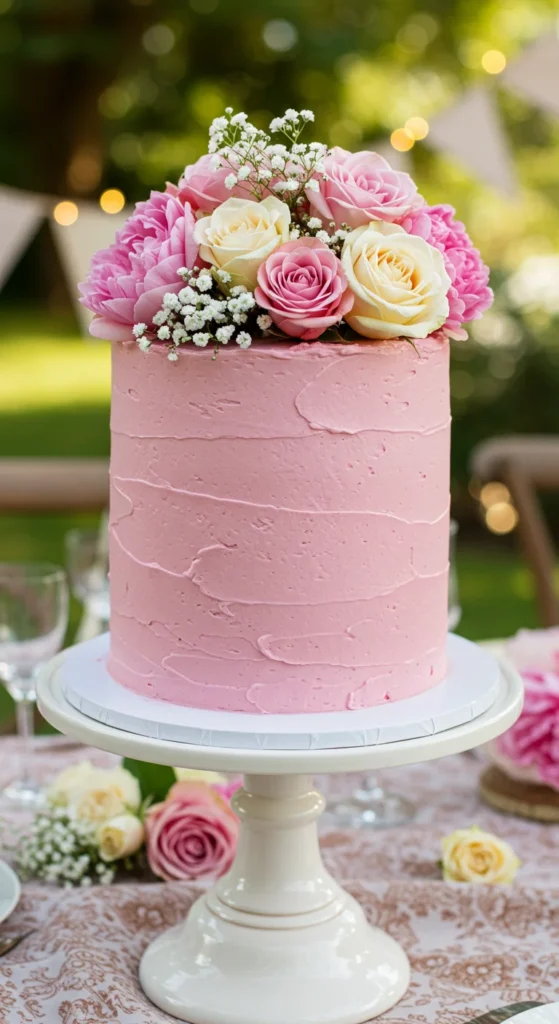
Baking even layers doesn’t have to be complicated. With a little planning—equal batter, baking strips, trimming, and chilling—you’ll get bakery-quality results at home. The reward? Stunning cakes that stack like a dream and taste just as amazing.
Next time you plan a celebration cake, try these tips. You’ll be amazed at how professional your homemade cakes can look.
👉 Save this guide for your next baking day—it’s the secret to stacking success!
Leave a Reply