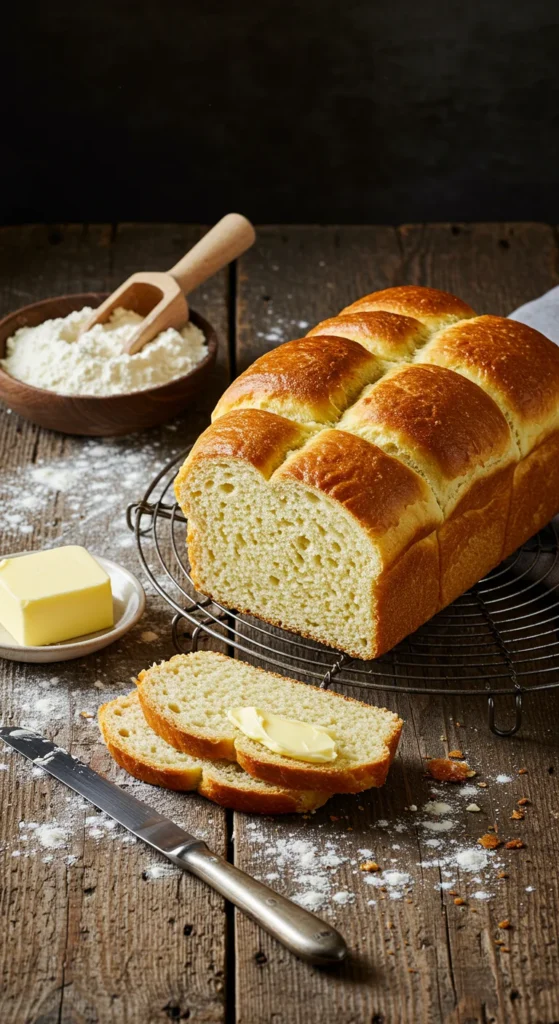
There’s something magical about baking your own bread — the smell filling your kitchen, the crackle of a golden crust, and that first soft, buttery slice. The best part? You don’t need a fancy bread maker to do it. With just a few simple ingredients and a little patience, anyone can make bakery-quality bread right at home.
Step 1: Gather Your Simple Ingredients
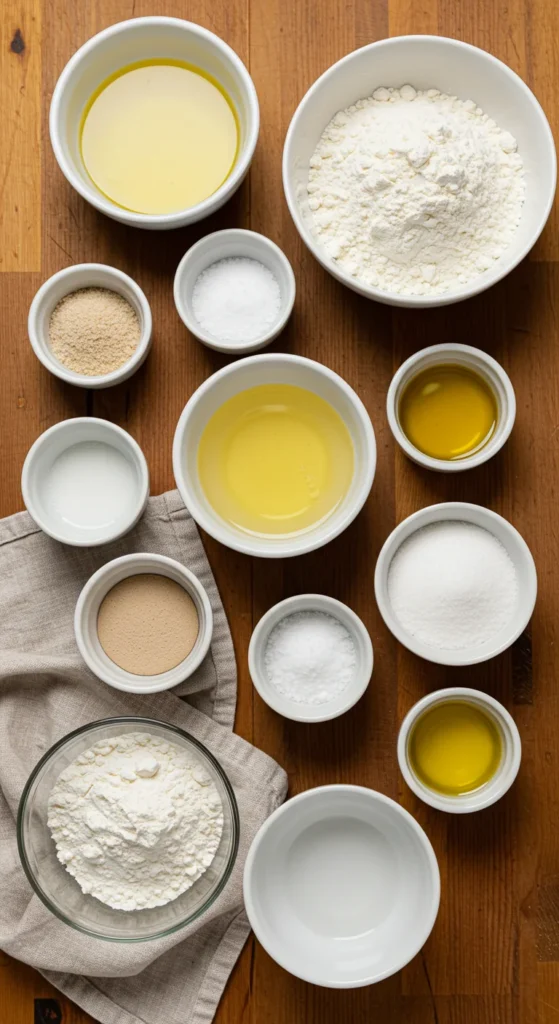
Homemade bread is all about simplicity. You probably already have everything you need in your pantry.
You’ll Need:
- 3 ½ cups all-purpose flour (or bread flour for more structure)
- 2 tsp instant yeast
- 1 ½ tsp salt
- 1 ¼ cups warm water (around 105–110°F / 40°C)
- 1 tbsp sugar
- 2 tbsp olive oil or melted butter
Each ingredient plays a role — yeast gives rise, flour adds body, and water binds everything together.
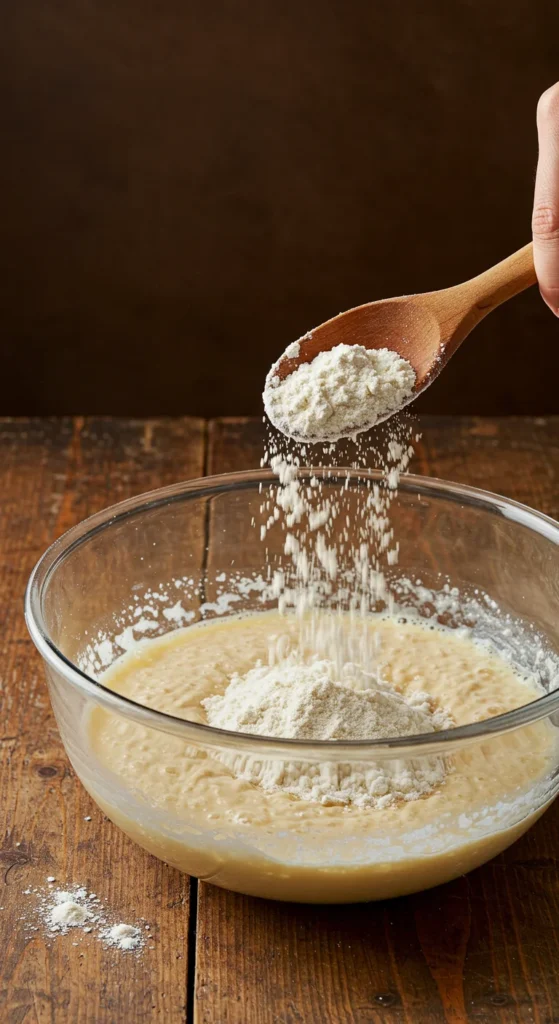
Step 2: Activate and Mix
To make fluffy, flavorful bread, you need active yeast.
- In a large mixing bowl, combine warm water, sugar, and yeast.
- Let it sit for 5–10 minutes, until it becomes foamy on top — a sign your yeast is alive and ready.
- Stir in olive oil and salt.
- Gradually add flour, about one cup at a time, mixing until a shaggy dough forms.
Once the dough begins to pull away from the bowl, you’re ready to knead.
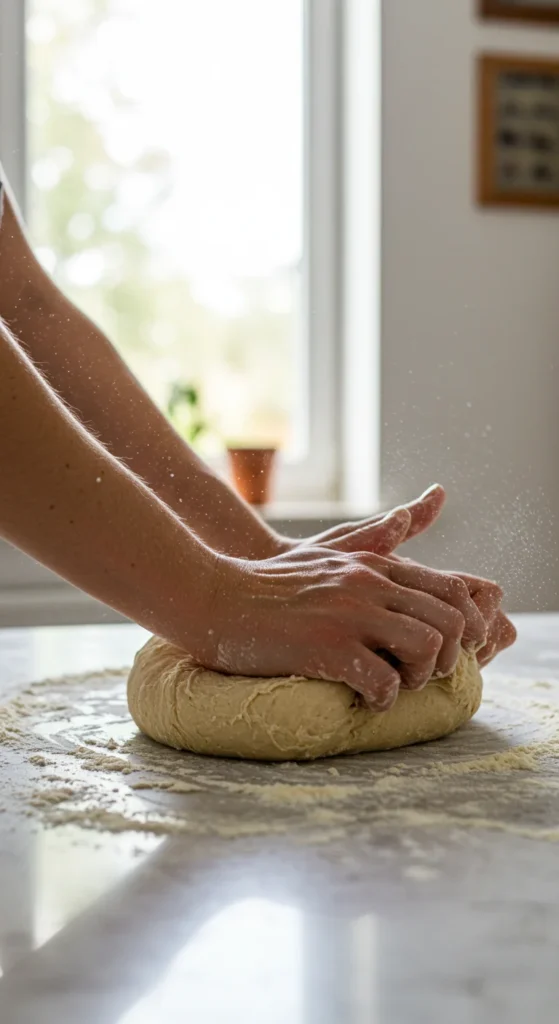
Step 3: Knead Until Smooth
Kneading develops gluten — the stretchy structure that makes bread soft yet sturdy.
- Lightly flour a clean surface.
- Turn out the dough and knead for 8–10 minutes, folding and pressing with the heel of your hand.
- Add a light dusting of flour if it feels sticky, but don’t overdo it.
You’ll know the dough is ready when it’s smooth, elastic, and bounces back when poked.
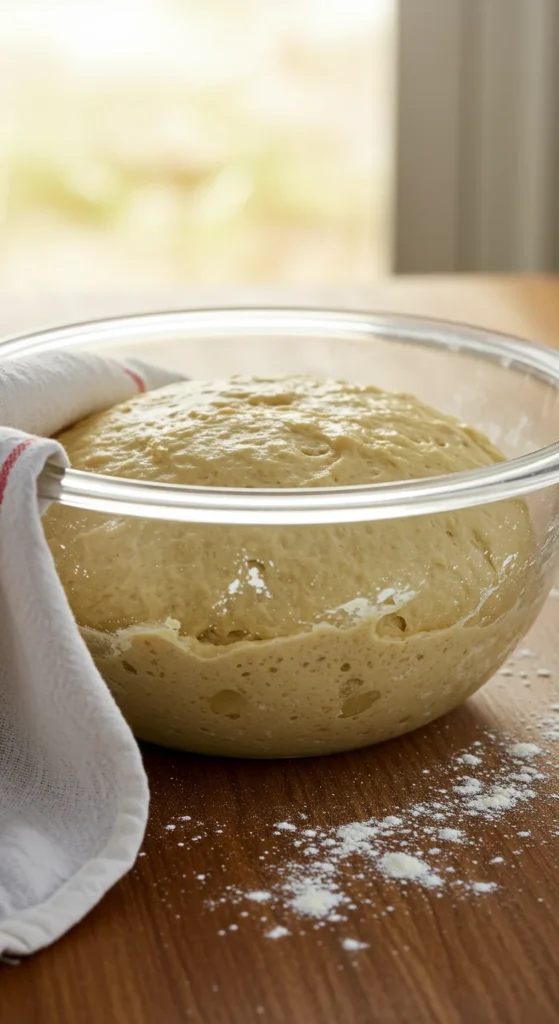
Step 4: Let It Rise
Patience is your secret ingredient here.
- Grease a clean bowl lightly with oil and place the dough inside.
- Cover with plastic wrap or a damp towel.
- Let it rise in a warm spot for about 1 to 1½ hours, or until it doubles in size.
If your kitchen is cold, place the bowl in a turned-off oven with the light on — it’s the perfect cozy proofing spot.
Step 5: Shape and Second Rise
Once your dough has risen, punch it down gently to release excess air.
- Shape it into a loaf by rolling it tightly and tucking the ends under.
- Place it into a greased loaf pan or shape it free-form on a parchment-lined baking tray.
- Cover and let it rise again for 30–45 minutes, until puffy.
This second rise helps your bread achieve that perfect soft crumb inside.
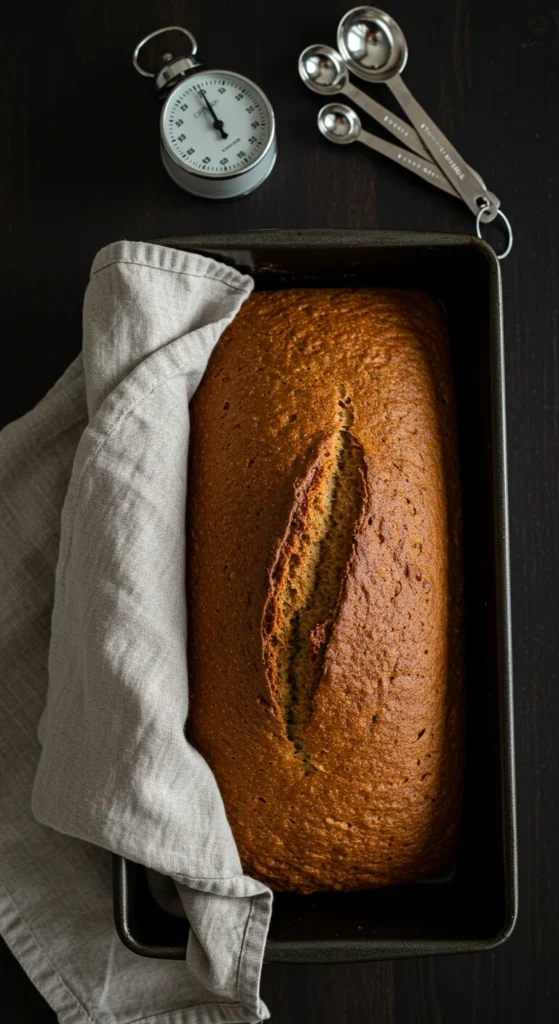
Step 6: Bake to Perfection
Preheat your oven to 375°F (190°C).
- Bake the loaf for 25–30 minutes, or until golden brown.
- To check doneness, tap the bottom — it should sound hollow.
- For extra shine, brush the top with melted butter as soon as it comes out.
Let it cool for at least 15 minutes before slicing — that’s when the inside finishes setting.
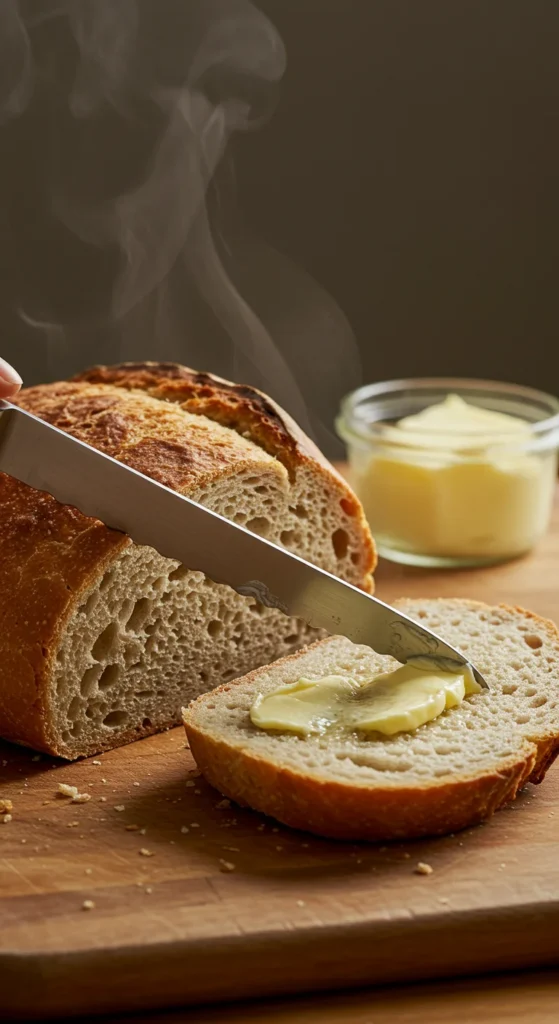
Step 7: Store and Enjoy
Homemade bread stays best when stored right:
- Wrap in a clean towel or store in a bread box at room temperature.
- For longer storage, slice and freeze in airtight bags — toast straight from frozen!
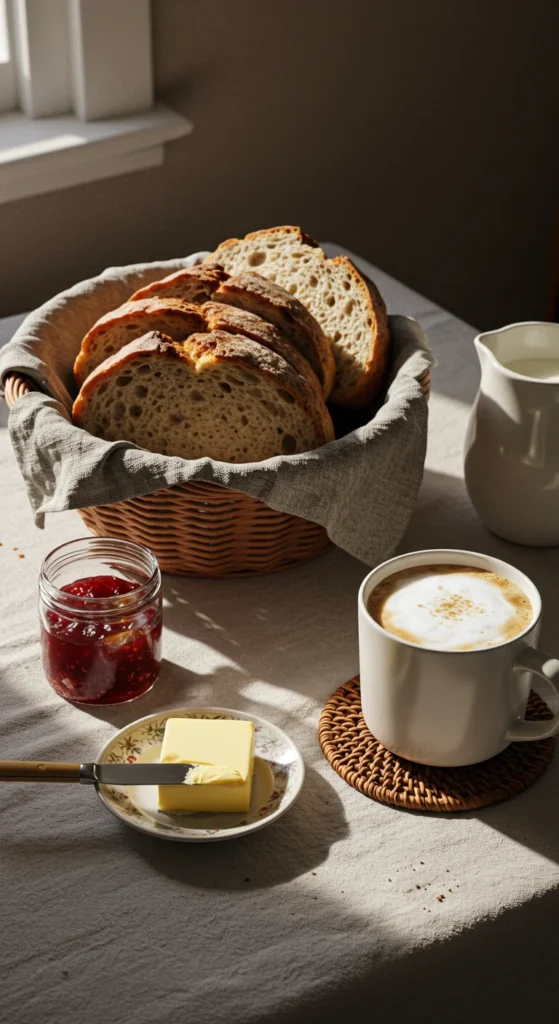
Homemade bread pairs beautifully with soups, breakfast spreads, or just a bit of butter and jam.
Final Takeaway
Baking bread without a bread maker isn’t just possible — it’s incredibly rewarding. You control every ingredient, every texture, and every bite. With a little practice and patience, your kitchen will smell like a bakery and your table will never lack fresh, warm bread.
Save this guide for your next baking weekend — your future self (and everyone else at home) will thank you!
Leave a Reply