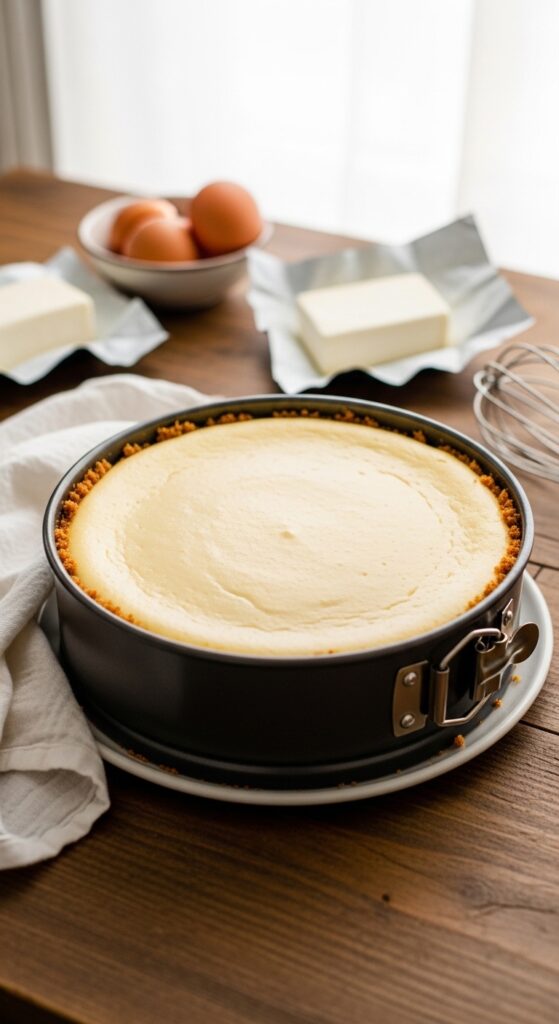
Few things are more frustrating than pulling a beautiful cheesecake out of the oven… only to see a giant crack across the top.
It still tastes amazing — but visually? Not quite the dreamy, bakery-style cheesecake you imagined.
The good news: cheesecake cracks are completely preventable.
With the right technique (and a little patience), you can bake a smooth, creamy cheesecake with a flawless top every single time.
Let’s walk through exactly how to do it.
Why Cheesecakes Crack
Before we fix it, let’s understand it.
Cheesecake cracks when:
- It’s overmixed (too much air inside)
- It’s overbaked
- It cools too quickly
- The oven temperature is too high
Cracks happen because the outside cooks and contracts faster than the creamy center.
Your goal? Slow, gentle baking and cooling.
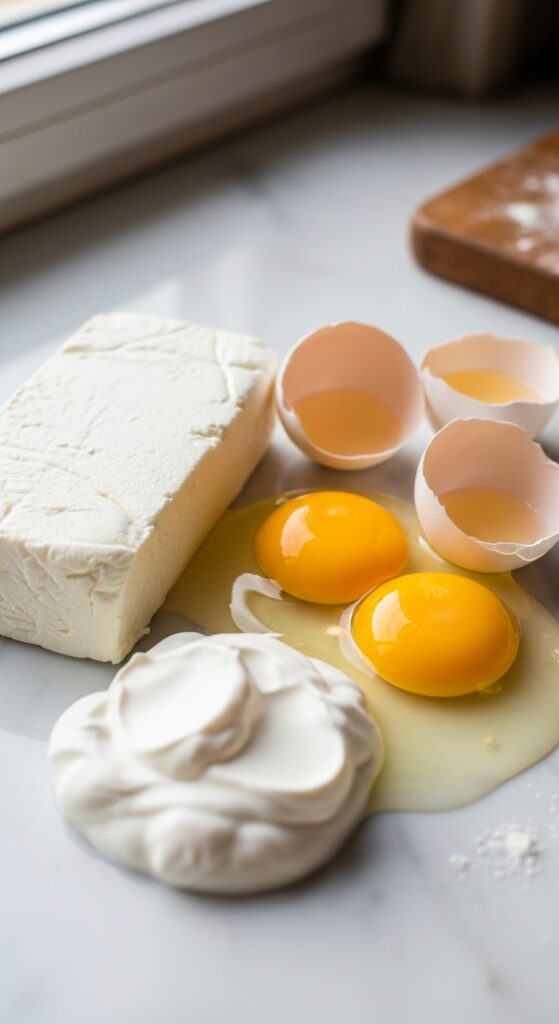
Step 1: Use Room Temperature Ingredients
This is non-negotiable.
Cold cream cheese = lumpy batter.
Overmixing to fix lumps = too much air.
Too much air = cracks.
Take these out 1–2 hours before baking:
- Cream cheese
- Eggs
- Sour cream or heavy cream
Room temperature ingredients blend smoothly with minimal mixing.
Step 2: Don’t Overmix the Batter
Once everything is smooth, stop mixing.
Overmixing incorporates excess air, which expands in the oven and collapses as it cools — causing cracks.
Best practice:
- Beat cream cheese and sugar until smooth
- Add eggs one at a time
- Mix on low speed
- Scrape the bowl gently
- Stop as soon as combined
The batter should look silky, not fluffy.
Step 3: Use a Water Bath (This Is the Secret)
A water bath (also called a bain-marie) creates gentle, even heat.
It prevents:
- Overbaking edges
- Sudden temperature changes
- Dry texture
How to Set It Up:
- Wrap the outside of your springform pan with 2–3 layers of foil.
- Place it in a large roasting pan.
- Pour hot water into the roasting pan until it reaches halfway up the cheesecake pan.
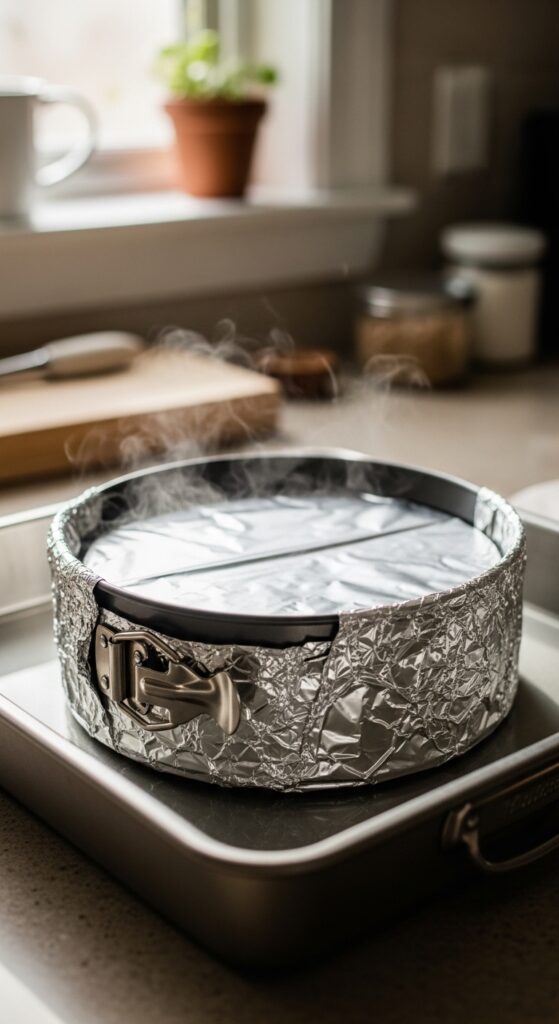
The steam keeps the oven environment moist and stable — perfect for cheesecake.
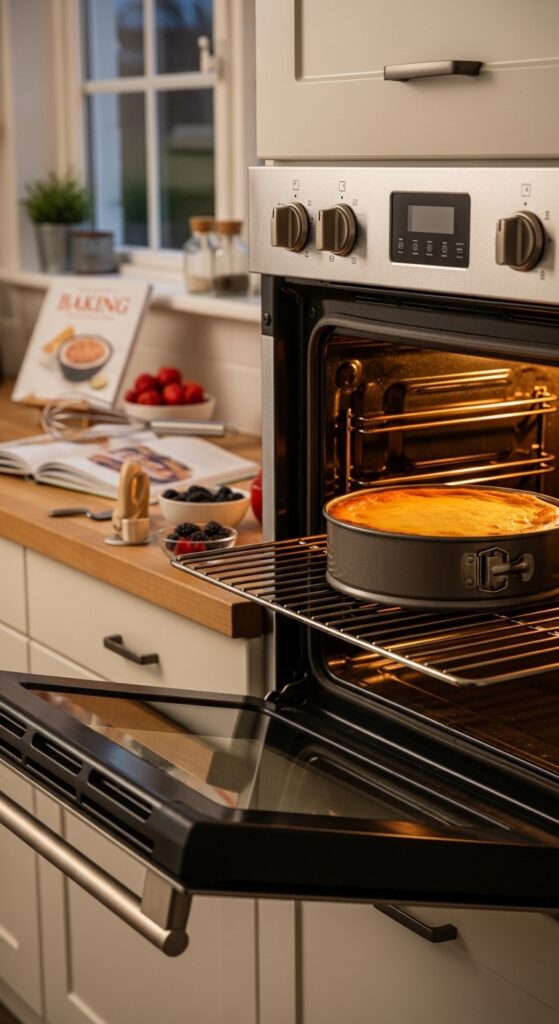
Step 4: Bake Low and Slow
High heat is the enemy.
Bake at:
300–325°F (150–165°C)
Cheesecake should bake slowly and evenly.
How to know it’s done:
- Edges are set
- Center jiggles slightly (like gelatin)
- It does NOT look fully firm in the middle
If the center doesn’t move at all, it’s likely overbaked.
Remember: It continues to cook as it cools.
Step 5: Cool Gradually (Don’t Skip This)
Rapid cooling causes cracks.
When baking time is done:
- Turn off the oven.
- Crack the oven door open slightly.
- Let the cheesecake sit inside for 1 hour.
Then:
- Remove from oven
- Let cool at room temperature
- Refrigerate at least 4 hours (preferably overnight)
Slow cooling prevents the dramatic shrinking that causes cracks.
Step 6: Run a Knife Around the Edge
This simple trick makes a big difference.
Before chilling:
Gently run a thin knife around the inside edge of the pan.
Why?
As cheesecake cools, it shrinks slightly.
If it’s stuck to the sides, it can pull and crack the surface.
Loosening it prevents tension.
Common Mistakes That Cause Cracks
Avoid these and you’ll dramatically improve your results:
- Baking at 350°F or higher
- Skipping the water bath
- Overmixing after adding eggs
- Opening the oven repeatedly
- Overbaking until fully firm
Cheesecake is delicate. Treat it gently.
Bonus: What If It Still Cracks?
Even experienced bakers get cracks sometimes.
Easy fixes:
- Sour cream topping
- Fresh berries
- Chocolate ganache
- Whipped cream
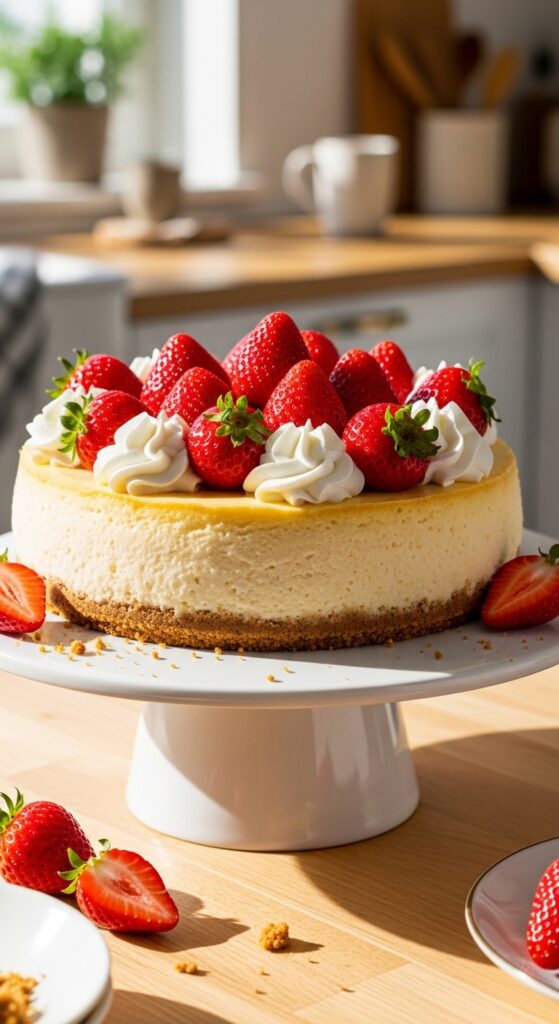
Once topped, no one will ever know.
The Takeaway
Crack-free cheesecake comes down to five things:
- Room temperature ingredients
- Minimal mixing
- Water bath
- Low oven temperature
- Slow cooling
Follow these steps, and you’ll get that smooth, creamy, bakery-style cheesecake every time.
Don’t rush it — cheesecake rewards patience.
Save this guide for your next baking day, and enjoy that perfect, flawless slice. 🍰✨
Leave a Reply