
Parents want quick wins kids cheer for. These Halloween cookie ideas are simple, low-cost, and crowd-pleasing. You’ll find shortcut swaps, make-ahead tricks, and flavors kids actually eat. Most use pantry basics and store items you already buy. Each idea lists easy decorations, small steps, and ways to save money. Grab a bowl, a whisk, and a pack of candy eyes. Bake a few trays tonight. Let the kids decorate tomorrow. Keep it fun, messy, and delicious. Ready?
Ghostly Vanilla Sugar Cutouts
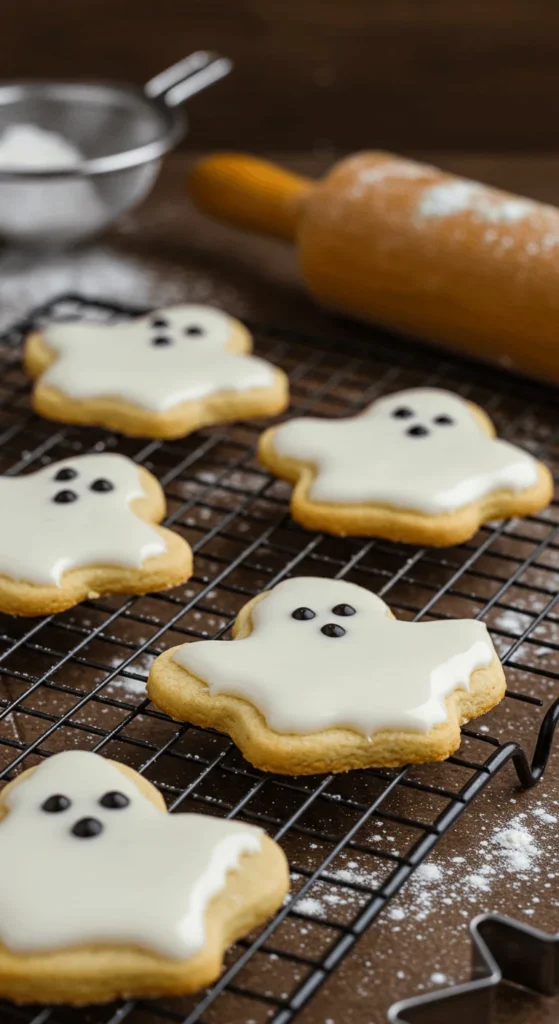
Keep it classic. Roll chilled sugar-cookie dough. Cut ghosts. Bake until edges barely color. Cool completely. Flood with white icing. Dot eyes with melted chocolate or black gel. Kids can add silver dragees as “spooky sparkles.” Save cash by mixing a basic icing: powdered sugar, a little milk, and vanilla. No meringue powder needed. Use a zip-top bag as a piping bag. Snip the corner small. For tidy edges, outline first, then fill. Short on time? Buy refrigerated dough. Dust the counter with flour and press the cutter firmly. Re-roll scraps once. Too sticky? Chill five minutes. Want shine? Add a tiny spoon of corn syrup to the icing. Store decorated cookies in a tin with parchment between layers. Ghosts hold shape, travel well, and look great on any party platter.
Monster Eye Chocolate Chip Cookies
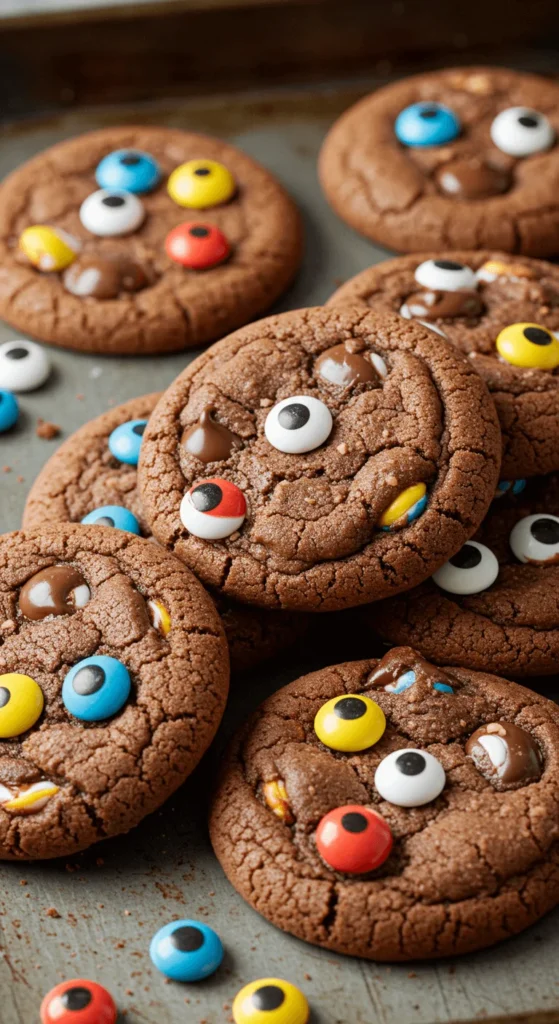
Bake your favorite chocolate chip base. While warm, press candy eyes into the tops. Two eyes for cute. Six eyes for silly. No eyes? Use white chocolate chips as the whites and tiny chocolate chips for pupils. Kids love placing them. Dough hack: swap half the chips for chopped Halloween candy to use leftovers. Budget move: buy generic chips; no one notices once baked. Chill dough scoops 20 minutes for thicker cookies. Underbake by a minute for a soft center. Want a darker vibe? Stir in black cocoa for a deep color without changing method. Freeze dough balls for after-school snacks. Bake from frozen, adding two minutes. Pack in lunchboxes with a note that says nothing spooky—just fun. Warm them briefly in a low oven before serving for gooey chips.
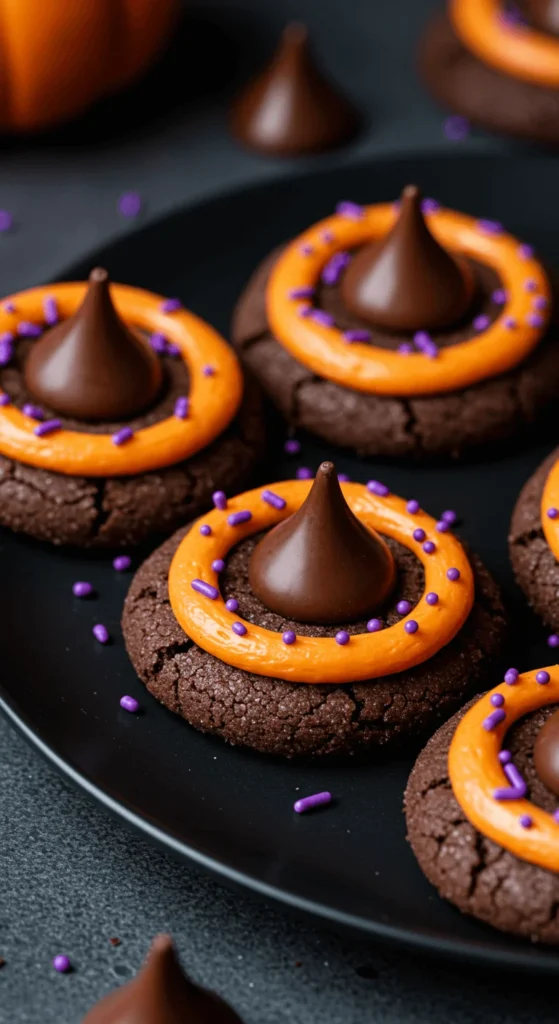
Witch Hat Kiss Cookies
Bake small rounds of chocolate cookies. Press a chocolate kiss on each while warm. Pipe a thin orange “brim” around the base. Add a sprinkle buckle. No piping tips? Use a zip-top bag. Color frosting with gel, not liquid, to keep it thick. For cheaper kisses, buy store brand or grab a post-holiday bag on sale and freeze. Kids can do the assembly line. Set out bowls of purple, green, and black sprinkles. For flavor, add a dot of mint extract to the dough or a little cinnamon for warmth. Make mini hats with half-size cookies and mini kisses. Stack on a cake stand for a fun centerpiece. Store airtight; the kiss stays glossy. If it leans, add a tiny frosting “glue” under the tip to secure.
Spiderweb Iced Oreos (Quick Hack)
No bake required. Dip sandwich cookies in a thin white glaze. Pipe three black circles on top. Drag a toothpick outward to make webs. Add a candy spider or two chocolate chips as a spider body. Budget tip: use store-brand cookies. Thin icing with milk one teaspoon at a time. Keep the glaze in a small bowl so it stays deep for dipping. Set the cookies on parchment and let dry 30 minutes. Kids can draw webs with black gel if piping feels tough. Want colored webs? Tint the base orange and draw white lines. For a party tray, mix minis and full size for variety. Make ahead in the morning; they hold well. Keep away from humidity to avoid sticky surfaces.
Mummy Wrapped Shortbread
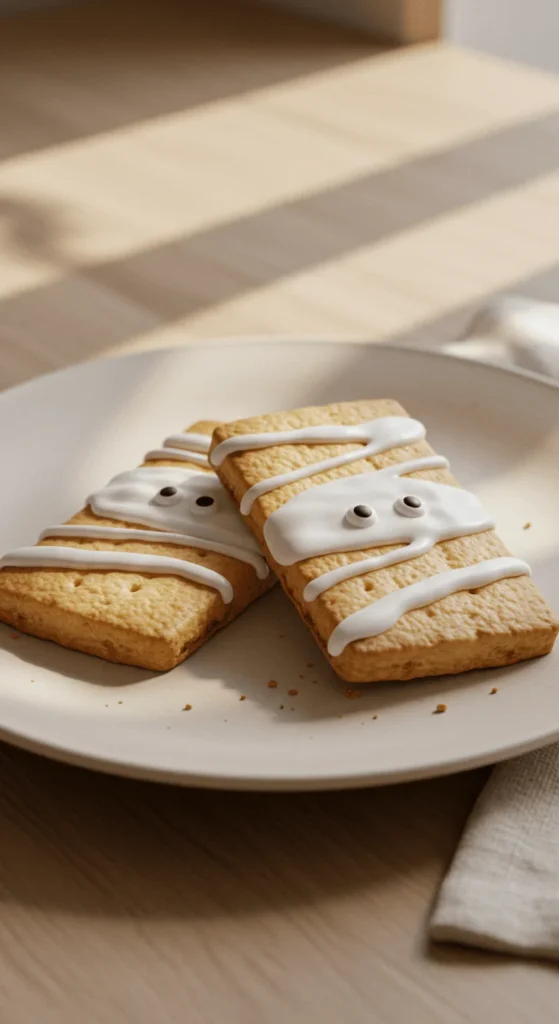
Bake simple buttery shortbread bars. Cool. Drizzle thick white icing in random lines to form bandages. Stick candy eyes on while icing is wet. If icing is too runny, add more powdered sugar. Use a fork to drizzle for quick stripes. Kids can decide eye placement—low eyes look goofy, high eyes look sneaky. Save money with homemade shortbread: four ingredients. Swap half the butter for margarine if needed; texture still works. Add a pinch of salt to balance the sweetness. Package two mummies in clear bags for classroom treats. For chocolate mummies, add cocoa to the dough. Want “aged bandages”? Dust lightly with cocoa powder through a sieve. Store airtight. The icing sets firm enough to stack with parchment.
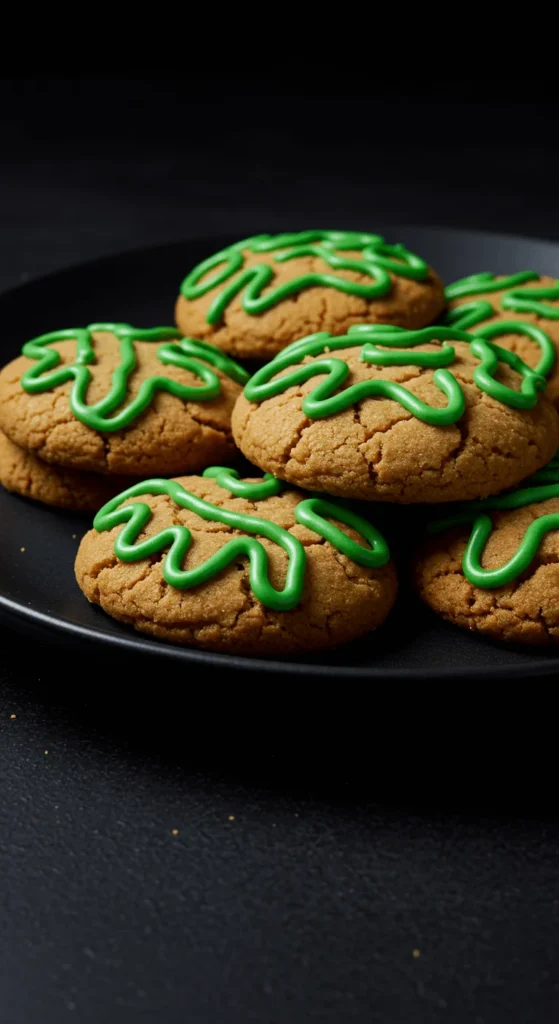
Pumpkin Patch Snickerdoodles
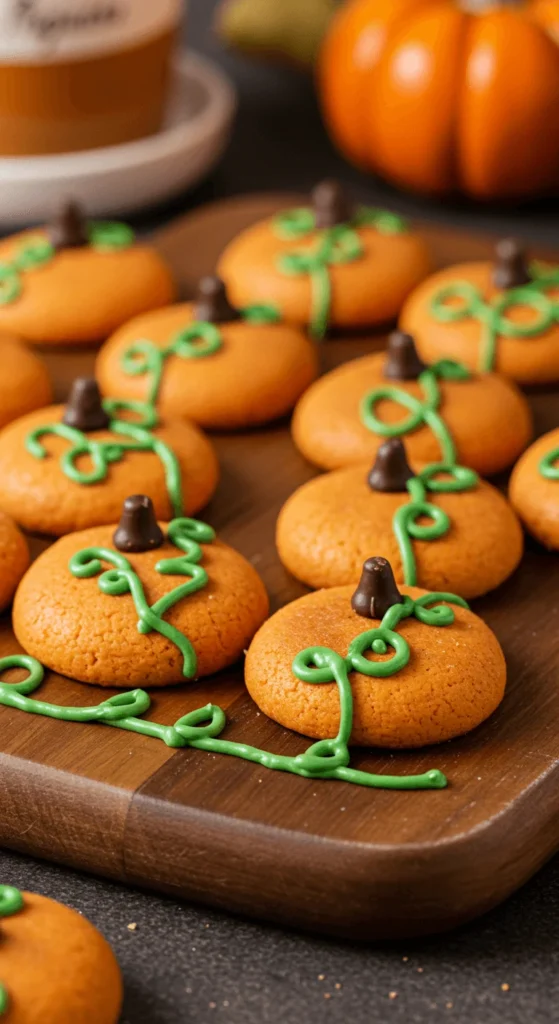
Tint dough a soft orange. Roll in cinnamon sugar as usual. Bake and cool. Pipe quick green vines and attach a mini chocolate chip as the stem. No piping tips? Use a zip-top bag with a tiny corner cut. Budget move: make your own pumpkin spice from cinnamon, ginger, and nutmeg you already have. For chewy centers, pull cookies when edges set. Let them rest on the sheet two minutes. Kids can draw vines, leaves, even faces. Want brighter color? Use gel coloring. For a party tray, scatter crushed graham crackers as “dirt” under the cookies. Freeze unbaked balls; bake straight from frozen for last-minute guests. Label a few as “pumpkin patch helpers” and let kids place stems at the table.
Severed Finger Almond Cookies
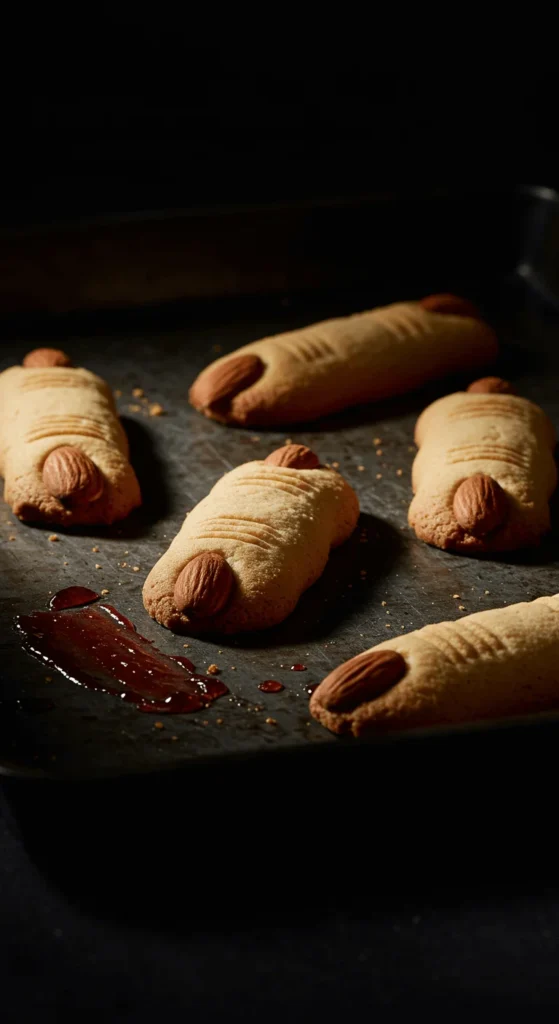
Shape almond shortbread into creepy fingers. Press an almond slice at the tip for a nail. Score knuckle lines with a knife. Lightly tint the dough with a touch of green or keep pale. After baking, brush the nail with melted chocolate for shine. Add a dab of raspberry jam at the base for “bloody” effect. Budget trick: buy almond slices in bulk or skip and use pumpkin seeds. Too sticky? Chill the dough. For a classroom, skip jam and serve with a side dish for dipping. Kids can form fat or skinny fingers—variety makes the plate fun. Pack in a long container to keep shapes intact. Reuse dough scraps; lines still read well after baking.
Black Cat Sandwich Cookies

Cut cat shapes from dark cocoa dough. Bake and cool. Sandwich with vanilla frosting or marshmallow fluff. Add two sprinkle eyes by pressing them into the cream at the edge. No cutter? Use a round cutter and pipe ears with frosting. Budget tip: make filling with powdered sugar, shortening, and vanilla. It holds better than whipped cream. Want softer cookies? Bake one minute less. For crunch, bake one minute more. Kids can roll edges in orange or purple sanding sugar. Store in the fridge if using dairy-heavy filling. For a shiny coat, brush the tops with a little corn syrup and water mixture. Stack on a black plate for contrast.
Coffin Chocolate Cutouts
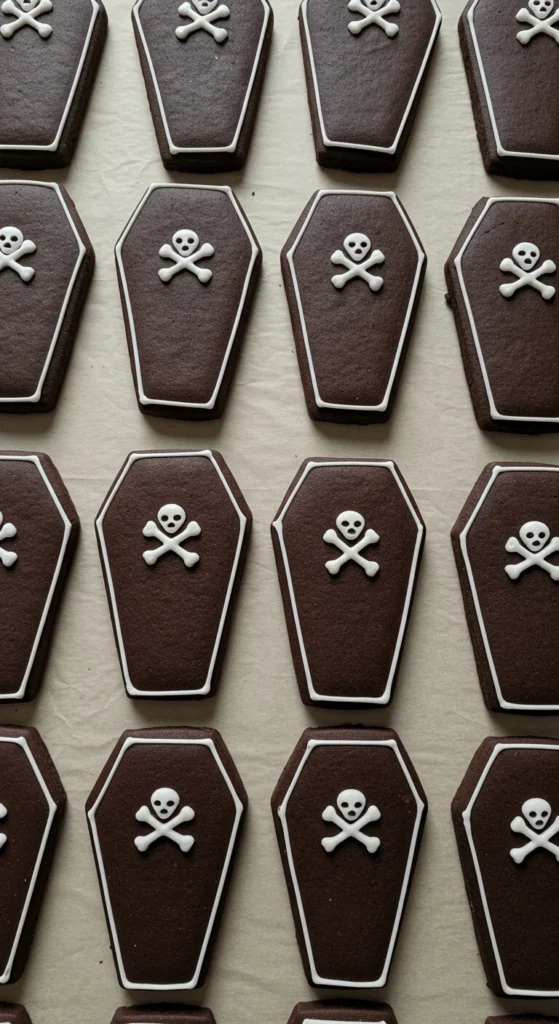
Roll chocolate cutout dough slightly thick so edges stay neat. Use a coffin cutter or cut rectangles and snip angles at one end. Outline with white icing. Add a tiny skull or “RIP” look using dots and lines. Save money by skipping fancy tips; a small hole in a bag works. Kids can draw different symbols on each coffin. For a soft bite, underbake a touch. For crisp coffins, bake to dry. Mix a few with orange outlines for contrast. Package three to a bag with black ribbon. Store flat in a shallow tin with parchment between layers. If icing craters, your flood is too thin—stir in more sugar.
Vampire Bite Red Velvet Cookies
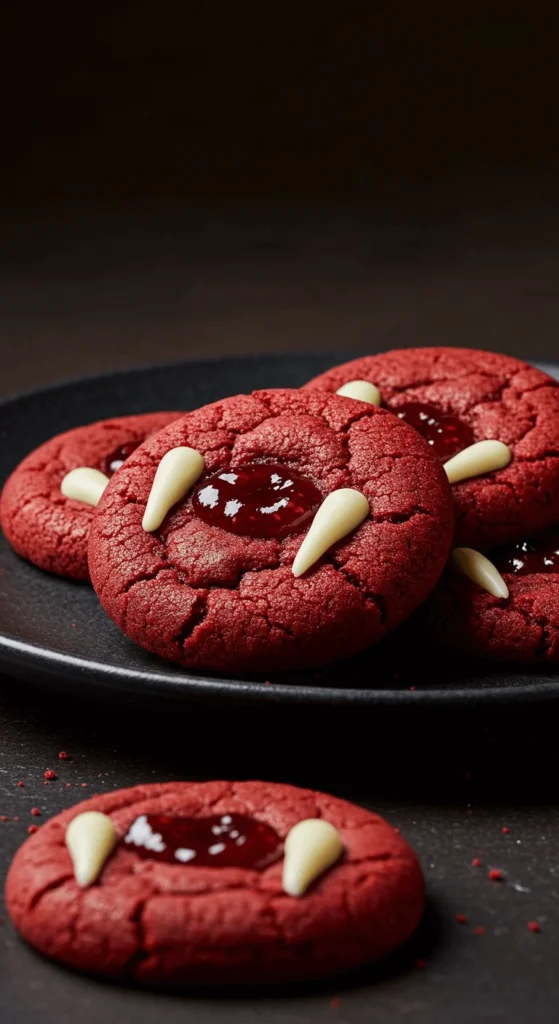
Bake red velvet cookies—cake mix works for speed. Press the end of a straw twice to make “bite marks.” Fill the dots with white chocolate. Add a faint streak of raspberry jam nearby. Kids can decide smear length. Budget move: use cocoa and red gel in a plain dough if no mix on hand. Keep cookies soft by taking them out when cracked tops first appear. Chill dough to reduce spread. For sparkle, dust with granulated sugar before baking. Want less dye? Go for a deep brown and keep the bite theme. Stack on a white plate so the color pops.
Haunted House Gingerbread Tiles
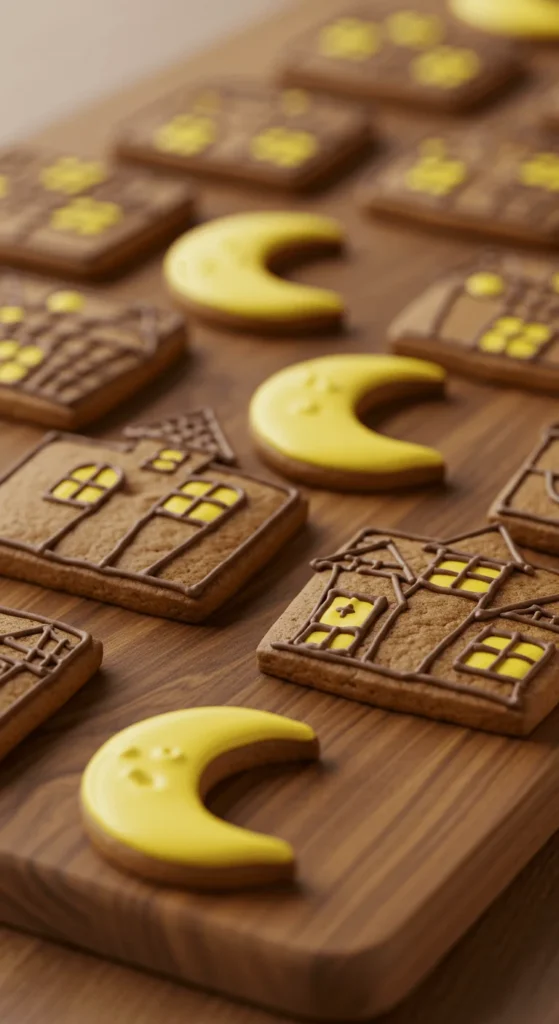
Bake gingerbread slabs and cut into rectangles. Pipe quick house shapes, windows, and crooked doors. Fill windows with thin yellow icing. Add a white moon. Budget tip: use molasses you already have or swap with brown sugar plus a spoon of honey. Kids can draw bats with simple “M” shapes. For sturdier tiles, bake longer for crunch. For softer, bake shorter. If piping straight lines is tough, draw guides with a toothpick first. Display on a long plank as a spooky street. These pack well for gifting. Spices mellow after a day, so they’re great make-ahead cookies.
Graveyard Dirt Cookie Cups

Press sugar-cookie dough into a mini muffin tin. Bake into cups. Cool, then fill with instant chocolate pudding. Top with crushed chocolate cookies as dirt. Add a small rectangle cookie “tombstone” with “RIP” scratched using a toothpick. Budget move: store-brand pudding works fine. Kids can plant gummy worms into the dirt. For a firmer fill, chill cups before serving. If cups puff, press centers gently with a spoon while warm. Use leftover dough bits to make tiny rocks. Serve on a tray sprinkled with extra crumbs. Keep chilled until party time.
Cauldron Crackle Cookies
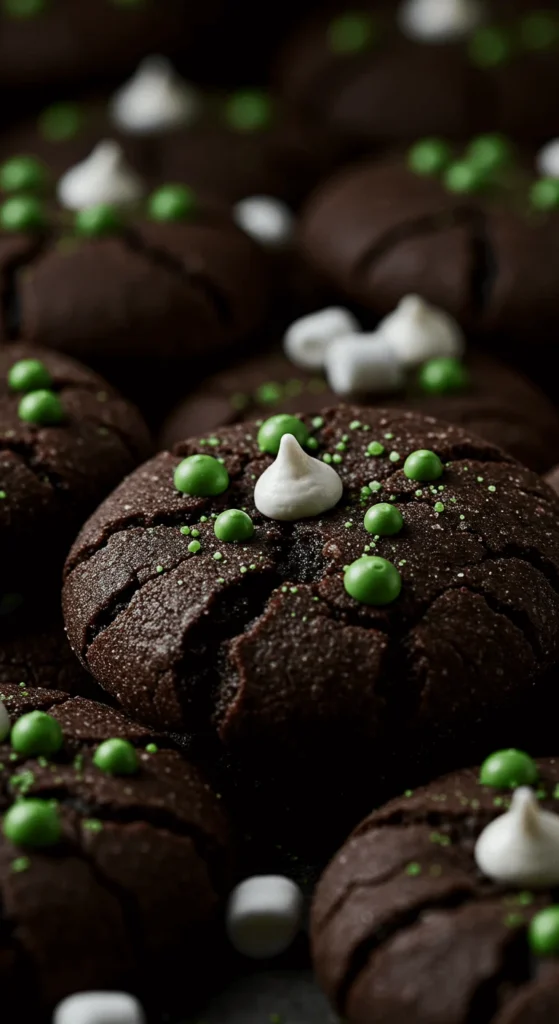
Bake chocolate crinkle cookies. Once cool, pipe green blobs as bubbling potion. Stick a few mini marshmallows as foam. For budget icing, mix powdered sugar, milk, and a drop of green gel. Kids can add star sprinkles as “sparks.” Want deeper color? Add a spoon of black cocoa to the dough. Keep the crinkle look by rolling balls thickly in powdered sugar before baking. Don’t overbake; soft centers taste best. Arrange in a circle like a bubbling ring on a plate. For a quick wand, poke in a pretzel stick right before serving.
Bat Wing Chocolate Wafers
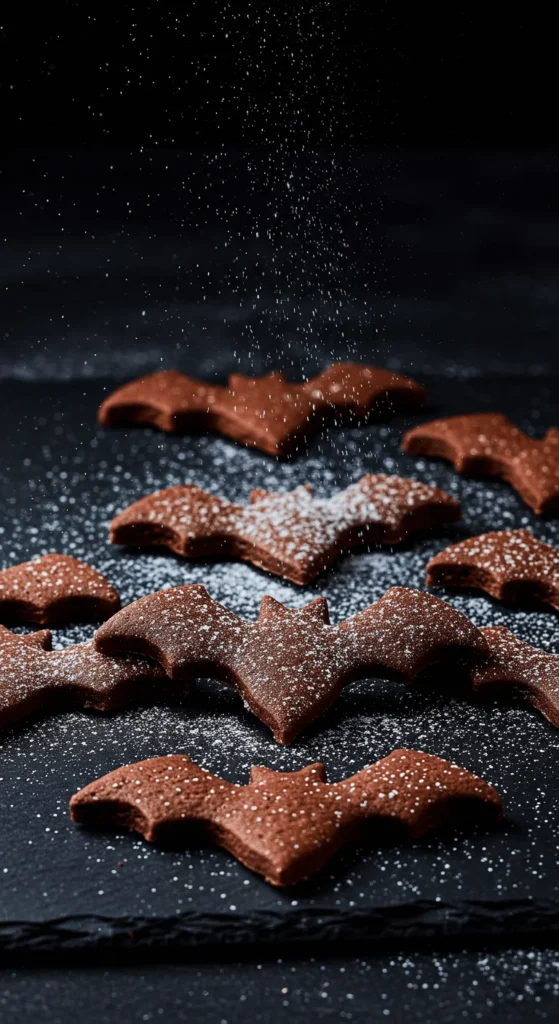
Make thin wafer dough with cocoa. Chill well. Cut bats and freeze cutouts five minutes to keep edges sharp. Bake until set. Dust with powdered sugar. Kids can glue two wafers together with Nutella for a sandwich. Budget tip: skip specialty cutters by slicing wing shapes from rectangles with a knife. For shine, brush with a tiny bit of melted butter. Serve with a cup of milk for dunking. Store in a tin with parchment. If they soften, re-crisp in a low oven for a few minutes. Mix in mini bats for variety.
Candy Corn Swirl Pinwheels
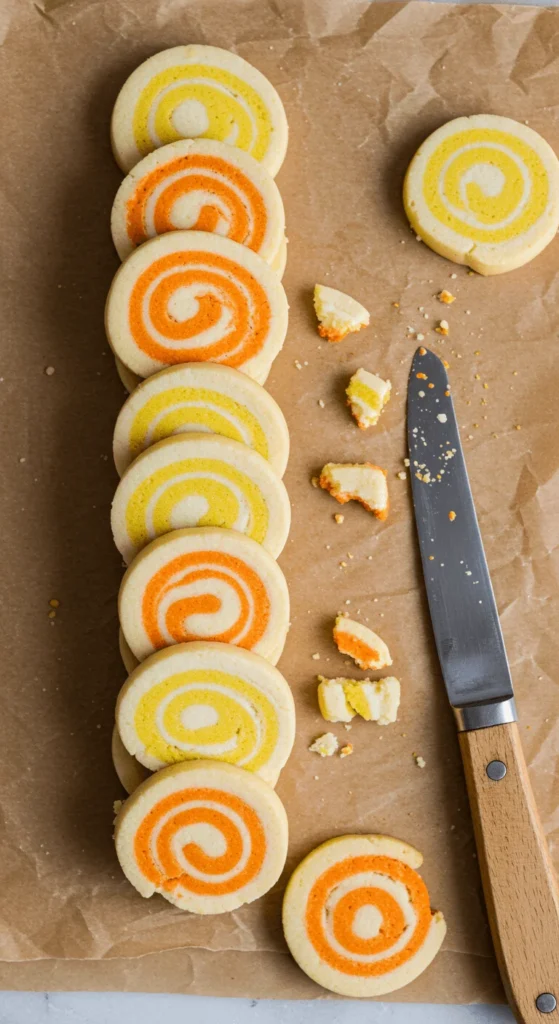
Color one dough in yellow, one in orange, leave one plain. Roll each into sheets. Stack, roll tight, and chill. Slice into pinwheels. Kids love the spiral reveal. Budget move: use one batch of basic dough for all three colors. Keep lines neat by trimming edges before rolling. If dough cracks, warm it a minute at room temp. Sprinkle edges with sanding sugar for sparkle. Bake until just set; don’t brown. Package a rainbow stack in clear wrap for gifting. Freeze the log and slice as needed through October.
Zombie Brain Peanut Butter Cookies
Make peanut butter dough. Roll ovals. Score shallow lines and squiggles to mimic folds. Bake and cool. Drizzle with green icing. Kids can go wild with patterns; messy looks better. Allergies at school? Swap peanut butter for sunflower seed butter. Budget tip: use store-brand peanut butter. Keep cookies soft by not overbaking; pull when edges set. For extra fun, add red jam between two “brain halves” as a secret center. Serve on a black tray. Label clearly if nuts are present. These freeze well; thaw uncovered to keep the glaze dry.
Full Moon Crater Sugar Cookies
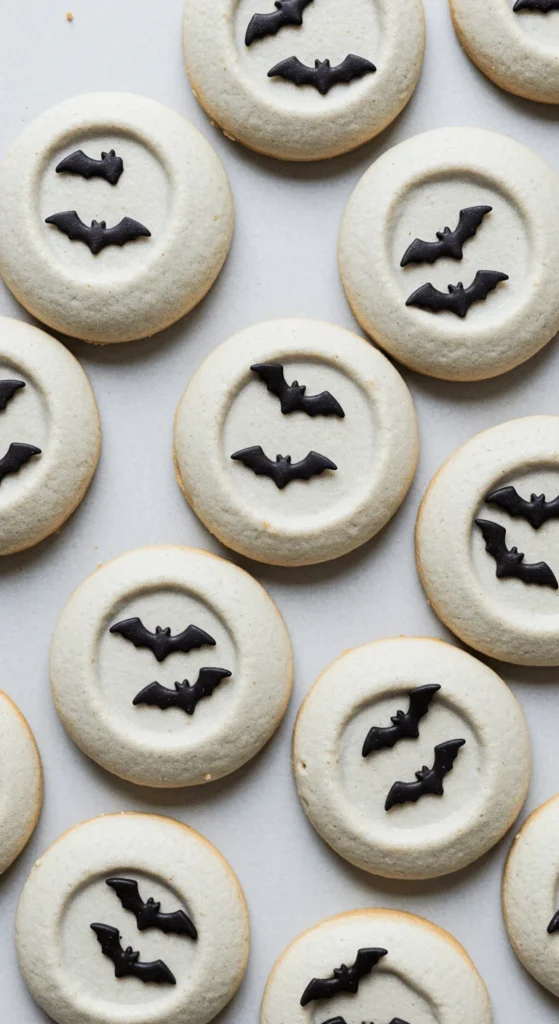
Bake pale sugar cookies. While warm, press the back of a measuring spoon to make craters. Glaze with thin grey icing. Place a few bat sprinkles as silhouettes. No grey dye? Mix a dot of black into white icing. Budget move: keep glaze simple—powdered sugar and milk. Kids can stamp craters; it’s easy and fun. For a galaxy tray, add a few dark cookies as “sky.” Store layered with parchment. If glaze runs, you added too much milk; stir in more sugar. These look striking on a dark plate under string lights.
Swamp Matcha Monster Cookies
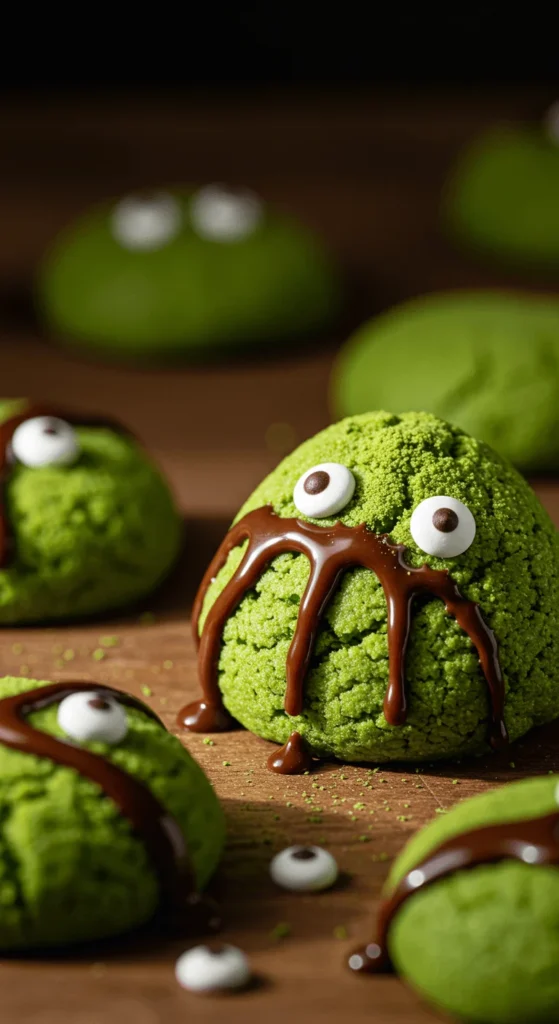
Beat in matcha powder for a swampy hue. Scoop rustic mounds so they bake craggy. Press candy eyes on while warm. Drizzle a little melted chocolate as slime. Not into tea? Tint vanilla dough green instead. Budget tip: buy small packets of matcha; a little colors a lot. Kids can choose one eye, two eyes, or a whole cluster. For citrus, add a bit of lemon zest. Chill dough to keep shape. Pair with white chocolate chips for contrast. Store airtight; the color stays bright. Great for class parties—fun, not scary.
Maple Pecan Jack-O’-Lantern Cookies

Bake pumpkin-shaped cookies with a hint of cinnamon. Glaze with maple icing. Draw simple faces with black gel or melted chocolate. Sprinkle chopped pecans at the stem. Nut-free option: use pretzel bits. Budget move: real maple can be pricey—mix syrup with powdered sugar to stretch flavor. Kids can design faces: happy, sleepy, goofy. For a shiny look, keep glaze slightly thick. Dry on racks. Pack in boxes with orange tissue paper. These smell like fall and look great on any dessert table.
Salted Caramel Skull Imprint Cookies
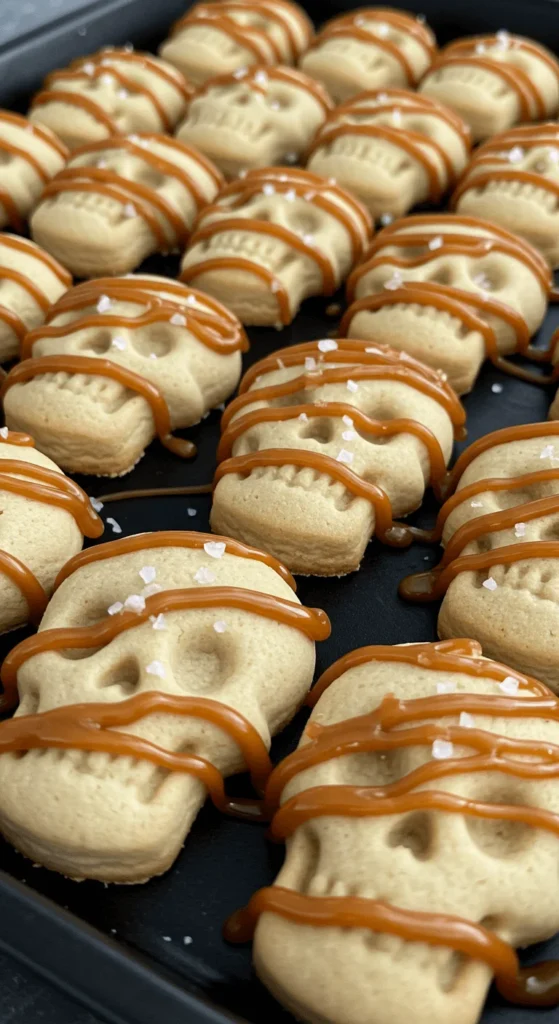
Roll vanilla shortbread balls. Press with a skull stamp or the back of a small toy (cleaned) for an imprint. Bake until set. Drizzle store-bought caramel. Finish with a pinch of flaky salt. Budget tip: make quick caramel by heating wrapped caramels with a spoon of milk. Kids can handle the stamping step. If details fade, chill dough before pressing. For darker edges, bake a minute longer. Skip salt for little kids. Stack skulls in rows for a bold display. Keep in a cool spot so caramel firms.
Midnight Charcoal Sandwich Cookies

Use black cocoa for deep color. Cut rounds and bake just until set. Fill with vanilla cream. Roll edges in orange nonpareils for a party stripe. Budget move: black cocoa goes far; mix with regular cocoa to save. Kids can help roll edges. If you lack a cutter, use a small glass. For a hint of flavor, add a touch of espresso powder; it reads chocolatey, not coffee. Store chilled for tidy edges. These look dramatic on a white platter.
S’mores Spider Cookies

Bake graham-style cookies or use a simple brown sugar base with crushed grahams. Top warm cookies with a marshmallow. Melt briefly in the oven, then press a chocolate square on top. Add pretzel legs—four per side. Dot white icing for eyes. Budget move: use generic chocolate bars. Kids love building the legs. Keep legs shorter so they don’t snap. For toastiness without a torch, broil a few seconds—watch closely. Serve the same day; marshmallows firm by next day. Place on parchment so they don’t stick.
Apple Cider Glazed Leaf Cutouts
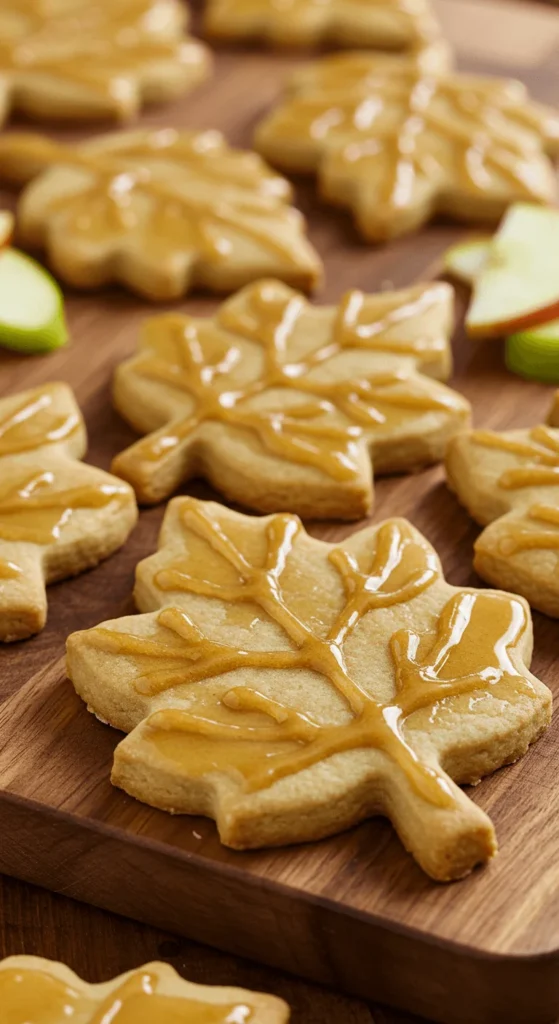
Reduce apple cider on the stove to concentrate flavor. Brush onto warm leaf cookies and let it sink in. Add a second light coat for shine. Etch simple veins with a toothpick before baking. Budget tip: buy a small jug of cider and freeze leftovers in ice cube trays for later batches. Kids can paint glaze with pastry brushes. For color, mix a touch of cinnamon into the sugar. These smell cozy and pair well with hot chocolate. Store in a tin; flavors deepen by day two.
Chai Shadow Star Cookies

Blend chai spices—cinnamon, cardamom, ginger, clove. Roll star cutouts in spiced sugar before baking. Keep dough cold for clean points. Kids can shake cookies in a bag with sugar for even coating. Budget move: use ground spices you already own; skip extras you don’t. For glaze, whisk powdered sugar with tea instead of milk. Let stars dry on a rack. Stack loosely so points don’t chip. Serve with warm milk at bedtime. The spice is cozy, not hot, so kids dig it.
Black & Orange Sprinkle Drop Cookies
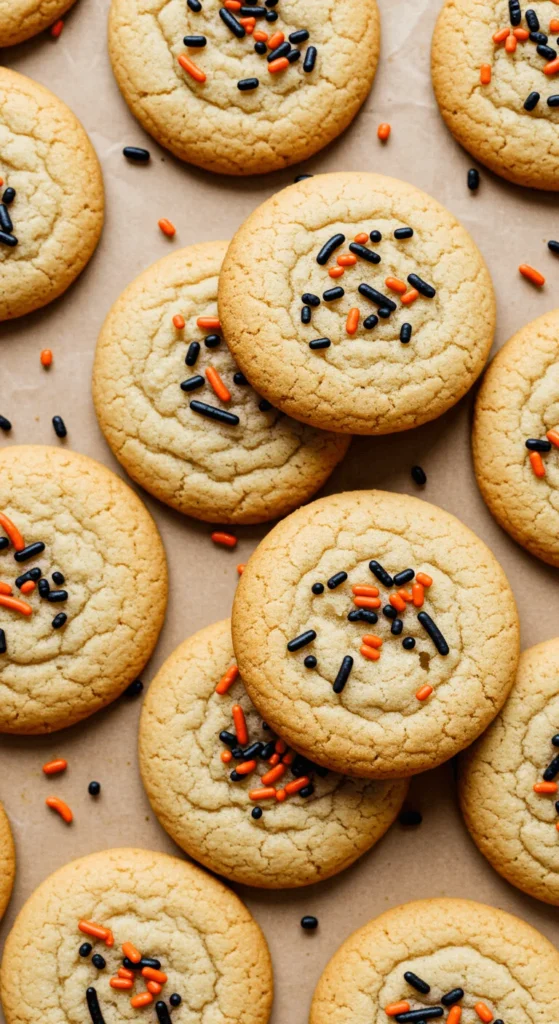
Stir holiday sprinkles into a soft vanilla dough. Scoop and bake. That’s it. Kids do the whole bowl-to-pan process. Budget tip: buy one big tub of mixed sprinkles and use all month. Chill dough for less spread. For color contrast, add mini chocolate chips. Want a bakery dome? Bake chilled mounds tall. Press a few extra sprinkles on top before baking so they show. Cool fully to keep colors crisp. Pack in zipper bags for trick-or-treat helpers. Simple, cheerful, and fast.
Cinnamon Skeleton Snaps
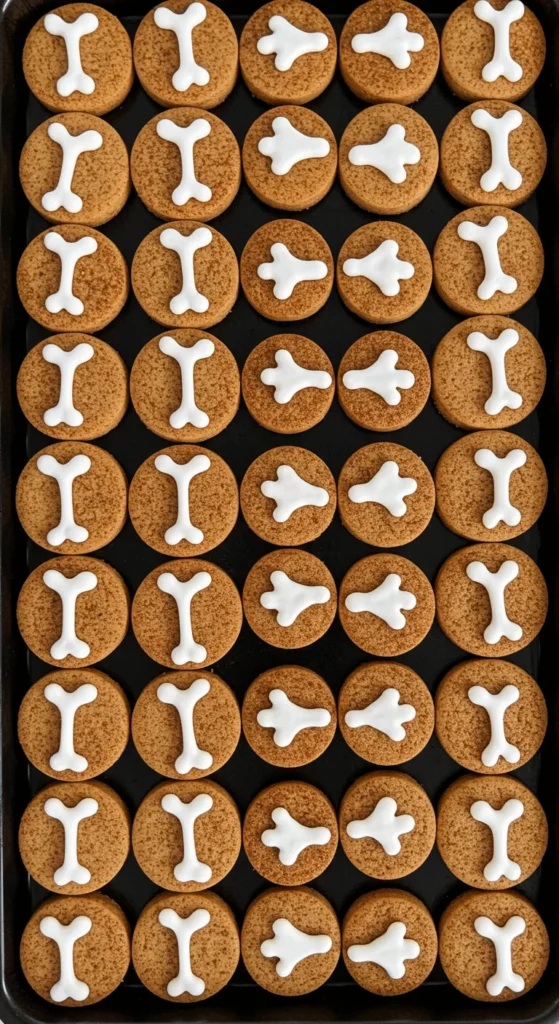
Bake crisp cinnamon snaps. Cool. Pipe simple bone shapes: lines for arms and legs, dots for joints, a circle for the head. Kids can trace with a toothpick first. Budget icing works—powdered sugar and water. Keep lines thin for neat figures. For mild spice, cut back on ginger. If cookies soften, re-crisp in a low oven. Pack in flat boxes so designs stay safe. These stack well for parties and look great in long rows.
Peppermint Poltergeist Bark Cookies
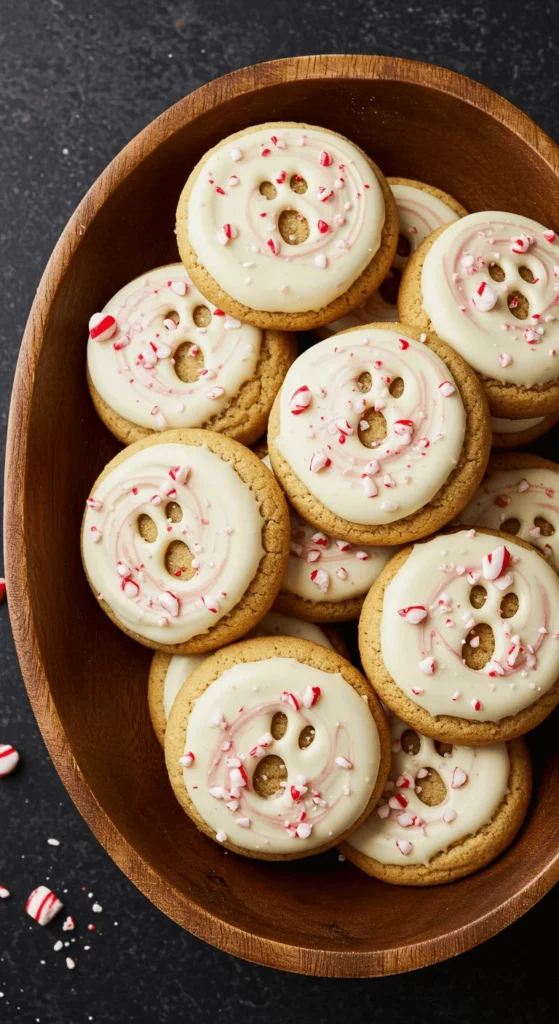
Spread melted white chocolate on cooled cookies. Swirl with a toothpick to make ghosty shapes. Sprinkle crushed candy cane lightly. Budget move: use peppermint candies from a dollar bag. Kids enjoy the swirl step. Keep chocolate in a microwave-safe bowl and heat gently. If it seizes, stir in a drop of oil. For tinted ghosts, add the tiniest dot of black gel with a toothpick. Let set on parchment. Store cool. These add a minty snap to your dessert platter.
Peanut-Free Sunflower “Mummies”
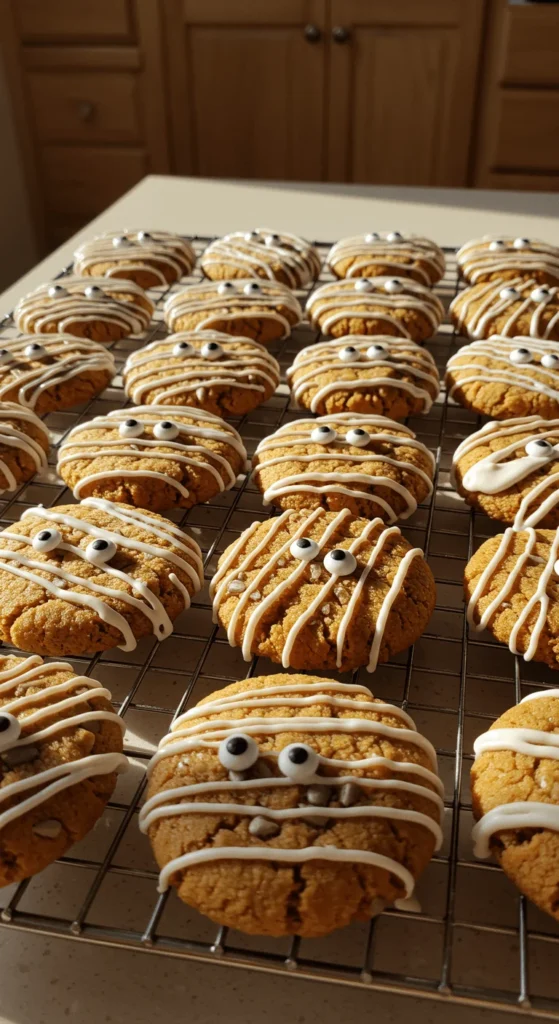
Swap peanut butter with sunflower seed butter. Bake rounds. Drizzle thick white icing as bandages. Press on candy eyes. Kids with nut restrictions can still join the fun. Budget tip: look for store brands; texture works fine. For deeper flavor, add a pinch of salt and vanilla. Keep dough chilled for less spread. If you want crunch, roll edges in coarse sugar before baking. Pack two per bag for school parties. Label clearly as peanut-free. Texture stays soft for two days.
No-Bake Witch Broom Pretzel Cookies
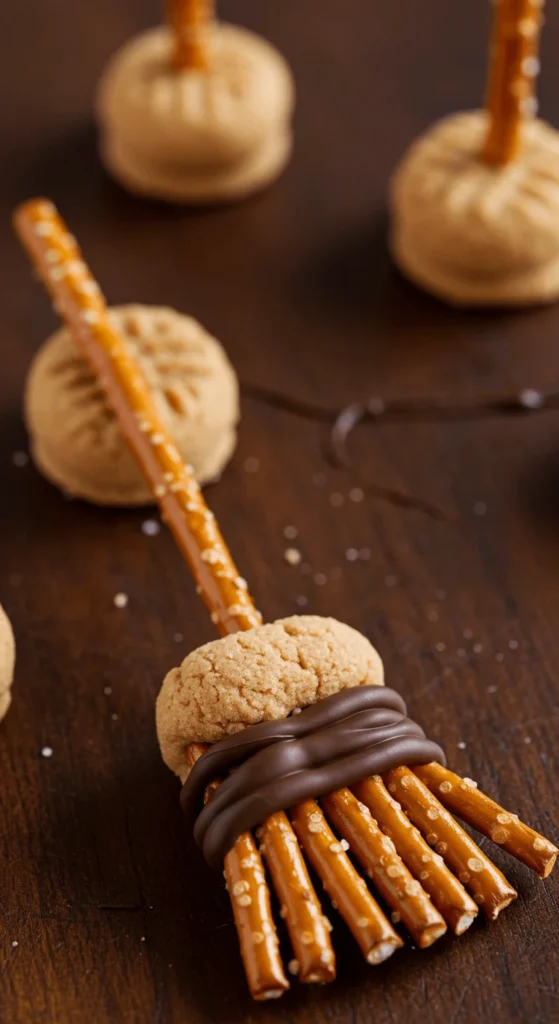
Mix crushed cookies with a spoon of cream cheese or peanut butter. Scoop small mounds and press lines with a fork for bristles. Insert pretzel sticks as handles. Tie a thin melted chocolate “ribbon.” Budget move: use any plain cookies you have—digestives, grahams, or tea biscuits. Kids can assemble the whole tray with clean hands. Chill to set. Nut-free version: use cream cheese only. For color, dust bristles lightly with cocoa. Serve cold so brooms hold shape. Handy for last-minute parties.
Chocolate-Orange Jack Skulls
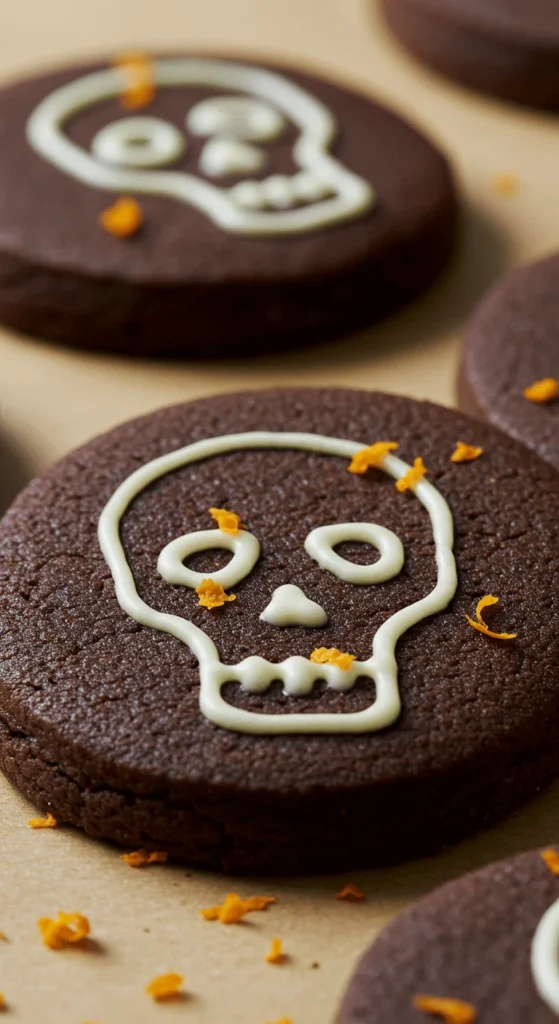
Bake dark chocolate cookies with a little orange zest. Cool and pipe skull faces—two dots, a triangle nose, stitched mouth. Kids can try different expressions. Budget tip: zest from everyday oranges works great. Keep icing thick for clean lines. For extra shine, brush cookies lightly with a sugar-water glaze before decorating. Store flat. The chocolate-orange combo tastes grown-up but still friendly for kids. Arrange with orange slices on the platter for color.
Sprinkle-Dipped Pumpkin Thumbprints
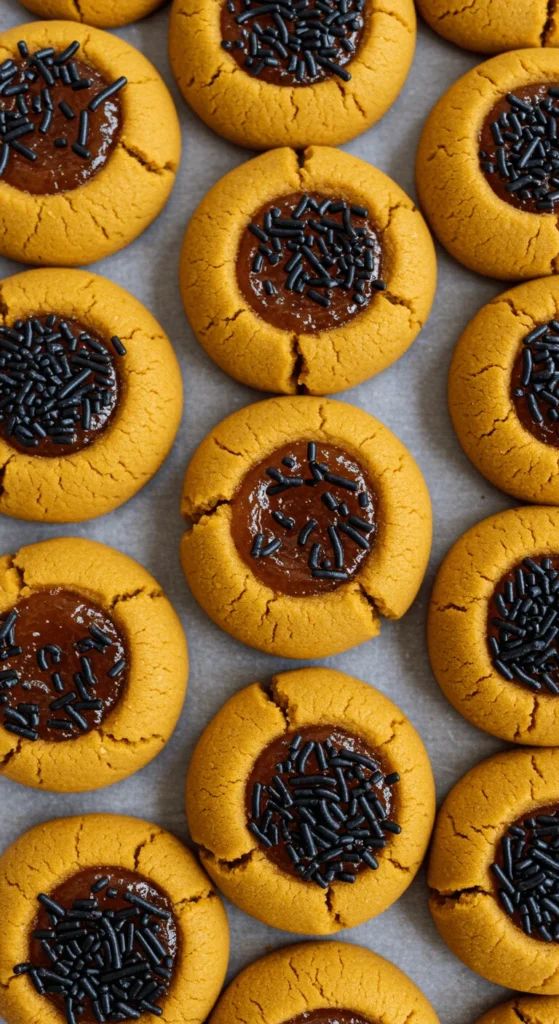
Tint dough orange. Roll in black sprinkles. Press a thumbprint. Fill after baking with apricot or peach jam tinted a bit deeper. Kids enjoy the “press and fill” steps. Budget move: use any light jam you have. Keep prints from closing by pressing again while warm. If jam is runny, warm it first, then let cool to set. For a cute leaf, add a tiny green candy at the edge. These shine on the table and pack well for gifting.
Conclusion
You don’t need fancy tools or pricey ingredients to make Halloween cookies kids beg for. Pick two recipes for weeknights and two for party day. Mix dough ahead, chill, and let the kids decorate right before serving. Use store-brand basics, candy eyes, and a couple of gels. Keep shapes simple, colors bold, and portions small. Snap photos, share a tray, and repeat next year with your family favorites.
Leave a Reply