Get ready to roar with excitement—because these Dino Cookies are the ultimate treat for your dino-loving kiddos! Whether you’re planning a Jurassic-themed birthday, a rainy day baking session, or a lunchbox surprise, these cookies are fun to make, decorate, and eat. Think buttery sugar cookie cutouts, vibrant icing or sprinkles, and even little dinosaur footprints pressed into dough!
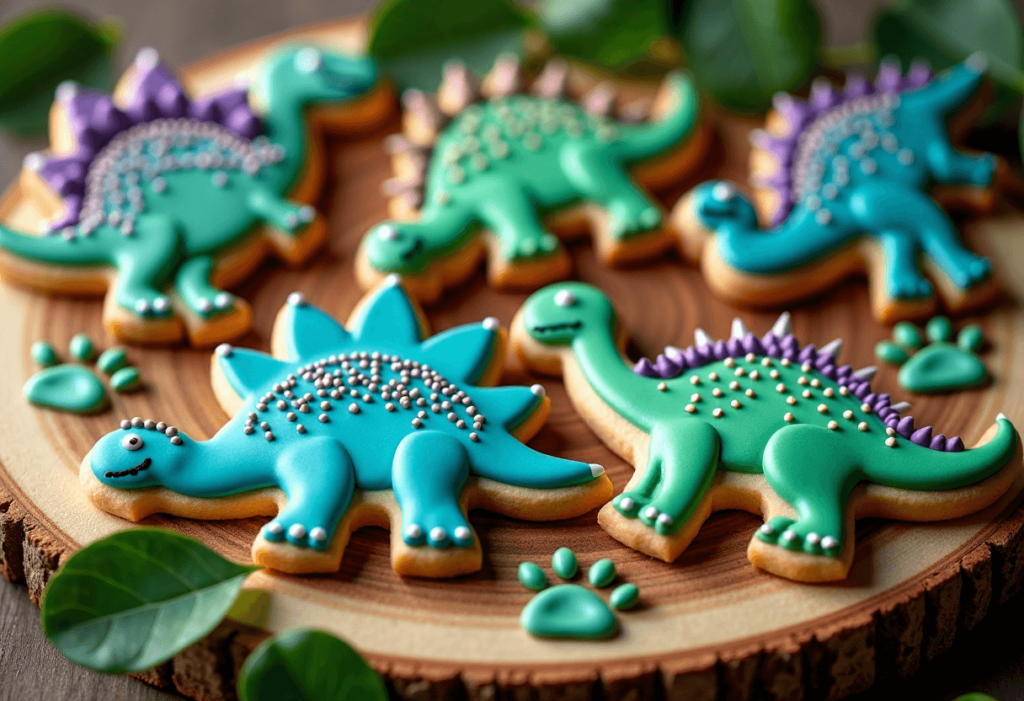
This recipe is kid-friendly, customizable for all kinds of dinos (T-Rex, triceratops, stegosaurus—we see you!), and perfect for getting your mini paleontologists involved in the kitchen.
What You’ll Need
For the Sugar Cookie Dough:
- 2 ¾ cups all-purpose flour
- 1 teaspoon baking soda
- ½ teaspoon baking powder
- ½ teaspoon salt
- 1 cup unsalted butter, softened
- 1 ½ cups granulated sugar
- 1 large egg
- 1 ½ teaspoons vanilla extract
- Optional: ½ teaspoon almond extract
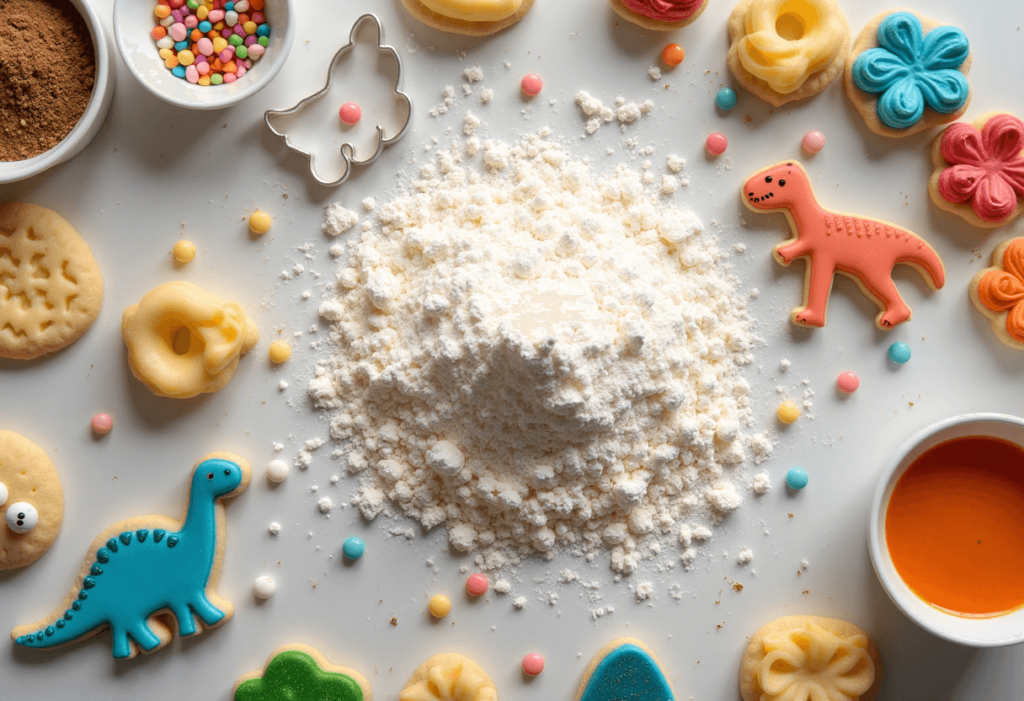
For Decoration:
- Royal icing or easy cookie icing (homemade or store-bought)
- Gel food coloring (green, blue, purple, etc.)
- Sprinkles, candy eyes, or edible glitter
- Dinosaur cookie cutters
- Optional: small plastic dinosaur toys to make footprint impressions
Pro Tips for Dino-Mite Cookies
🦖 Chill the dough before rolling – it helps the shapes hold better during baking.
🎨 Use gel food coloring for vibrant dino hues without thinning your icing.
👧 Let the kids decorate! Set out bowls of icing and toppings for a dino cookie decorating party.
🦕 Use toy dinos to make footprints in round cookie dough—super fun for younger kids!
🥶 Freeze baked cookies (undecorated) for future decorating fun.
Tools You’ll Need
- Mixing bowls
- Hand or stand mixer
- Rolling pin
- Dinosaur cookie cutters
- Baking sheet + parchment paper
- Cooling rack
- Piping bags or zip-top bags for icing
Substitutions & Variations
🌿 Dairy-free – Use vegan butter and plant-based milk for icing
🌾 Gluten-free – Use a 1:1 gluten-free baking flour blend
🍫 Chocolate dino twist – Add ¼ cup cocoa powder to the dough
🎉 Use sprinkles only – Skip icing and press colorful sprinkles into dough before baking
Make-Ahead Tips
- Dough can be made and refrigerated up to 3 days in advance
- Freeze raw cookie cutouts and bake directly from frozen (add 1–2 mins baking time)
- Decorated cookies stay fresh for up to 5 days in an airtight container
How to Make Dino Cookies
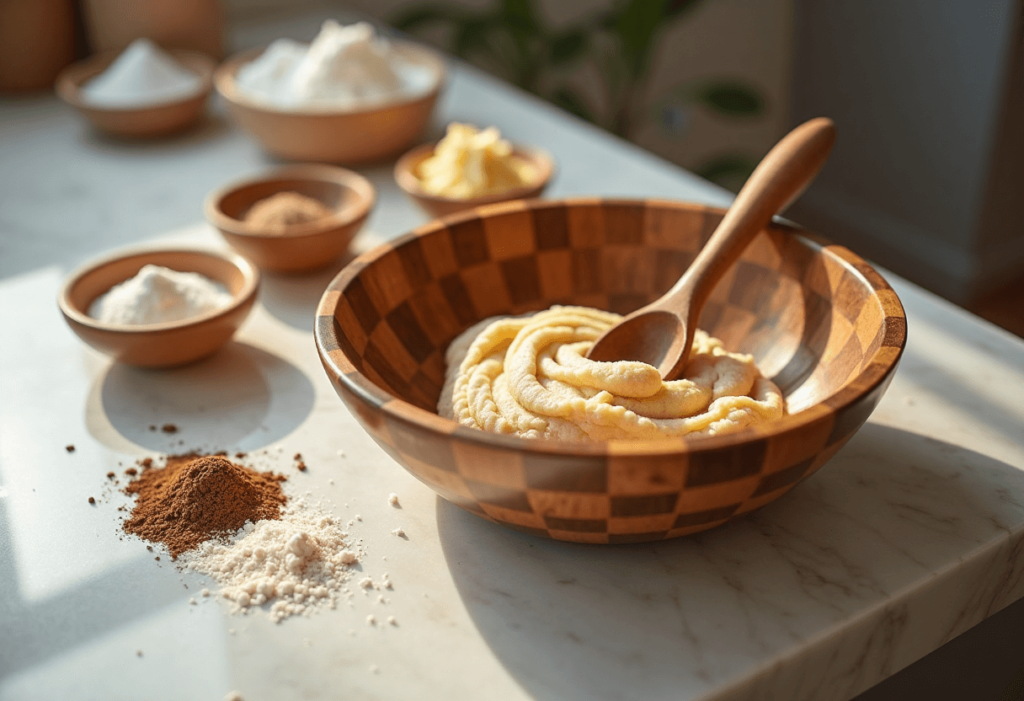
Step 1: Make the Dough
- In a bowl, whisk together flour, baking soda, baking powder, and salt.
- In a separate bowl, cream butter and sugar until fluffy.
- Beat in egg, vanilla, and almond extract (if using).
- Gradually add dry ingredients to wet and mix until combined.
- Chill dough for 1 hour.
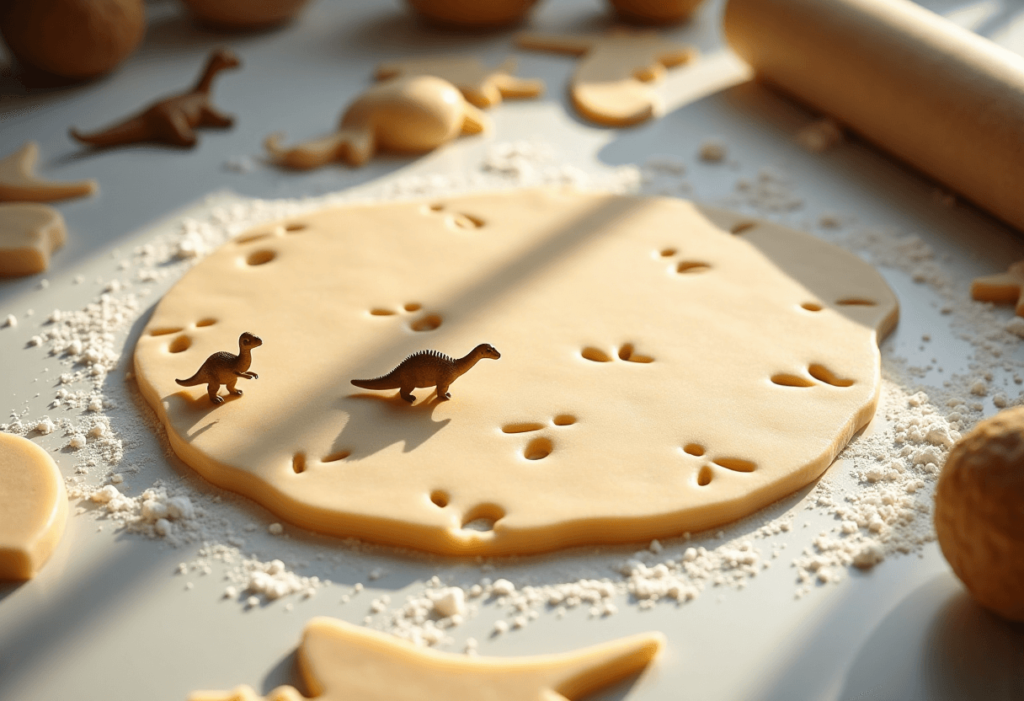
Step 2: Roll & Cut Dino Shapes
- Preheat oven to 350°F (175°C) and line baking sheets with parchment.
- Roll dough to ¼-inch thick. Use dinosaur cookie cutters to cut shapes.
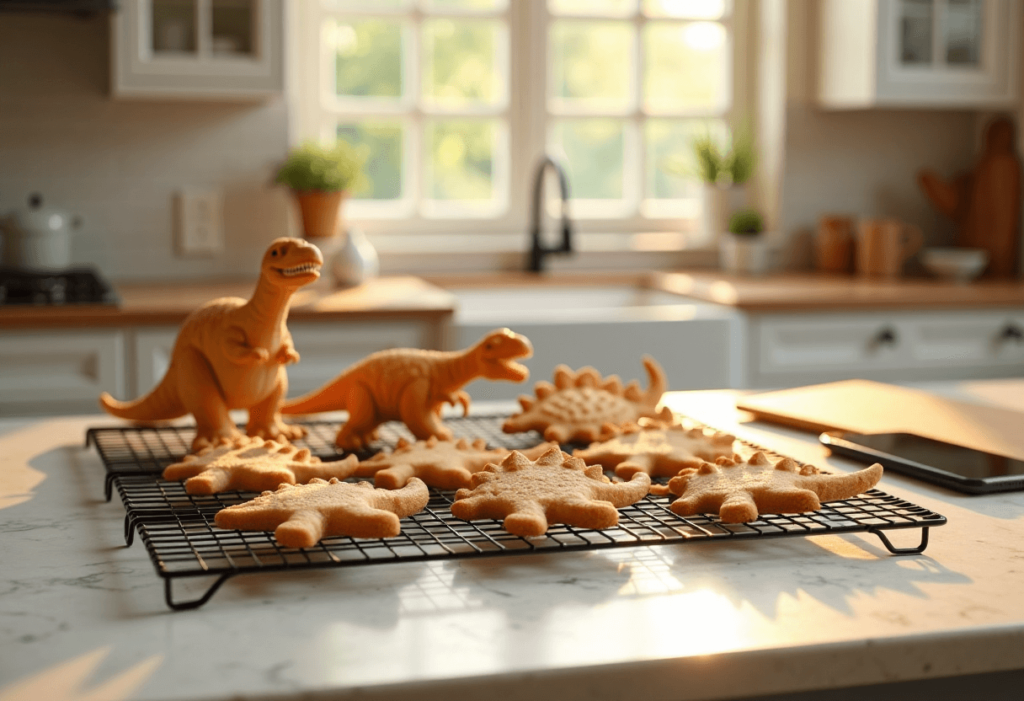
- Place on baking sheet, spacing slightly apart. Optional: press small toy dinos into dough for footprints.
Step 3: Bake & Cool
- Bake for 8–10 minutes, until edges are set but not browned.
- Cool on baking sheet 2 mins, then transfer to a rack.
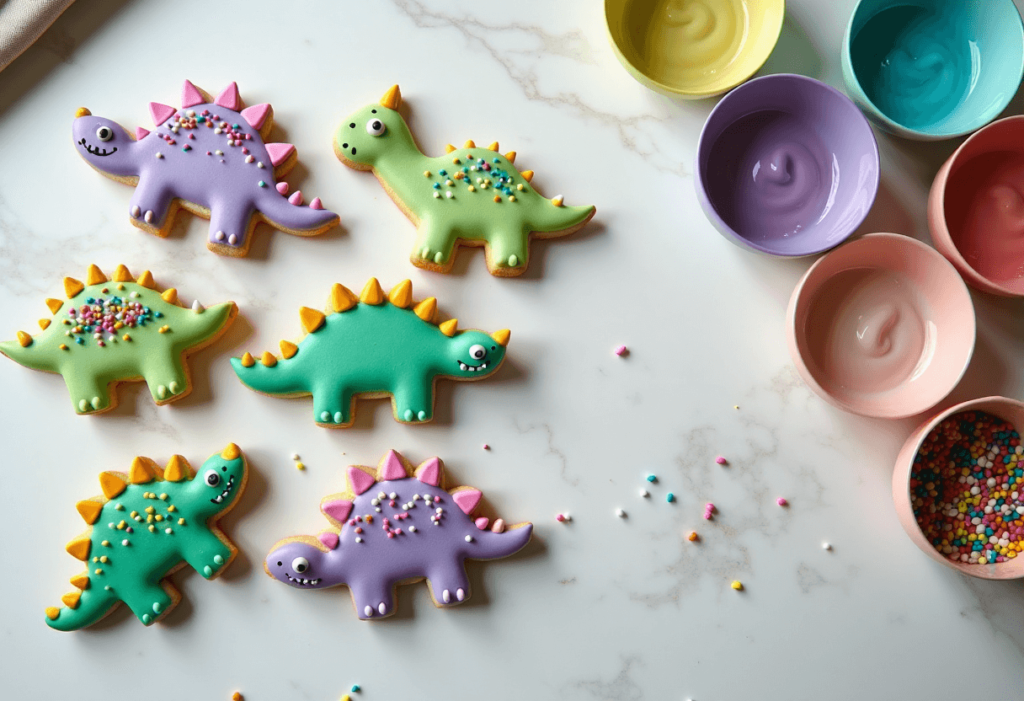
Step 4: Decorate!
- Tint icing with gel food coloring and transfer to piping bags.
- Decorate cookies with dino scales, eyes, and patterns. Let set for 1–2 hours to dry.
Leftovers & Storage
- Store decorated cookies in an airtight container for up to 5 days
- Freeze plain cookies (before or after baking) for up to 2 months
- Let decorated cookies dry completely before stacking
Final Thoughts
Dino Cookies are as fun to make as they are to eat—whether you’re planning a themed party or just baking with your little adventurers. With endless decorating options and a buttery, delicious base, they’ll bring smiles (and roars!) to every bite.
💬 Tell me how your cookie dinos turned out! Did you go full Jurassic Park or keep it cute and colorful? Leave your comments below—and don’t forget to share your cookie creations! 🦕🍪💚
Leave a Reply