You want keto bread that's soft and fluffy, not dense and dry. If you've tried low-carb loaves before, you know how frustrating crumbly slices can be. This guide walks you through simple, repeatable steps to make keto bread that's soft and fluffy every time.
The secret is exact measurements and the right tools. Use a digital kitchen scale for grams, and consider a stand mixer to beat eggs and incorporate air without overworking the batter.
You'll learn how to prep ingredients, mix for lift, check doneness, and store slices so they stay soft. Follow the tips and product links sprinkled in for faster, more reliable results.
Preparing Your Ingredients
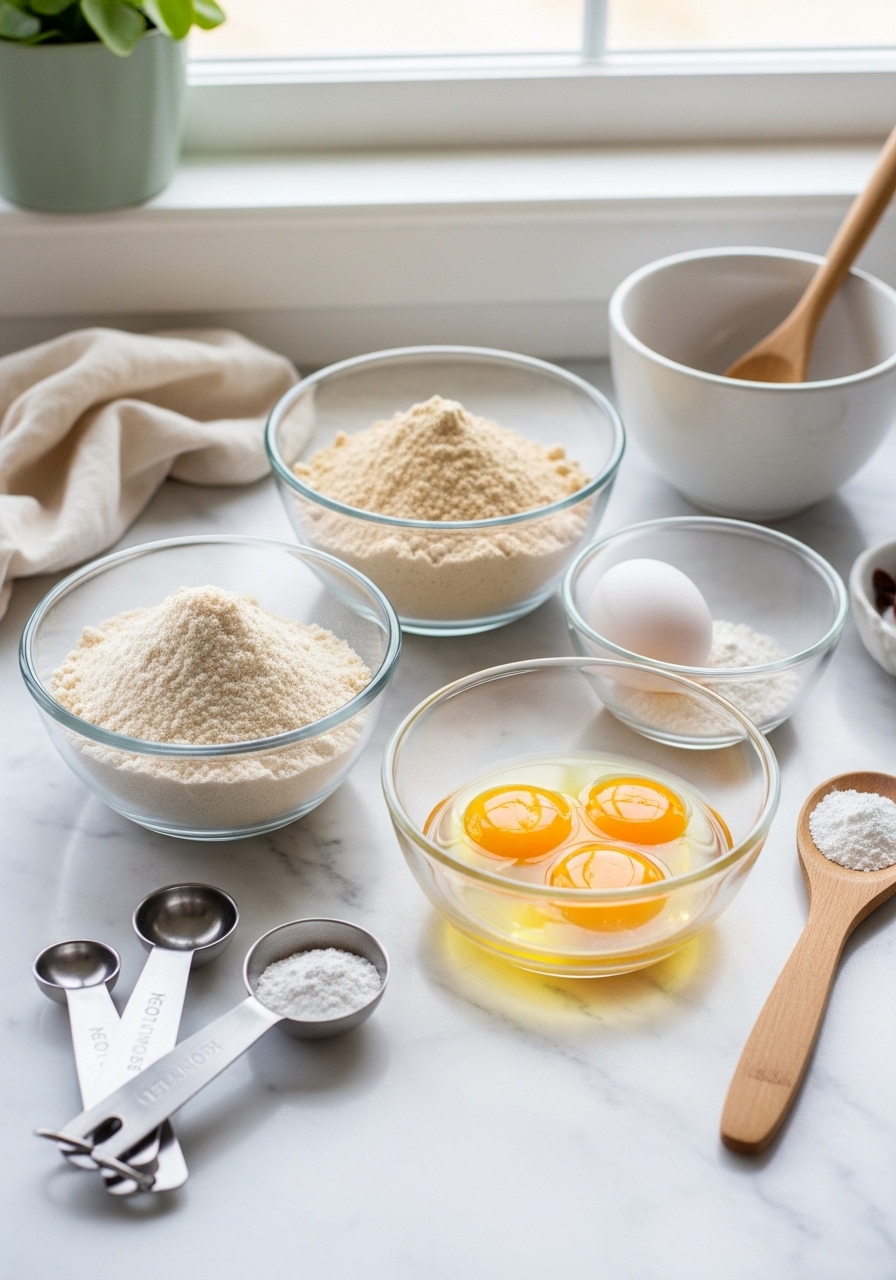
Start by measuring precisely—this is where soft, fluffy keto bread begins. Use a digital kitchen scale or a set of measuring cups and spoons for accuracy.
- 2 cups almond flour
- 1/4 cup psyllium husk powder
- 1 tsp baking powder
- 4 large eggs
- 1/4 cup melted butter or oil
- 1/2 tsp salt
Tips:
- Sift almond flour if it’s clumpy. A small silicone whisk helps break lumps without adding gluten.
- Preheat the oven to 350°F while you mix.
Mixing and Getting Air Into the Batter
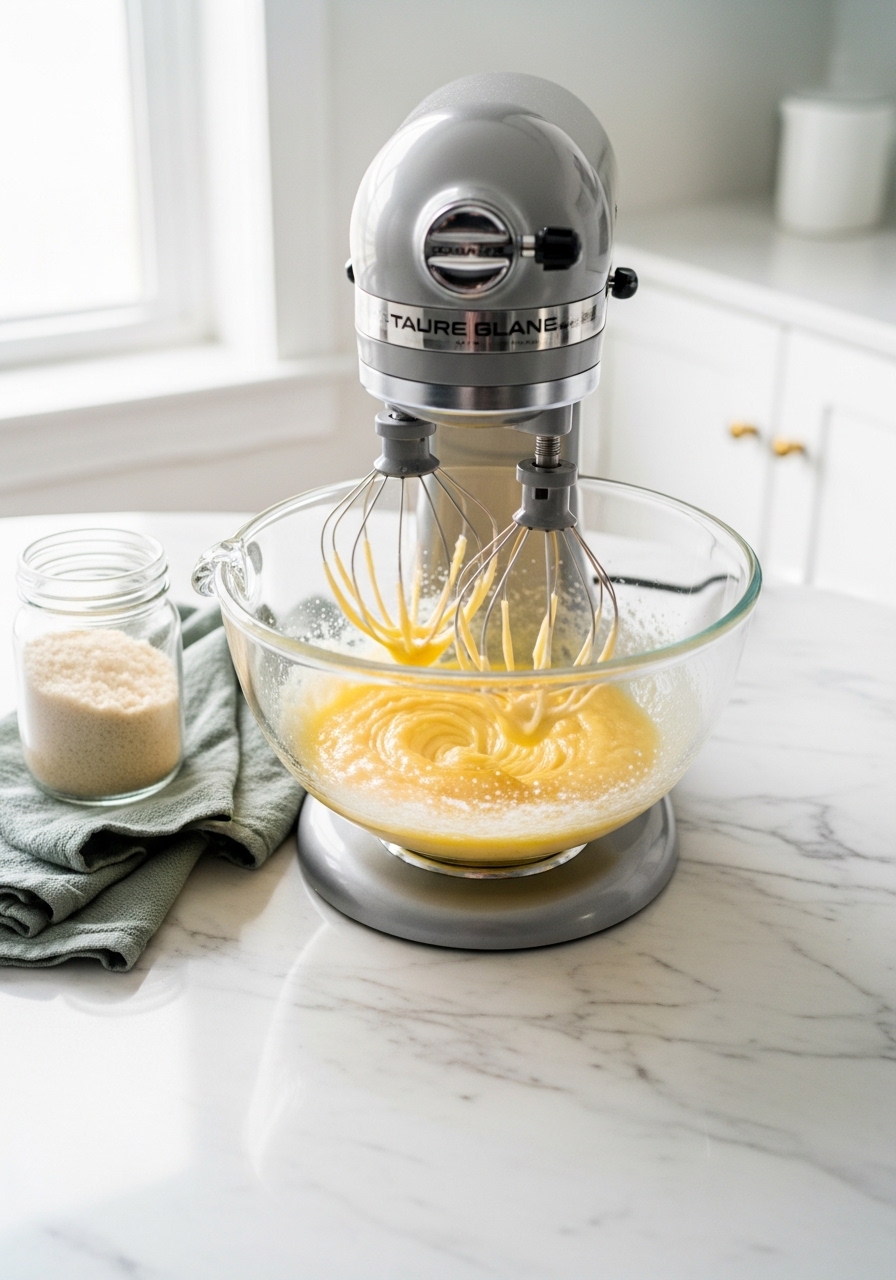
Whisking air into the eggs is the biggest trick to light keto bread. Use a stand mixer or vigorous hand whisking.
- Beat the eggs and a low-carb sweetener on high for 3–5 minutes until pale and thick.
- Fold dry ingredients into the eggs gently with a bench scraper or spatula. Don’t deflate the batter.
- Add melted butter slowly to maintain loft.
Product tips:
- A silicone baking mat or parchment keeps the loaf from sticking.
- Use an 8×4 loaf pan lined with parchment for even rise: https://www.amazon.com/s?k=8×4+loaf+pan&tag={{amazon_tag}}
Baking and Checking Doneness
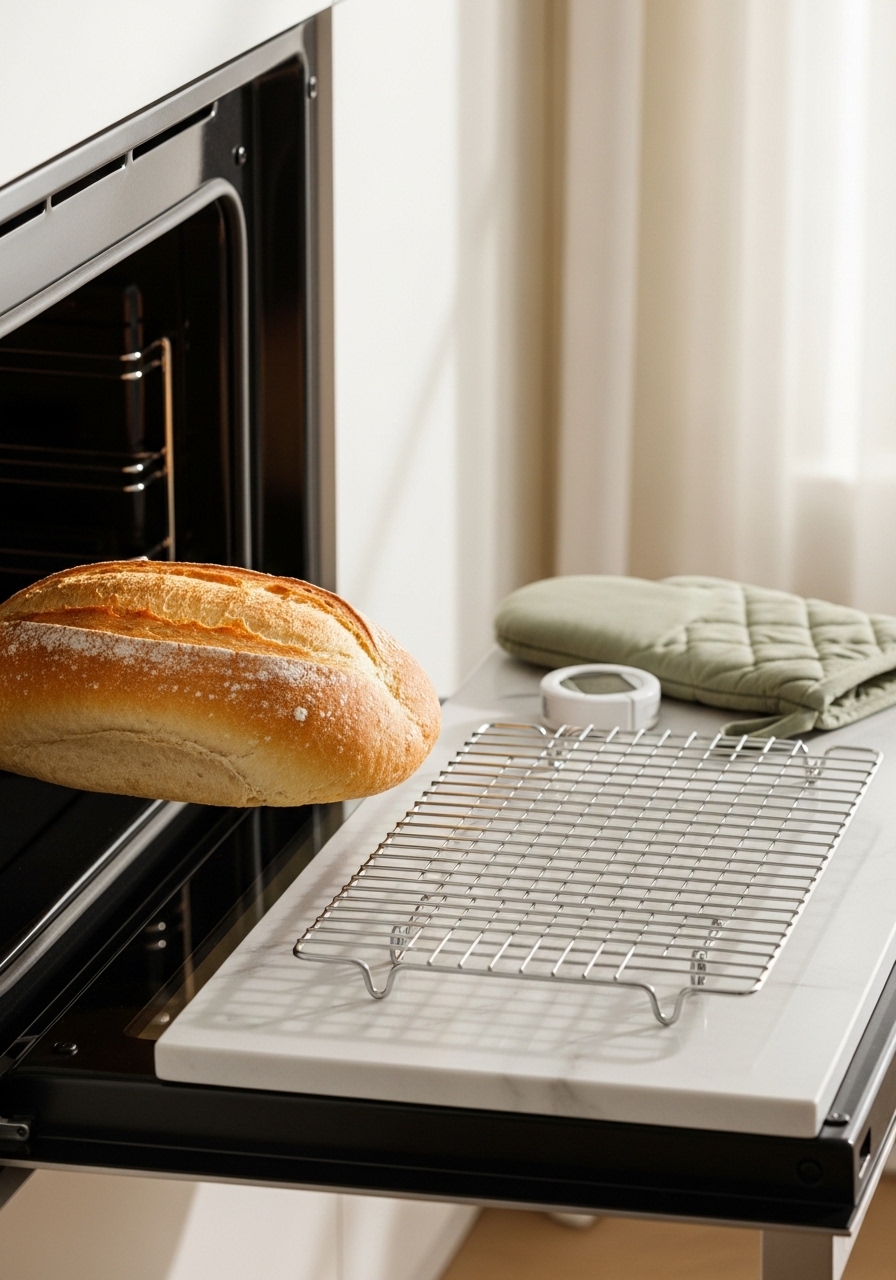
Bake the loaf at 350°F for 35–45 minutes. Because keto loaves brown faster, tent with foil if the top gets too dark.
- Look for a golden crust and a firm top.
- Check doneness with an instant-read thermometer; target 195°F internal.
- Remove from oven and immediately transfer to a wire cooling rack to avoid steam making the bottom soggy.
Common pitfall:
- Underbaking produces gummy crumb. If the center dips when you press gently, return for 5–7 more minutes.
Finishing Touches, Slicing, and Storage
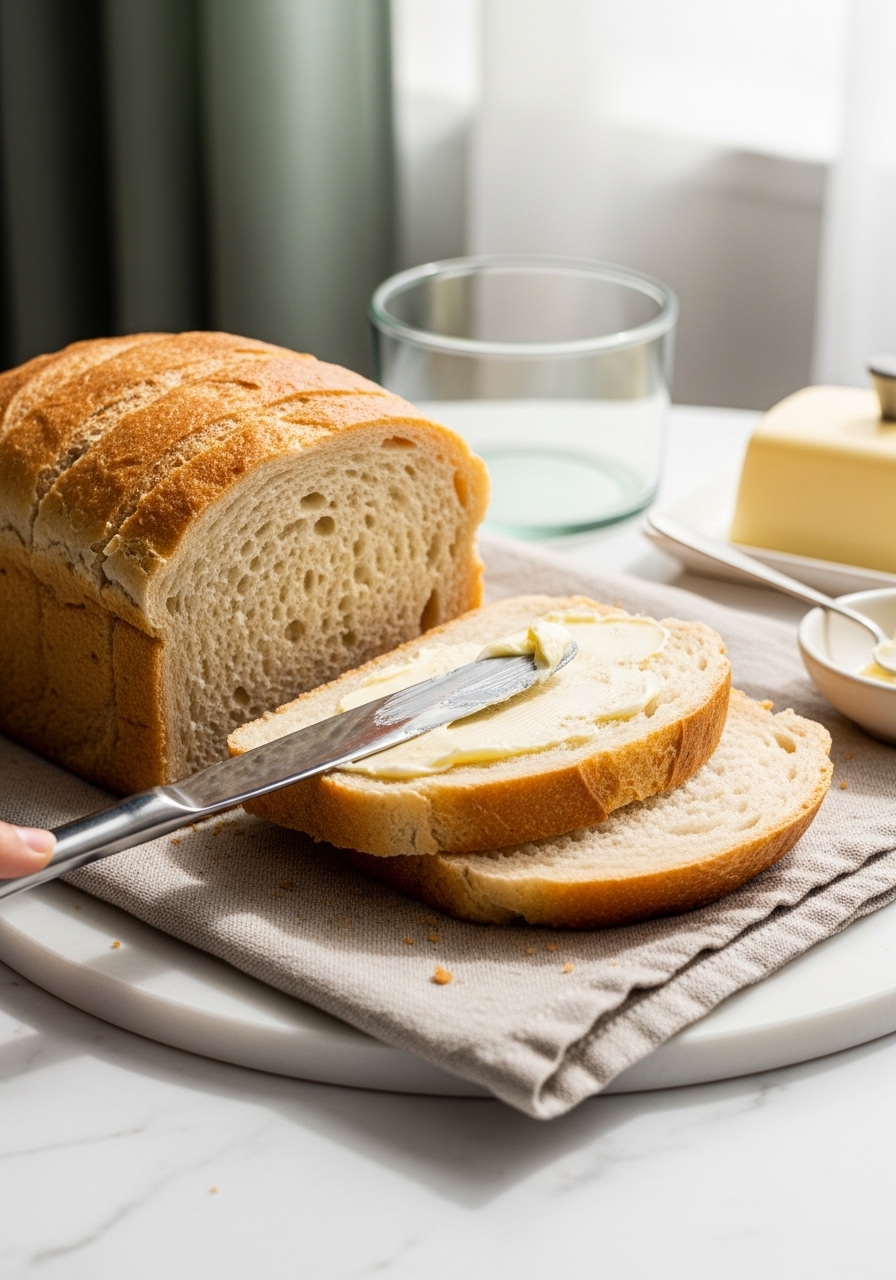
Let the loaf cool for at least 30 minutes before slicing; heat causes crumbs to compress. Use a serrated knife or an offset spatula for neat slices.
- Store slices in glass storage containers in the fridge for up to 5 days.
- Freeze individual slices in freezer bags for quick breakfasts.
- Reheat loosely wrapped in the oven or toaster for 3–4 minutes to bring back softness.
Serving ideas:
- Toast and top with avocado, or use for keto sandwiches.
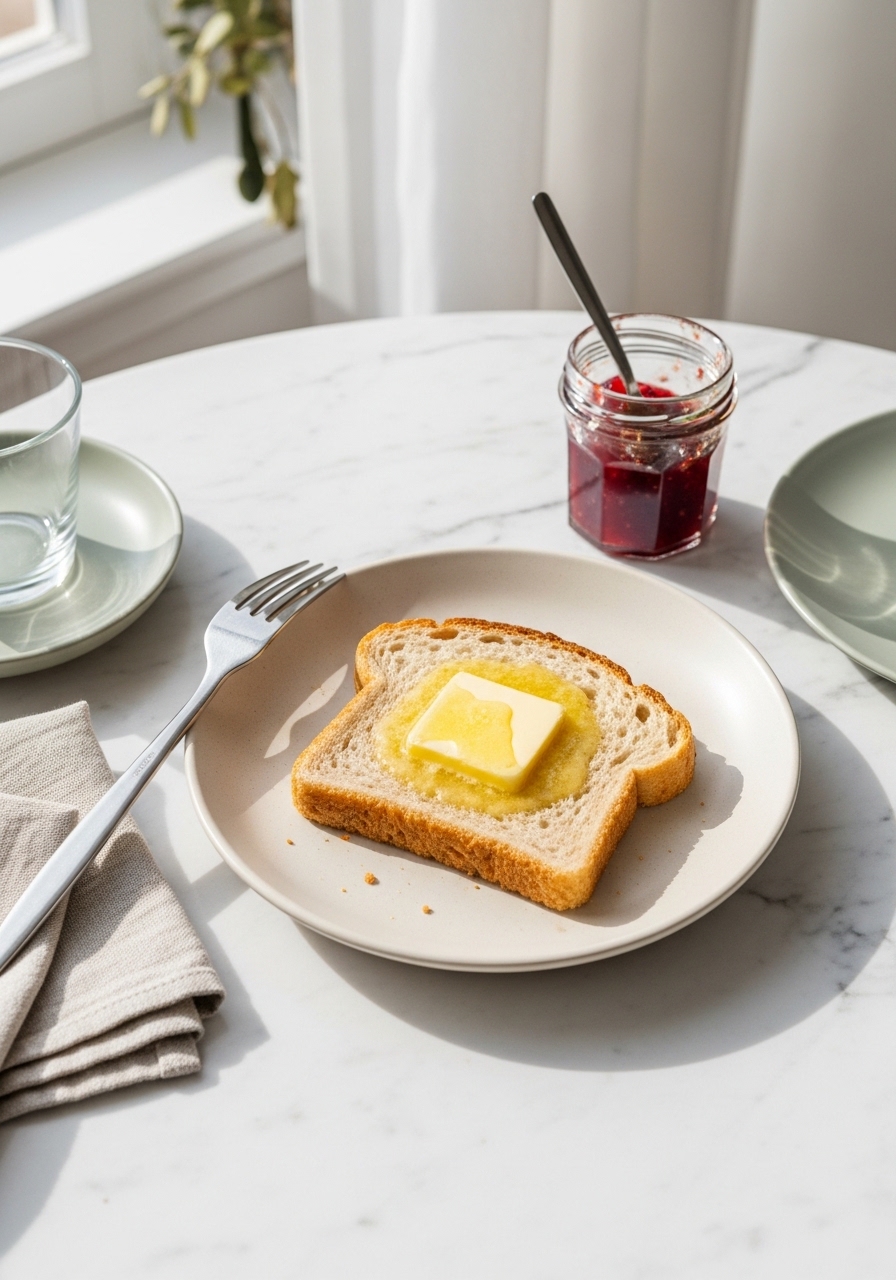
You now know how to make keto bread that's soft and fluffy using precise measurements, whipped eggs, and gentle folding. Save this guide and try the loaf this weekend.
If you want one hero tool, grab an instant-read thermometer—it takes guesswork out of baking. Pin this guide for your next baking session and tell me: which tip will you try first?
Leave a Reply