Love donuts… but hate the mess of deep frying?
Hot oil, splatters, lingering smells — and let’s not even talk about the cleanup.
Good news: you can make soft, fluffy, bakery-style donuts right in your oven. No deep fryer. No thermometer. No stress.
And yes — they’re still golden, tender, and completely satisfying.
Let’s walk through exactly how to do it.
Step 1: Choose the Right Type of Donut
When baking instead of frying, you want a dough that’s light but sturdy.
You have two easy options:
🍩 Cake-Style Baked Donuts (Easiest for Beginners)
These are soft, tender, and slightly dense — similar to old-fashioned donuts.
They’re:
- Quick to mix
- No yeast required
- Ready in under 30 minutes
🍩 Yeast Baked Donuts (More Classic Texture)
These are lighter and fluffier but require rising time.
If you’re new to baking donuts, start with cake-style.
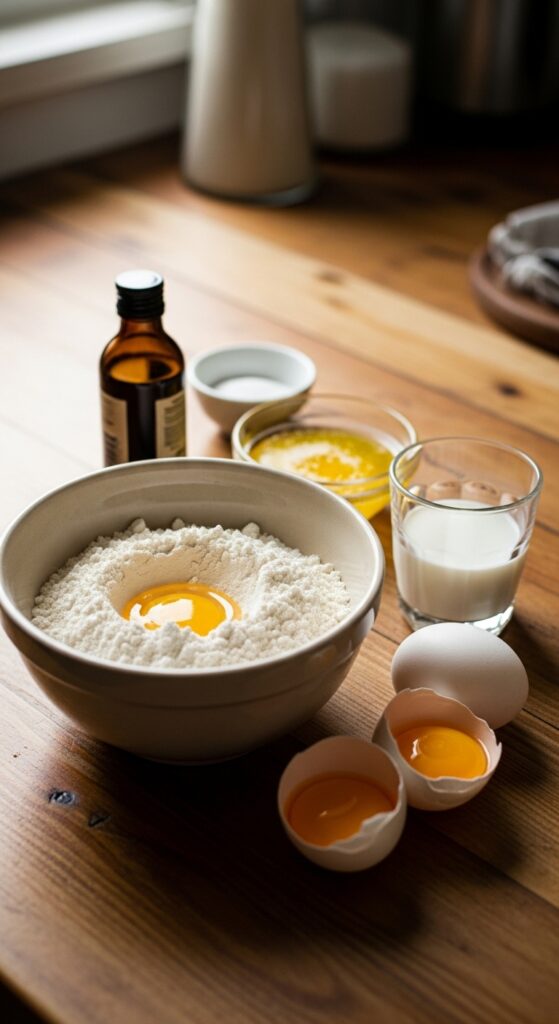
Step 2: Gather Simple Ingredients
Here’s an easy baked cake donut base:
- 2 cups all-purpose flour
- ¾ cup sugar
- 2 tsp baking powder
- ½ tsp salt
- ¾ cup milk
- 2 eggs
- 2 tbsp melted butter
- 1 tsp vanilla extract
Nothing fancy. Just pantry basics.
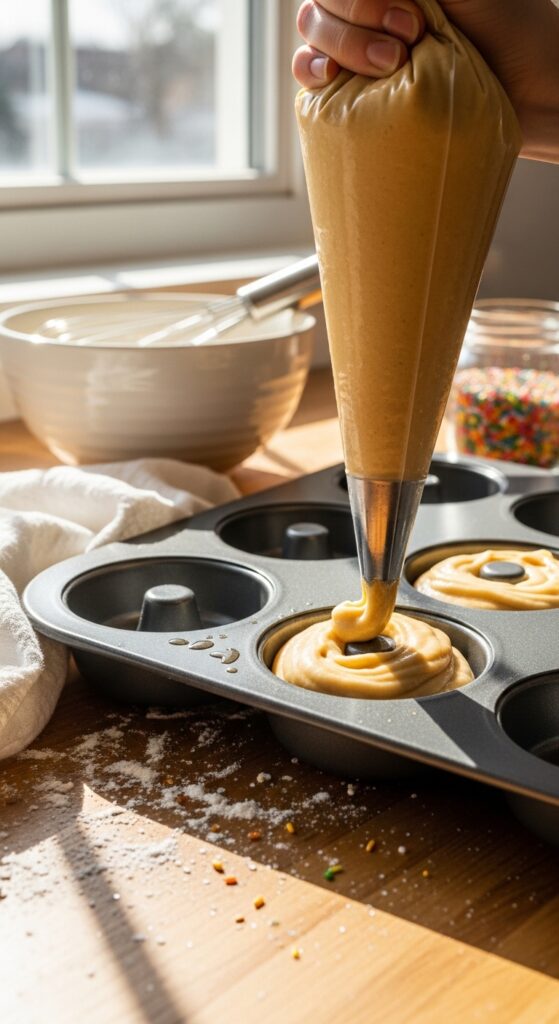
Step 3: Use a Donut Pan (Or a Smart Alternative)
For that classic donut shape, a non-stick donut pan works best.
But don’t worry if you don’t have one.
You can:
- Pipe thick batter into greased muffin tins
- Or shape yeast dough into rings on parchment paper
The key is not overfilling. Fill each cavity about ¾ full so they rise properly.
Step 4: Mix Gently — Don’t Overwork the Batter
Overmixing makes donuts tough.
Instead:
- Whisk dry ingredients in one bowl.
- Mix wet ingredients in another.
- Combine gently until just incorporated.
A few small lumps are completely fine.
If you want smooth, bakery-style tops, transfer the batter into a piping bag (or zip-top bag with the corner snipped) and pipe it neatly into the pan.
Step 5: Bake at the Right Temperature
Preheat your oven to 350°F (175°C).
Bake for:
- 10–12 minutes for cake donuts
- 12–15 minutes for yeast donuts
You’ll know they’re done when:
- The tops spring back when lightly pressed
- The edges are lightly golden
- A toothpick comes out clean
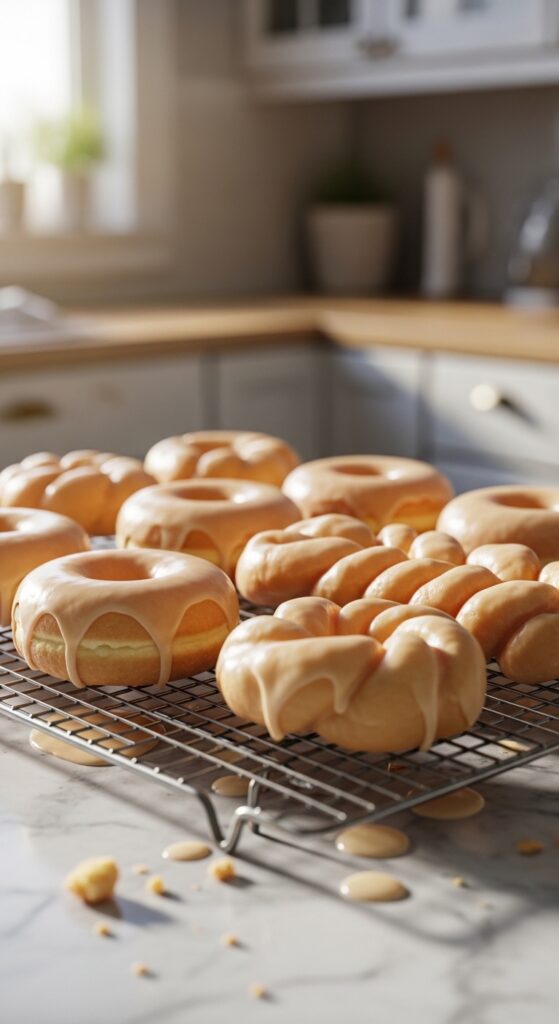
Let them cool in the pan for 5 minutes, then transfer to a wire rack.
Step 6: Add the Glaze or Topping
This is where baked donuts really shine.
Since they’re lighter than fried donuts, toppings matter.
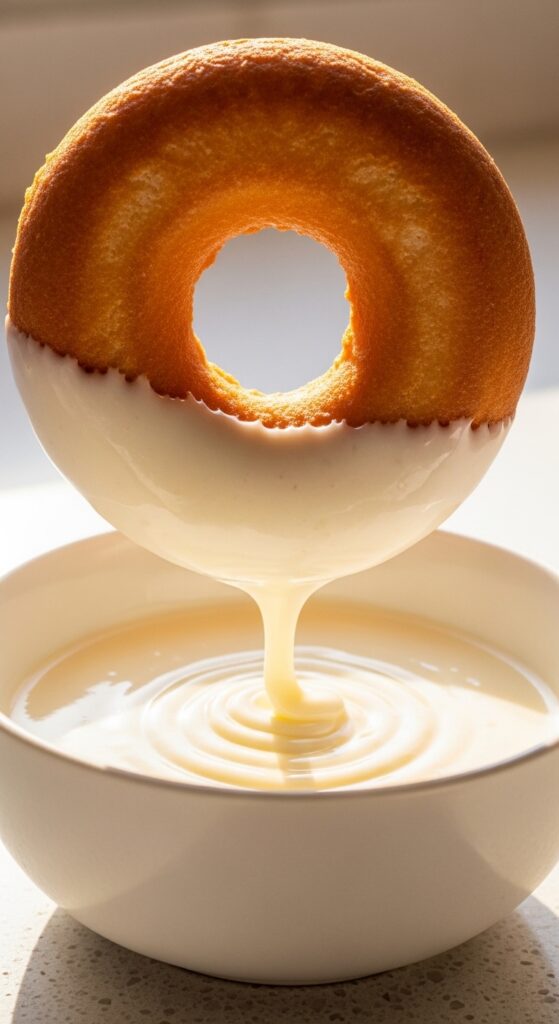
Classic Vanilla Glaze
Mix:
- 1 cup powdered sugar
- 2–3 tbsp milk
- ½ tsp vanilla
Dip cooled donuts face-down into glaze, then let set.
Other Easy Ideas:
- Cinnamon sugar (brush with butter first)
- Melted chocolate drizzle
- Maple glaze
- Strawberry icing
- Powdered sugar dusting
Step 7: Boost the Flavor Like a Pro
Want bakery-level taste? Try these upgrades:
- Add lemon zest for brightness
- Swap vanilla for almond extract
- Brown the butter before mixing
- Stir mini chocolate chips into batter
- Add a pinch of nutmeg for classic donut flavor
Small tweaks = big results.
Common Mistakes to Avoid
- Overbaking (they dry out quickly)
- Overmixing batter
- Skipping grease in the pan
- Glazing while too hot (it slides off)
Let them cool slightly before adding toppings.
Why Baking Is Actually Better
Besides skipping the oil mess, baked donuts:
- Are lighter and less greasy
- Require less cleanup
- Are easier for beginners
- Feel a little more everyday-friendly
You can make a batch on a weekday morning without turning your kitchen into a fryer station.
Final Thoughts
You don’t need a deep fryer to enjoy warm, homemade donuts.
With a simple batter, a hot oven, and a quick glaze, you can have bakery-style donuts in under 30 minutes.
Try this method once — and you may never go back to frying.
Save this for your next baking day.
Or better yet… make a batch this weekend. 🍩
Leave a Reply