Craving homemade ice cream… but don’t own an ice cream maker?
Good news: you absolutely don’t need one.
With just a few simple ingredients and a freezer, you can make creamy, scoopable, totally satisfying ice cream right at home. No fancy equipment. No complicated steps. Just smooth, dreamy results.
Let’s get started.
Method 1: The No-Churn 3-Ingredient Classic
This is the easiest and most reliable method. Perfect for beginners.
What You’ll Need:
- 2 cups cold heavy whipping cream
- 1 can (14 oz) sweetened condensed milk
- 1–2 teaspoons vanilla extract
That’s it.
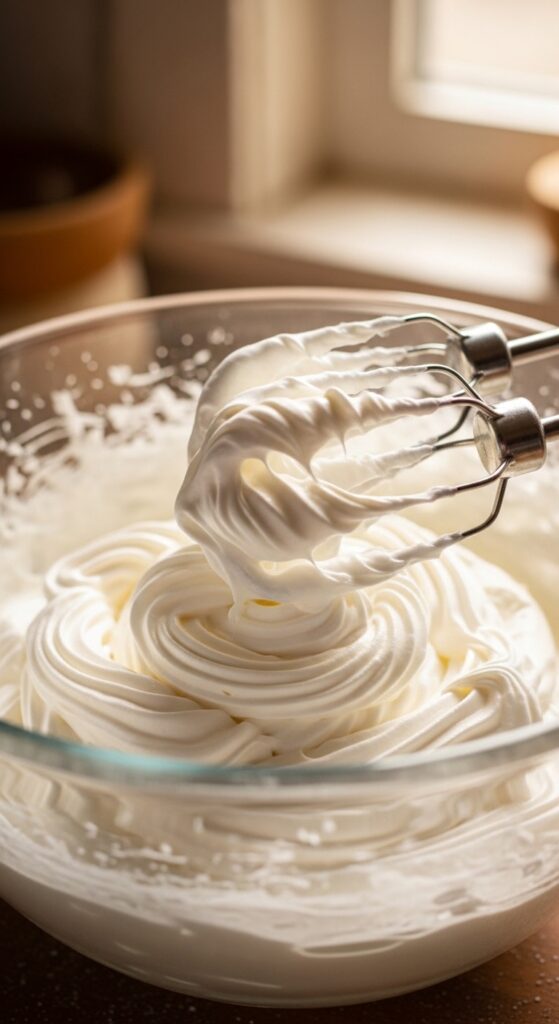
Step 1: Whip the Cream
In a large bowl, whip the cold heavy cream until stiff peaks form.
You can use:
- A hand mixer
- A stand mixer
- Or even a whisk (arm workout included)
You’re looking for thick, fluffy cream that holds its shape.
Step 2: Fold in the Sweetened Condensed Milk
Gently fold the sweetened condensed milk and vanilla into the whipped cream.
Do not stir aggressively.
Use a spatula and fold slowly to keep as much air in the mixture as possible. That air is what makes it creamy instead of icy.
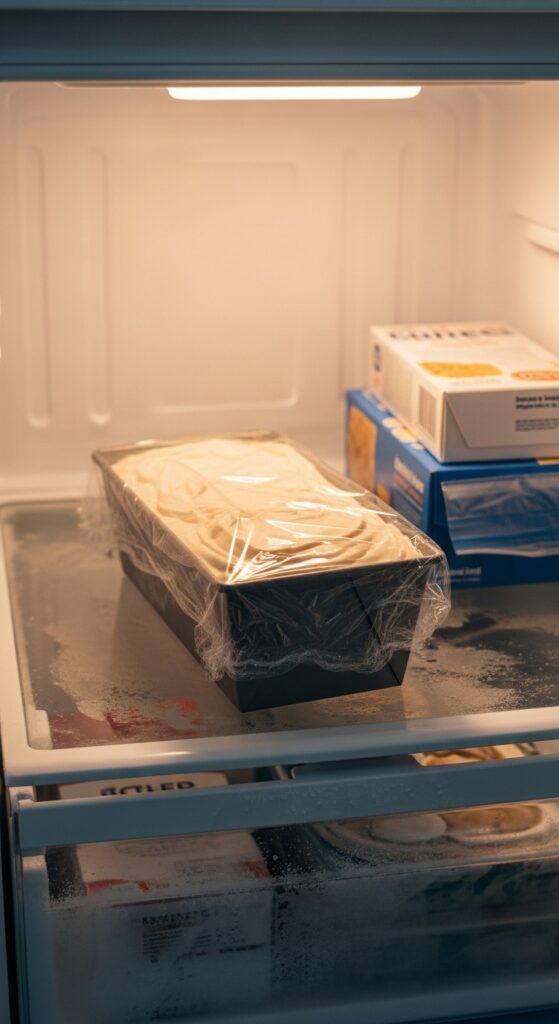
Step 3: Freeze
Pour the mixture into a loaf pan or freezer-safe container.
Smooth the top. Cover tightly with plastic wrap or a lid.
Freeze for at least 6 hours (overnight is best).
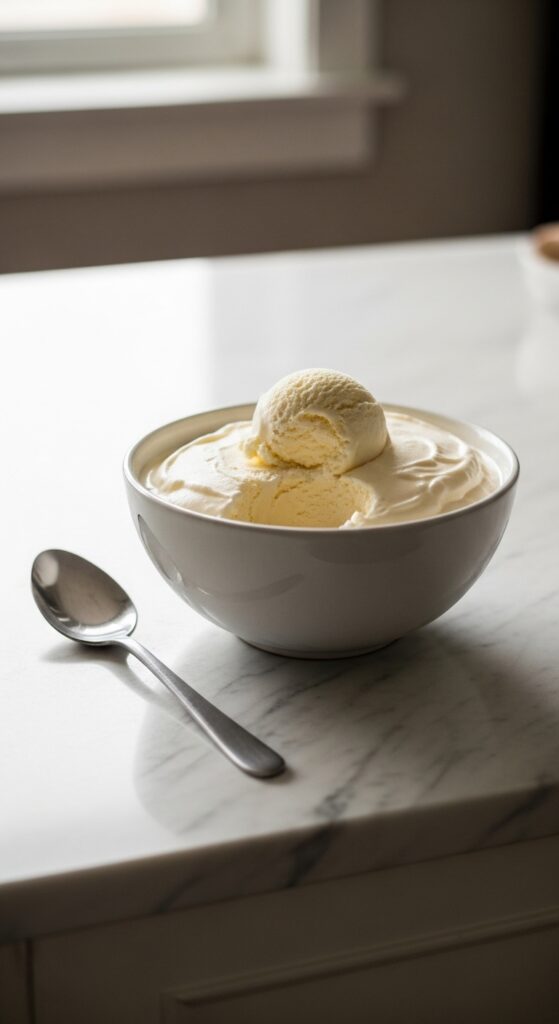
Once frozen, scoop and serve.
Creamy. Rich. Done.
Method 2: The 2-Ingredient Shake-in-a-Bag Trick
This one is fun — especially with kids.
What You’ll Need:
- 1 cup heavy cream
- 2 tablespoons sugar
- ½ teaspoon vanilla
- Ice
- Rock salt
- 1 large zip-top bag
- 1 gallon-size zip-top bag
Step 1: Mix the Ice Cream Base
In the small zip-top bag, combine:
- Heavy cream
- Sugar
- Vanilla
Seal tightly.
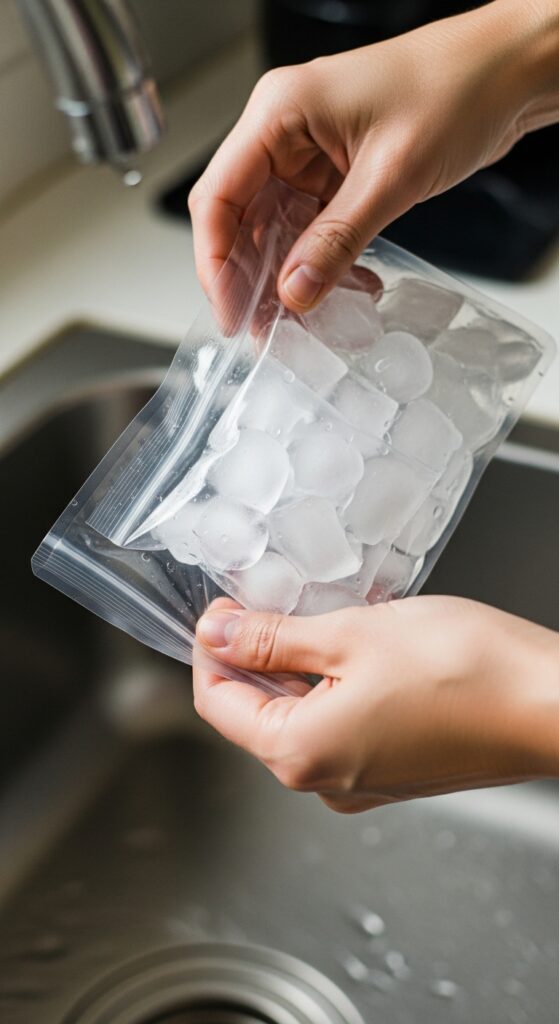
Step 2: Create the Ice Bath
Fill the large bag halfway with ice. Add ½ cup rock salt.
Place the small sealed bag inside the large bag. Seal it.
Step 3: Shake for 5–10 Minutes
Shake the bag vigorously.
The salt lowers the freezing point of ice, which helps the cream freeze quickly while you shake it.
After about 5–10 minutes, you’ll have soft-serve style ice cream.
Remove the small bag, wipe off salt, open, and enjoy.
Flavor Ideas You’ll Love
Once you master the base, you can customize endlessly.
Try adding:
- Chocolate chips
- Crushed cookies
- Peanut butter swirls
- Fresh strawberries
- Caramel sauce
- Crushed Oreos
- Toasted coconut
For fruit flavors:
Blend fruit separately and swirl it in before freezing.
For chocolate ice cream:
Add ¼ cup cocoa powder to the condensed milk before folding.
Why This Works Without a Machine
Traditional machines churn air into the mixture while freezing it.
The no-churn method replaces churning by:
- Whipping air into cream first
- Using condensed milk to prevent ice crystals
The shake-in-a-bag method freezes quickly while being agitated, which keeps crystals small.
Both methods create smooth texture — no machine required.
Common Mistakes to Avoid
Using low-fat cream
You need full-fat heavy cream for creamy texture.
Overmixing when folding
This deflates the whipped cream.
Not sealing bags tightly (shake method)
No one wants salty ice cream.
Freezing uncovered
Leads to icy top layers.
Storage Tips
Store in an airtight container.
For best texture:
- Press plastic wrap directly onto the surface before sealing.
- Let it sit at room temperature 3–5 minutes before scooping.
Homemade ice cream is best within 1–2 weeks.
Final Thoughts
Making ice cream at home without a machine is easier than you think.
Three ingredients.
One bowl.
A freezer.
That’s it.
Once you try it, you’ll start experimenting with new flavors every week.
Save this recipe for your next sweet craving.
And try it tonight — your freezer is waiting. 🍨
Leave a Reply