If you’ve ever ended up with lentils that were mushy, bland, or still somehow crunchy, you’re not alone. Lentils seem simple, but a few small details make a huge difference. The good news? Once you know the basics, cooking lentils is easy, affordable, and totally reliable.
Whether you’re making soups, salads, meal prep bowls, or cozy dinners, this guide will show you how to cook lentils perfectly every single time—no stress, no guesswork.
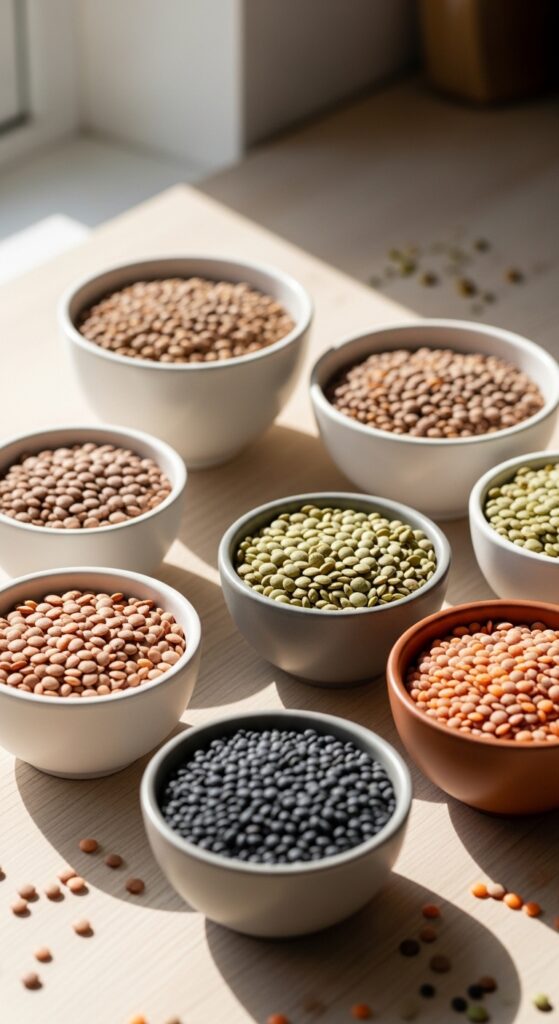
Step 1: Choose the Right Type of Lentils
Not all lentils cook the same way, and this is where most problems start. Each variety has its own texture and best use.
- Brown lentils – Earthy, hold their shape well, great for soups and meal prep
- Green lentils – Slightly peppery, firm texture, perfect for salads
- Red or yellow lentils – Split and soft, best for curries and dals
- Black lentils (beluga) – Small, firm, and glossy, great for bowls and sides
If you want lentils that stay intact, avoid red and yellow lentils. If you want creamy and soft, those are your best friends.
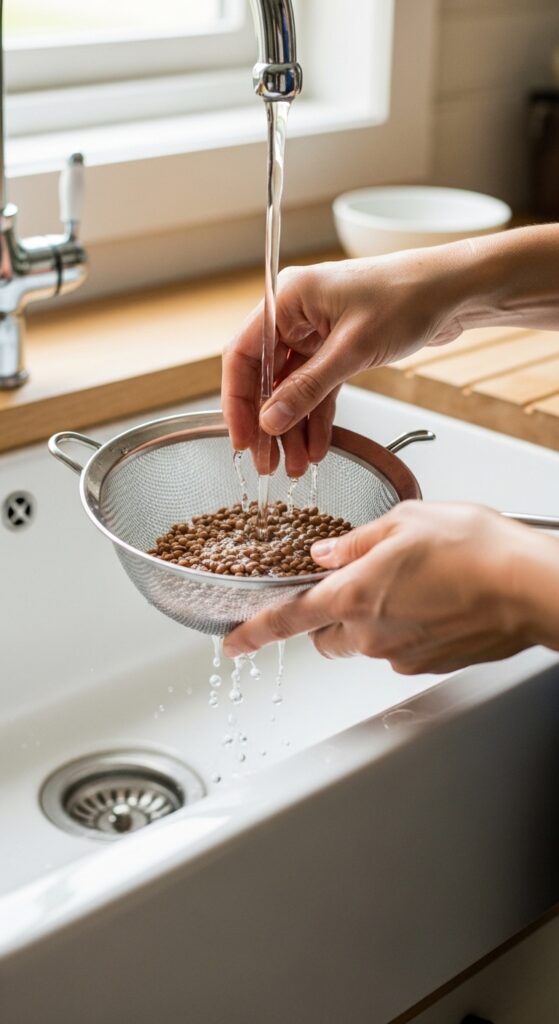
Step 2: Rinse and Sort Before Cooking
Lentils don’t need soaking, but they do need rinsing. This removes dust and helps improve flavor.
- Place lentils in a fine mesh strainer
- Rinse under cold water for 20–30 seconds
- Quickly check for small stones or debris
This tiny step helps prevent gritty lentils and uneven cooking.
Step 3: Use the Right Water Ratio
The correct water-to-lentil ratio is key to perfect texture.
- Firm lentils (brown, green, black):
Use 3 cups water for 1 cup lentils - Soft lentils (red, yellow):
Use 2½ cups water for 1 cup lentils
Always start with enough water. You can drain extra later, but too little water causes uneven cooking.
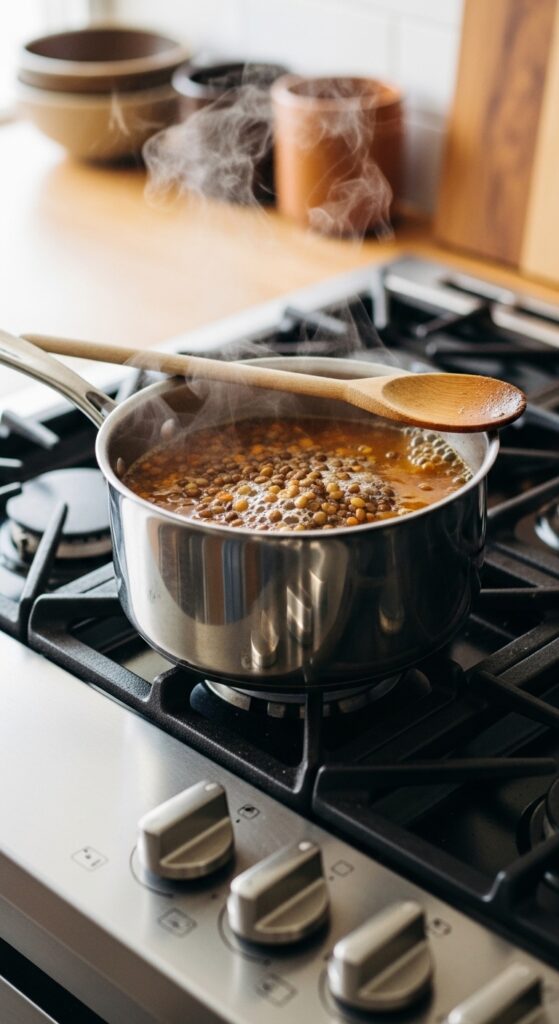
Step 4: Simmer Gently (Don’t Boil Hard)
Bring your pot to a boil, then immediately lower the heat to a gentle simmer.
- Cover slightly with a lid
- Stir occasionally to prevent sticking
- Skim off foam if it appears
Cooking times vary by type:
- Brown lentils: 20–25 minutes
- Green lentils: 25–30 minutes
- Black lentils: 20–25 minutes
- Red or yellow lentils: 10–15 minutes
Check for doneness early. Lentils should be tender but not falling apart (unless you want them that way).
Step 5: Salt at the Right Time
One of the biggest lentil myths is that salt makes them tough. In reality, salting too early can slow cooking, but salting toward the end works perfectly.
- Add salt during the last 5 minutes of cooking
- Taste and adjust after draining
This gives you well-seasoned lentils without sacrificing texture.
Common Mistakes to Avoid
Avoid these simple missteps to guarantee better results:
- Cooking on high heat the whole time
- Skipping the rinse step
- Overcooking “just to be sure”
- Using the wrong lentil type for your recipe
- Forgetting to season at the end
Lentils cook fast, so staying nearby makes a big difference.
Pro Tips for Extra Flavor
Lentils love flavor, and a few additions can make them taste amazing—even on their own.
Try cooking lentils with:
- A bay leaf or garlic clove
- Onion halves or shallots
- Vegetable or chicken broth instead of water
- A splash of olive oil after draining
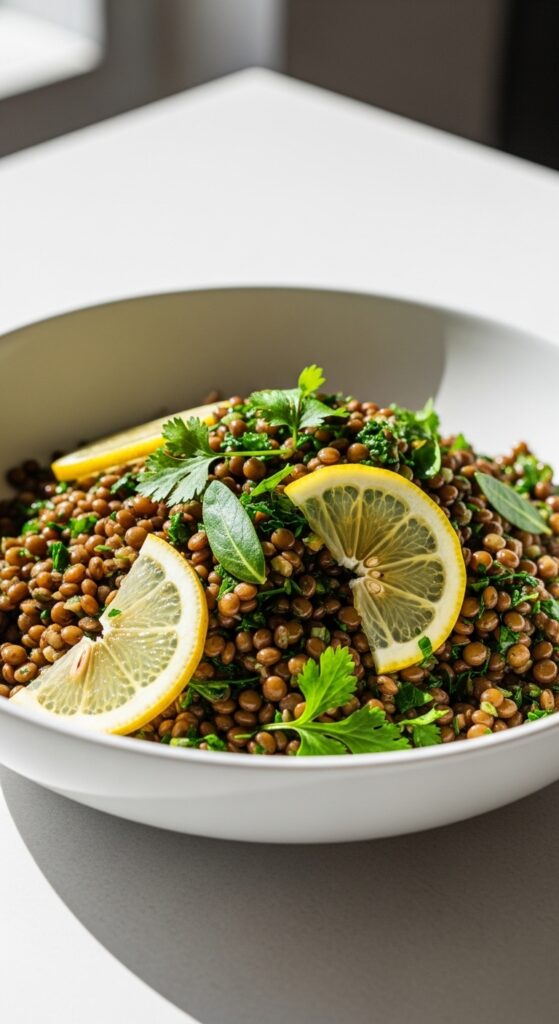
Once cooked, toss with:
- Lemon juice or vinegar
- Fresh herbs
- Olive oil and black pepper
Final Touches and Storage Tips
Drain lentils well and let them cool slightly before storing or using. This helps them firm up and improves texture.
- Store in an airtight container
- Refrigerate for up to 5 days
- Freeze for up to 2 months
Cooked lentils are perfect for quick meals, salads, soups, and grain bowls throughout the week.
The Takeaway
Perfect lentils come down to choosing the right type, using enough water, simmering gently, and seasoning smartly. Once you’ve mastered these basics, lentils become one of the easiest, healthiest staples you’ll ever cook.
Save this guide for later, and pin it so you always have perfectly cooked lentils at your fingertips.
Leave a Reply