Mini Christmas sliders are the kind of party food that disappears the moment you set them down. They’re warm, savory, bite-sized, and totally irresistible—perfect for Christmas dinners, potlucks, and holiday game nights. With soft rolls, juicy filling, melted cheese, and a festive buttery glaze, these sliders are guaranteed to be the first thing guests reach for.
Here’s how to make Christmas sliders that vanish in minutes.
Choose Your Favorite Slider Filling
Sliders are incredibly flexible, and you can customize them depending on your holiday menu.
Popular Christmas-friendly fillings:
- Ground beef + onions (classic cheeseburger style)
- Pulled chicken or turkey (great for leftovers)
- Ham + Swiss cheese (festive and simple)
- Meatball slices + marinara
- Shredded roast beef + provolone
For parties, beef or ham sliders are the easiest and cheapest to make in big batches.
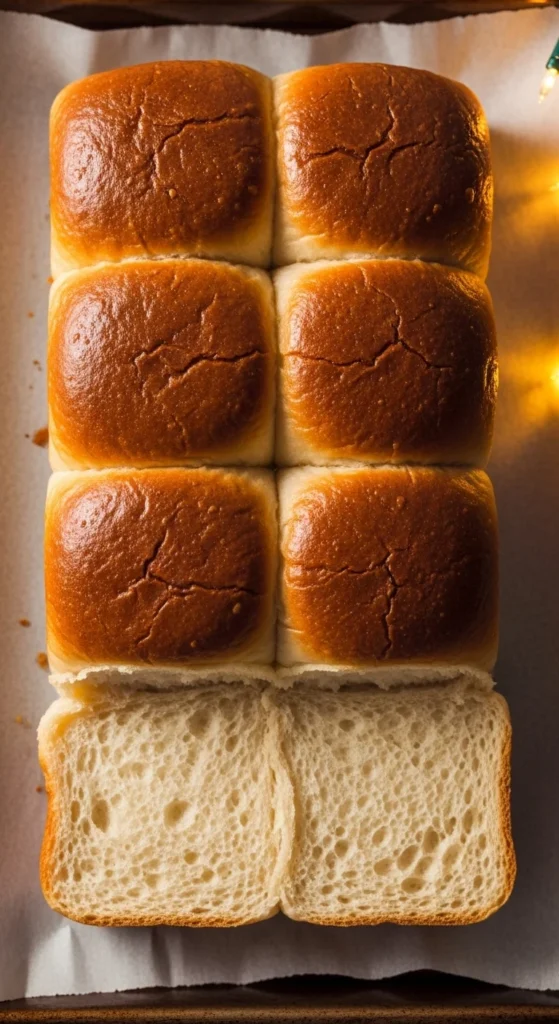
Prep the Slider Rolls So They Don’t Fall Apart
Hawaiian rolls or soft dinner rolls are the perfect slider base.
Prep them like this:
- Slice the entire pack horizontally (keep them connected)
- Lift off the top in one sheet
- Place the bottom half on a baking sheet
Keeping the rolls connected makes assembly much faster.
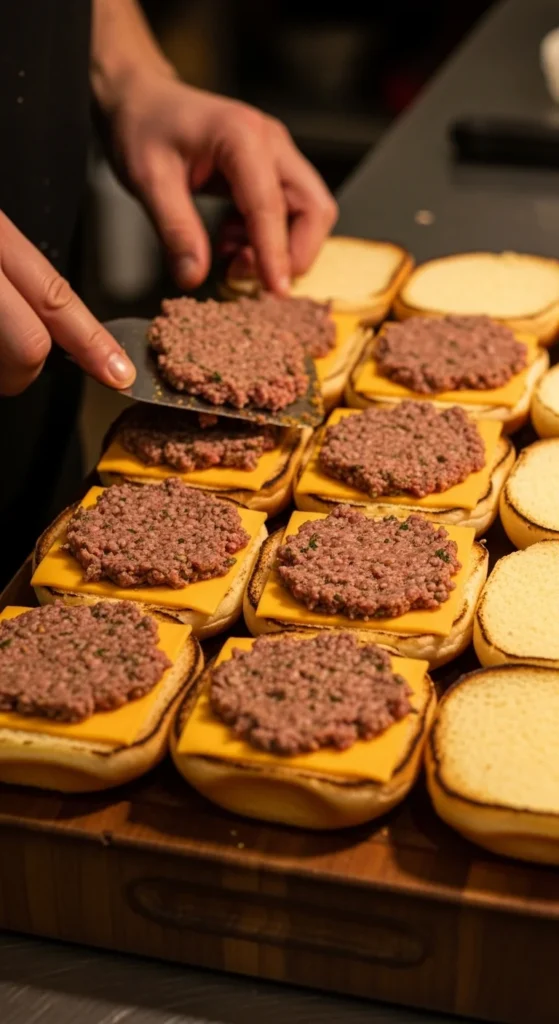
Make a Juicy Slider Filling
For classic beef sliders:
Sauté:
- Ground beef
- Chopped onions
- Salt & pepper
- Garlic powder
- A little Worcestershire
Cook just until browned—don’t overcook.
If you want extra Christmas warmth, add a pinch of paprika or thyme.
Taste and adjust the seasoning before assembling the sliders.
Assemble the Sliders Layer by Layer
Assembly is simple and fast—and this is where the magic happens.
Layering order:
- Bottom rolls
- Cheese slices
- Warm filling
- More cheese
- Top rolls
The double cheese helps everything stick together beautifully.
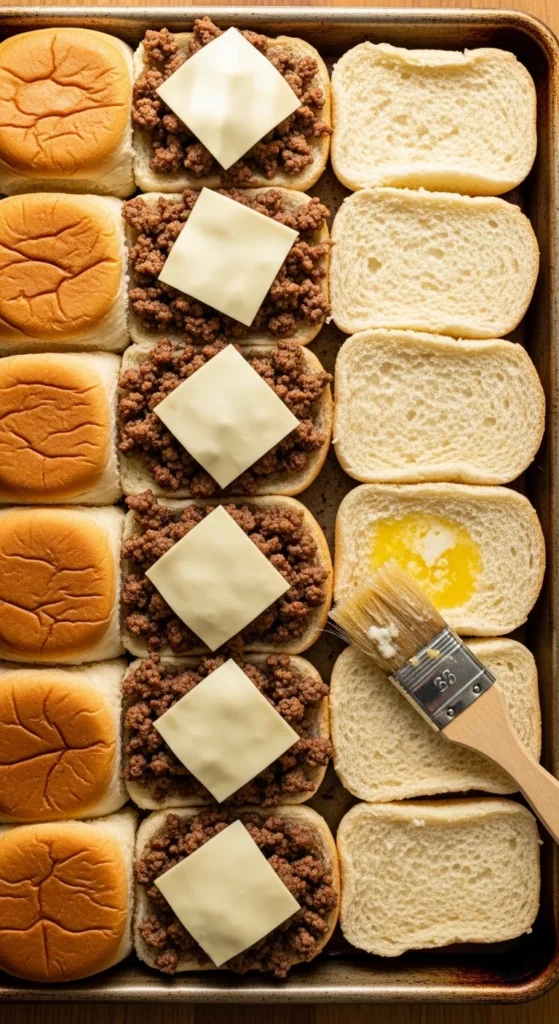
Brush With Festive Butter for Holiday Flavor
This buttery glaze gives your sliders a golden top and irresistible aroma.
Mix together:
- Melted butter
- Garlic powder
- Dijon mustard
- Poppy seeds (optional)
- Parsley
Brush this over the tops of the rolls generously.
It makes every bite soft, glossy, and perfectly seasoned.
Bake Until Warm, Melted, and Golden
Your sliders only need a quick bake to become gooey and delicious.
Baking method:
- Preheat oven to 350°F (175°C)
- Cover sliders with foil
- Bake 12–15 minutes
- Uncover and bake 3–5 minutes more to brown
You’re looking for:
- Melted cheese
- Warm filling
- Lightly toasted tops
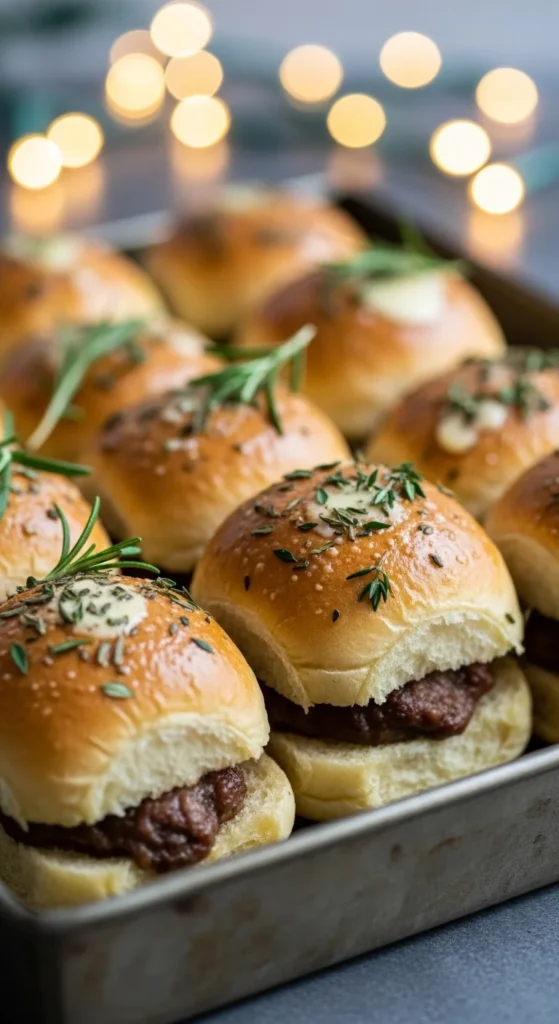
Add Festive Toppings for Extra Holiday Flair
Optional—but great if you want the sliders to feel more Christmas-themed.
Try:
- A sprinkle of parsley or chives
- Toothpicks with holiday toppers
- A tiny drizzle of cranberry sauce for turkey or ham sliders
- A pinch of red pepper flakes for color
These small touches make the sliders look party-ready.
Serve Them Hot and Watch Them Vanish
Sliders are best served warm fresh from the oven.
Arrange them on a platter or cutting board and slice into individual squares.
They pair beautifully with:
- Christmas salads
- Potato wedges
- Soup
- Appetizer boards
- Holiday cocktails or mocktails
Mini sliders fit into every type of holiday gathering.
Make-Ahead Tips for Stress-Free Entertaining
Sliders are one of the easiest party foods to prepare early.
To prep ahead:
- Assemble sliders
- Cover tightly with foil
- Refrigerate for up to 24 hours
- Bake when ready to serve
Add an extra 5 minutes to the bake time if cold.
Tips for the Best Mini Christmas Sliders
- Use soft rolls for the best texture
- Add cheese under AND over the filling
- Brush with butter for flavor and shine
- Don’t overfill—the layers should stay tidy
- Bake covered first, then uncover to brown
- Serve immediately for the perfect melty bite
These small tricks give you sliders that taste professionally made.
A Party Favorite That Disappears Fast
Mini Christmas sliders are warm, cheesy, festive, and impossible to stop eating. They look great on the holiday table, take less than 30 minutes to make, and always get rave reviews from guests.
Save this recipe and prepare to watch your Christmas sliders disappear the moment they hit the table!
Leave a Reply